
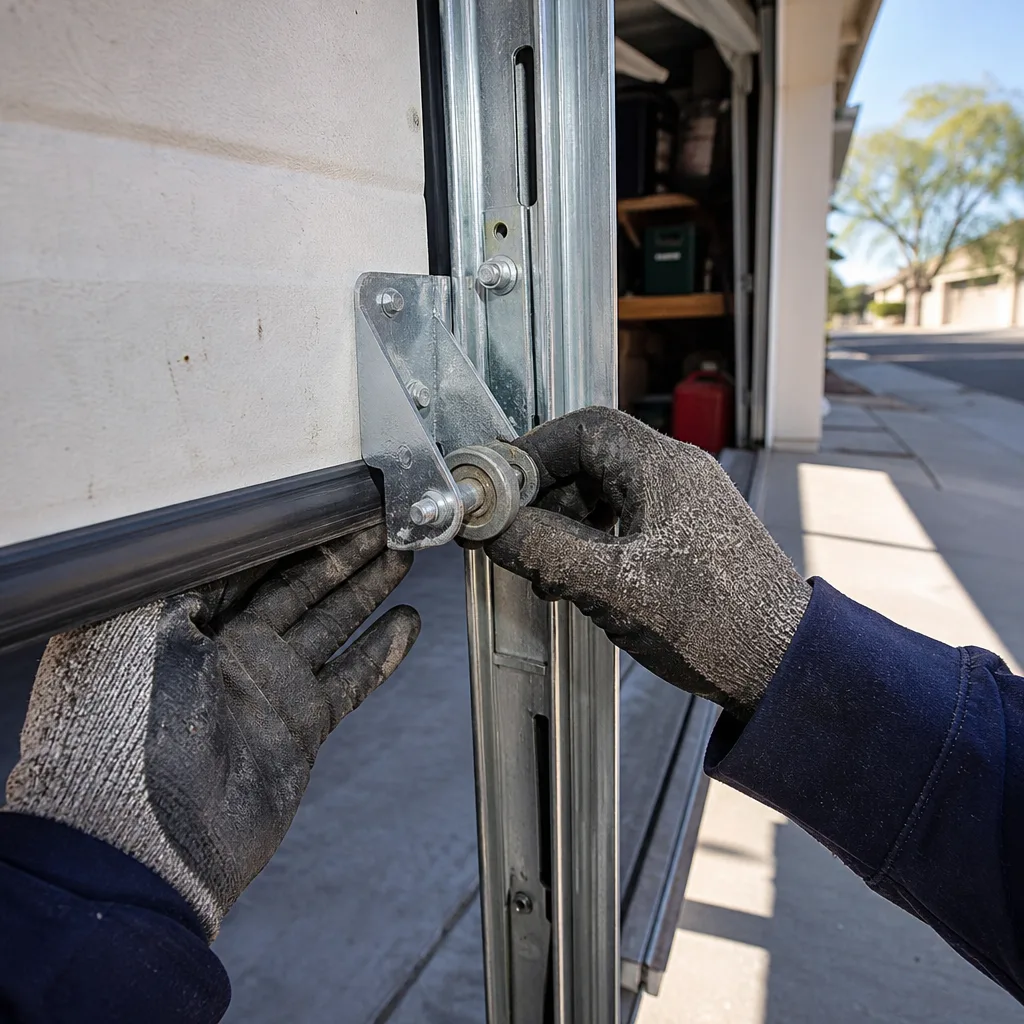
Last updated November 18, 2026
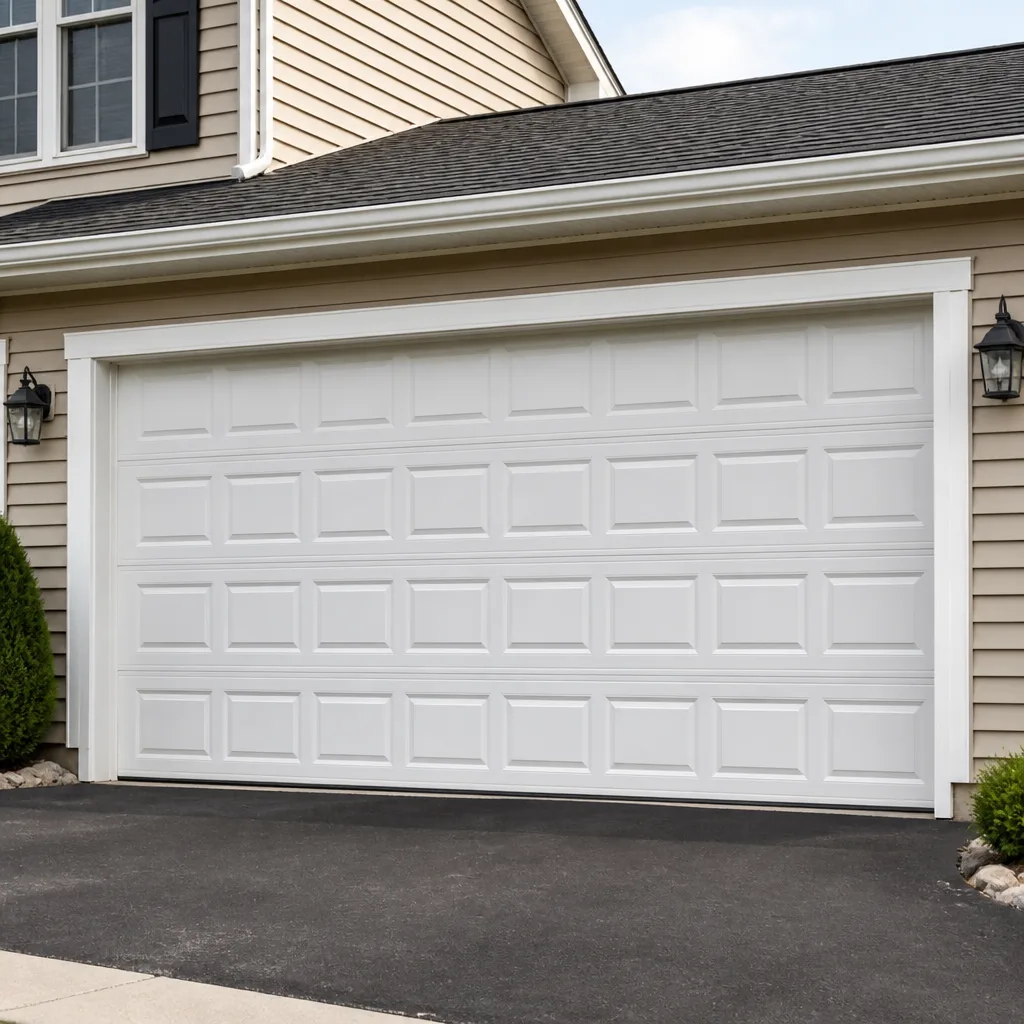 Raised-panel steel
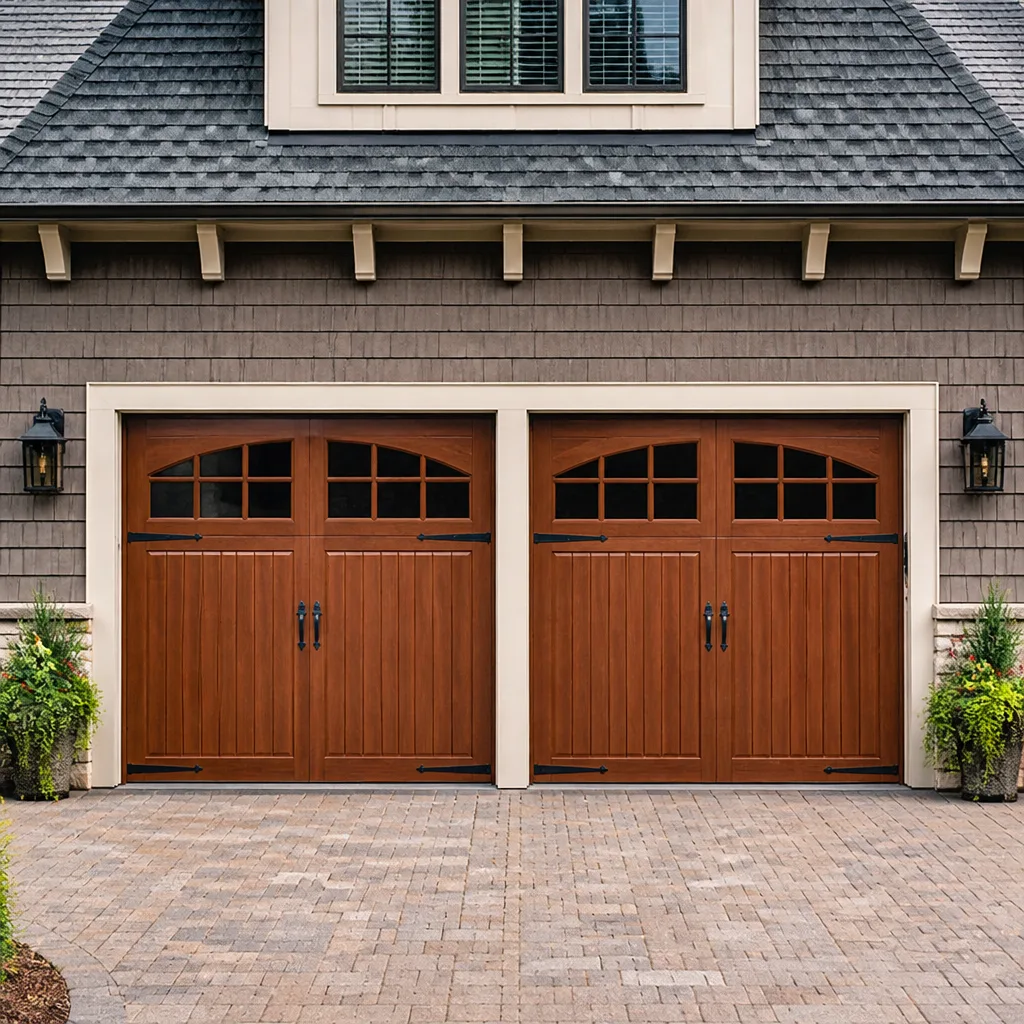 Carriage house
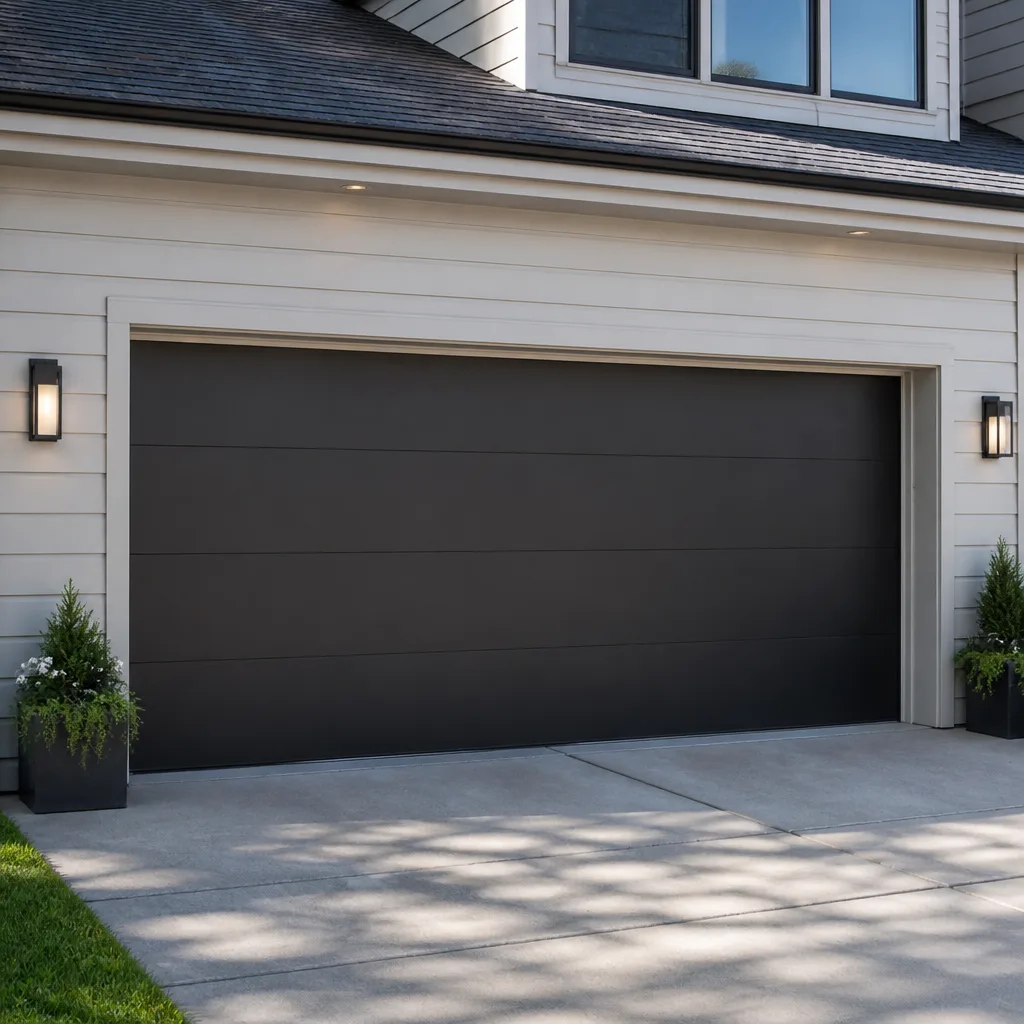 Modern flush
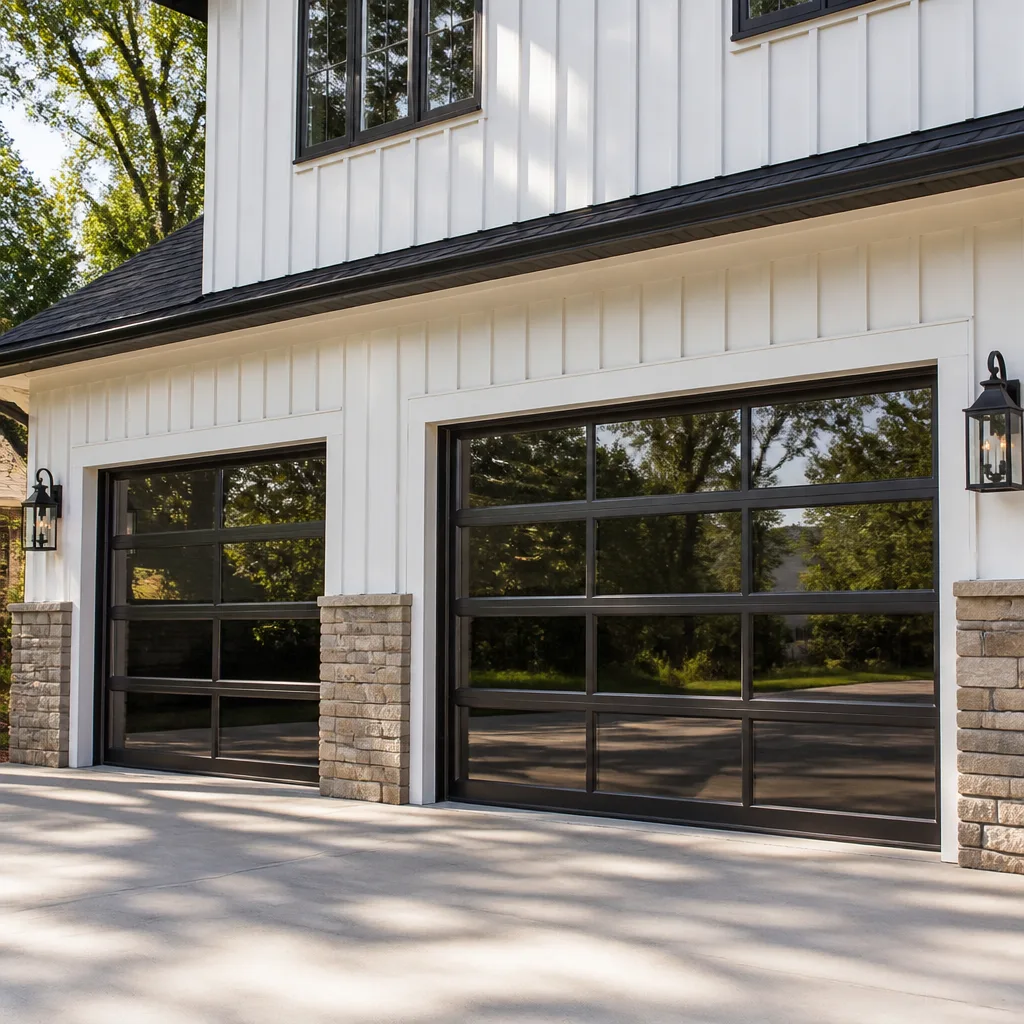 Full-view glass
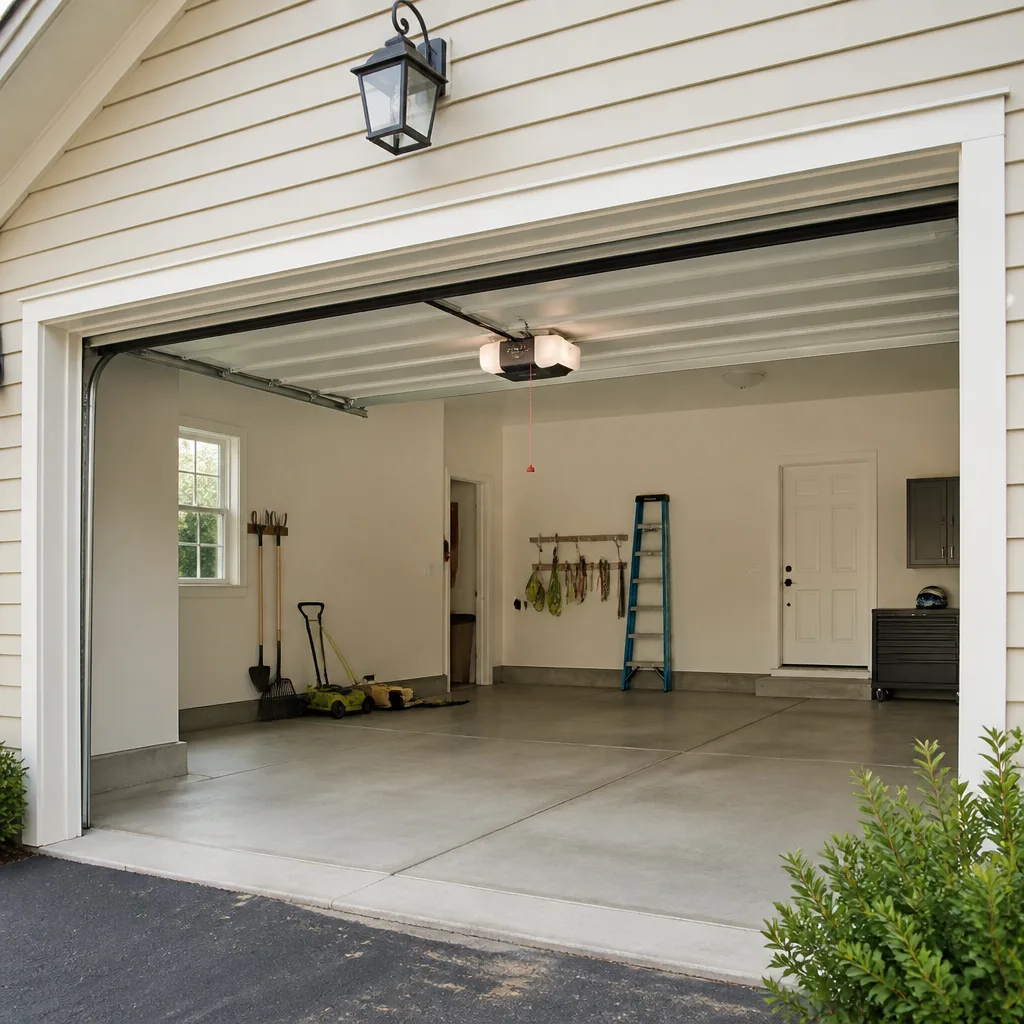 LiftMaster openers
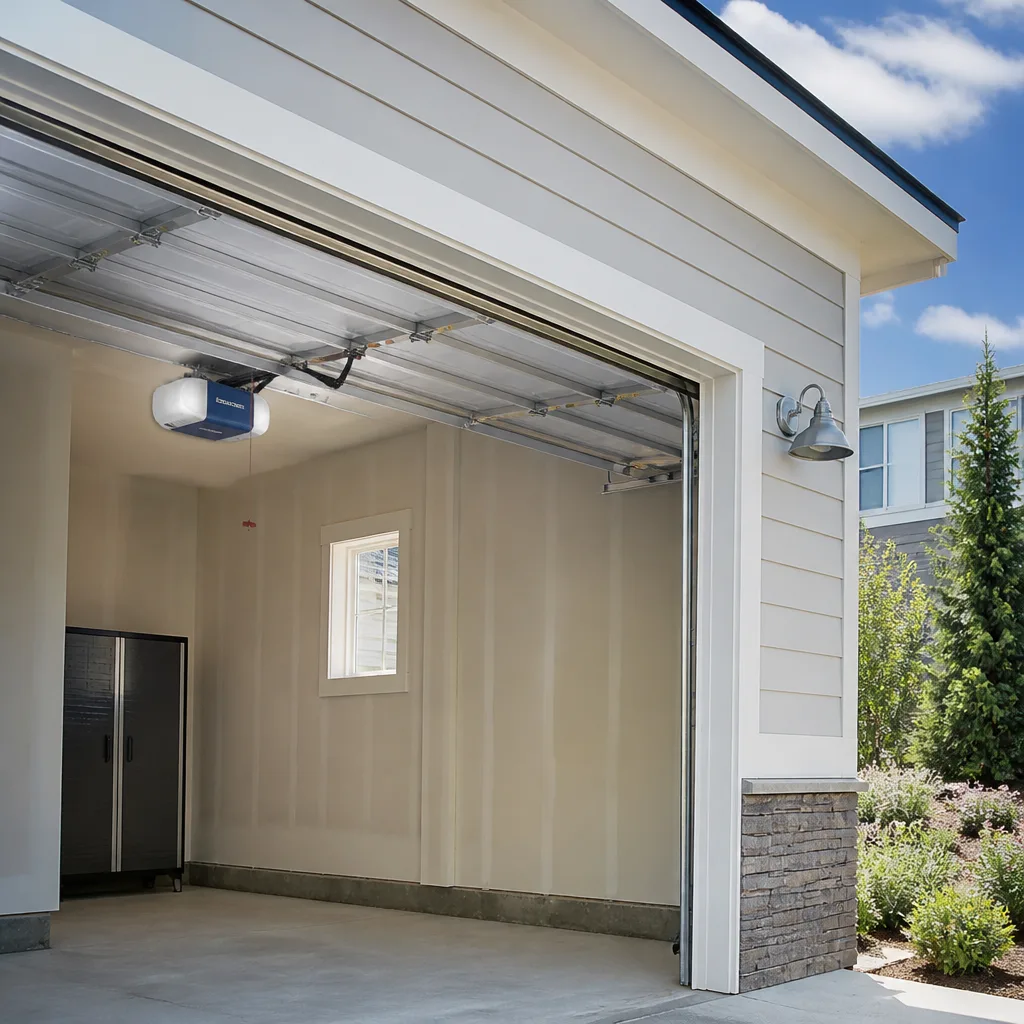 Chamberlain openers
Full 25-point door and opener safety check with every visit - springs, cables, rollers, tracks, and your LiftMaster or Chamberlain opener included
You get a price before we start. It does not change when the pro arrives.
Get your free estimateGarage Door Opener Repair & Installation Troubleshooting: Common Problems and How to Fix Them
The opener that won’t respond to the wall button but works fine from the remote isn’t a bad opener. It’s usually a $4 wall button with a loose wire, and you can rule that out yourself in the time it takes to get a technician on the phone. Nine out of ten calls we run in North Las Vegas that start with “the opener is broken” turn out to be one of four cheap, fast fixes. This guide walks you through the decision tree so you know whether you need a screwdriver or a truck before you call anyone.
Quick Answer
Most “broken opener” problems are one of four things: a dead remote or wall button, misaligned photo-eye safety sensors, a door binding in heat-expanded tracks, or travel/force limits that drifted out of adjustment. Each has a quick check you can do without tools. Anything involving a torsion spring, a motor that smells like burning, or a door that won’t move at all under its own weight is a stop-and-call situation.
Styles & brands we work with
- Raised-panel steel
- Carriage house
- Modern flush
- Full-view glass
- LiftMaster openers
- Chamberlain openers
Table of Contents
- Start With the Symptom, Not the Brand
- Opener Doesn’t Run at All: Check the Wall Button First
- Opener Runs But the Door Doesn’t Move
- Opener Reverses Before Closing: The Photo-Eye Check
- Opener Works Intermittently: Remotes, Batteries, and Interference
- North Las Vegas Heat and the Binding Track Problem
- Travel Limits and Force Settings: The 30% You Never Touch
- When the Symptom Means Stop and Call
Start With the Symptom, Not the Brand
Before you touch anything, note exactly what the opener does. The symptom tells you which of four paths you’re on, and each path has a different fix. This is the single most useful habit you can build as a homeowner. We see the same thing on service calls across North Las Vegas: the person at the door describes one symptom, and then a small clue points the whole job in a different direction in the first thirty seconds.
Here’s the decision tree:
- Opener doesn’t run at all. No motor sound, no light. Go to the wall button check first.
- Opener runs but the door doesn’t move. Motor hums or spins, door stays put. Go to the trolley and manual release path.
- Opener reverses before closing. Door starts down, reverses. Go to the photo-eye check first.
- Opener works intermittently. Works sometimes, not others. Go to the remote and interference path.
Each path below is written to stand alone. Read only the one that matches what you’re seeing, or read all four if the description is fuzzy. The good news is that most of these checks take ten minutes and need no tools beyond a step stool and a screwdriver you probably already own.
One quick baseline: if the door is a heavy wood model, a double-wide, or a LiftMaster installed in a garage without climate control, some of these symptoms will show up more often. That’s normal in North Las Vegas and it doesn’t mean the opener is failing.
Opener Doesn’t Run at All: Check the Wall Button First
If the opener does nothing from the wall button but the remote still opens and closes the door, the problem is almost never the motor. It’s the wall button circuit. A loose wire at the back of the button, a chafed wire run stapled too tight in the wall, or a button that finally wore out after a decade of daily use will kill the wall control while leaving the remote fully functional. The fix is a new button and sometimes a short wire repair, and it’s one of the cheapest jobs on the truck.
Here’s the check:
- Look at the opener head. Is the LED lit? If it’s dead, check the outlet it’s plugged into with a lamp or phone charger. A tripped GFCI in the garage is a common culprit.
- If the outlet is live but the opener is dark, check the circuit breaker for the garage. Mark which breaker trips so you can tell an electrician later if it keeps happening.
- If the opener is powered but the wall button does nothing, unscrew the button from the wall (usually two screws) and look for a loose small-gauge wire at the terminals. Re-seat it and try again.
- Press the wall button and watch the opener head LED. If it blinks or clicks, the board is getting the signal and something else is wrong. If nothing happens at all, the button or wiring is the suspect.
Don’t stand on a plastic stool to reach the opener head. Use a proper step ladder, and if the ceiling is high or the opener is over a parked car, move the car first. Head injuries around garage door openers happen in North Las Vegas more often than people expect, usually from a fall off an improvised stool, not from the opener itself.
If the button is fine and the opener is still dead, the issue is likely the circuit board or transformer inside the opener head. That’s a job for a technician, and it’s a common repair. You can read how we handle that on our Garage Door Opener Repair & Installation in North Las Vegas page.
Opener Runs But the Door Doesn’t Move
Motor runs, door stays put. That combination almost always means the trolley is disconnected from the carriage or the manual release has been pulled and never reset. The motor is fine. It’s trying to do work that isn’t reaching the door.
Check the manual release cord. It’s the rope hanging from the trolley on the rail. If it’s been pulled (usually during a power outage or to free a stuck door), the carriage is disengaged. To reset it, raise the door by hand to about halfway, then pull the release cord toward the motor or push the carriage back into the trolley, depending on the model. You’ll know it clicked when the door starts moving with the opener again.
If the release is engaged and looks fine, look at the trolley. Is it moving along the rail while the door stays still? If yes, the trolley and carriage have separated or a trolley bolt has sheared. On a LiftMaster or a Craftsman, this is a common failure after ten-plus years because the metal fatigues at the bolt. On a Wayne Dalton iDrive or similar models, the trolley design is different and the failure point is the coupling.
A third possibility: the door itself is bound. If you’ve checked the release and the trolley and the door still doesn’t move, stop pulling on things and look at the door by hand. With the carriage released and the door at waist height, the door should lift with steady pressure and stay where you let go. If it’s heavy, won’t stay up, or grinds in the tracks, the opener is trying to move a door that’s fighting back, and forcing it will burn out the motor or snap a spring. That’s the stop-and-call signal.
For the door-side repair side of this, see our Garage Door Repair in North Las Vegas page.
Opener Reverses Before Closing: The Photo-Eye Check
The photo-eye check is the single most common fix we make on a “broken opener” call, and it’s the easiest one to handle yourself. Two small sensors sit at the bottom of the door tracks, one on each side, about six inches off the floor. One sends an infrared beam, the other receives it. If the beam is interrupted, the opener assumes something is in the way and reverses. What most homeowners don’t know is that each sensor has an LED that tells you exactly what’s wrong.
Here’s how to read the lights on the most common brands (LiftMaster and Chamberlain share the same design):
- Both LEDs solid: Sensors are aligned and happy. If the door still reverses, the problem is elsewhere.
- One LED solid, one off: The sensor with the LED off isn’t getting power or the receiver isn’t seeing the beam. Check the wires and alignment.
- Both LEDs blinking: The beam is misaligned, blocked, or the two sensors are pointed the wrong way. This is the classic scenario.
- One LED blinking, one solid: On a Genie, this usually means misalignment. On a LiftMaster, a blinking sensor with a solid partner often means a dirty lens or a wire fault.
To fix a misalignment, loosen the wing nut on the sensor bracket and gently aim the sensor toward its partner until the LED goes solid, then tighten. Wipe the lens with a dry cloth. Remove anything hanging in the beam path: a shovel handle, a recycling bin, a bicycle tire, a hanging broom, even a piece of cardboard. In our experience, a taller vehicle parked too close to the door on a North Las Vegas driveway can put the beam directly through a trailer hitch or a bumper and cause a reverse every time.
If you’ve realigned, cleaned, and cleared the beam and the door still reverses, the limit or force setting may be at fault. Skip to that section.
Opener Works Intermittently: Remotes, Batteries, and Interference
If the opener works from the wall button but the remote is unreliable, don’t buy a new opener. Buy a battery. A remote that works from twenty feet but not forty, or works most days but not all, is usually a battery at the end of its life. A fresh CR2032 fixes nine out of ten of these.
If a new battery doesn’t solve it, check these in order:
- Re-pair the remote. On a LiftMaster or Chamberlain, hold the learn button on the opener head until the LED lights, then press the remote button twice. On a Genie, follow the brand’s pairing sequence. Remotes sometimes fall out of memory after a power surge.
- Test another remote on the same opener. If the second remote works, the first is failing. If neither works, the problem is at the opener.
- Check for interference. LED shop lights, wireless doorbell cameras, some garage refrigerators, and certain smart-home hubs can broadcast on the same 315 or 390 MHz band. Turn off a new LED light in the garage and see if the remote improves.
- Look at the antenna. The opener’s antenna is a short wire hanging from the head. If it’s been pushed up against metal shelving or coiled against a duct, reception drops. Straighten it and point it toward the driveway.
Intermittent garage door opener problems in North Las Vegas also show up after a big temperature swing. A door that works fine in the morning can stick at 3 p.m. when the metal tracks expand in 110-degree heat. That’s a door problem, not an opener problem, and it’s covered in the next section.
North Las Vegas Heat and the Binding Track Problem
Here’s a problem that doesn’t show up in most troubleshooting guides because most guides are written somewhere with seasons. In North Las Vegas, metal garage door tracks expand with heat. On a 112-degree afternoon in July, a track that fit perfectly in February grows just enough to pinch the door, and the opener reads the extra resistance as an obstruction. It reverses. Or it grinds and stops halfway. The homeowner assumes the opener is dying. It isn’t. The door is binding in the tracks.
You can spot this pattern by timing. If the door works fine at 7 a.m. and fails at 2 p.m., heat is the culprit. If it fails only when the sun is on one side of the garage, that side’s track is the suspect. If it works fine on cloudy days and sticks on bright ones, same conclusion.
What to check:
- With the door released, run it up and down by hand and listen at each track. A scraping sound at one point means the door is rubbing.
- Look at the hinge side of each track. The gap between the rollers and the track channel should be even the whole way up. A pinch point narrows visibly.
- Wipe each track with a rag. Grit and desert dust build up in the channel and increase drag, especially at the bottom third where wind-blown dirt collects.
Don’t try to widen a track with a hammer or a pry bar. A bent track is the fastest way to make a small alignment issue into a full door replacement, and a sprung roller under a heavy door can take a finger. If the track is pinched, a technician can realign it in a single visit, and it’s a genuine fix rather than a patch.
For the full array of door-side repairs and adjustments, see our North Las Vegas garage door repair service.
Travel Limits and Force Settings: The 30% You Never Touch
Two settings inside every opener cause a third of the “broken opener” calls we run. Almost nobody knows they exist until something goes wrong. The travel limits tell the opener where the door should stop at the top and bottom. The force setting tells it how much resistance to push through before assuming something is stuck.
When the limits drift, the door stops six inches short of the floor or bangs into the header. When the force setting is too low, the door reverses on a cold morning for no visible reason. When the force setting is too high, the opener keeps pushing through actual obstructions, which is dangerous and can break the door. Neither setting should be changed casually, and both are inside the opener head near the motor.
Before you touch either setting, understand the risk. An opener with the force setting too high will drive a door onto a child, a pet, or a car hood without stopping. Follow the manufacturer’s manual exactly for your model, and if the manual isn’t where it should be, look up the model number on the brand’s website. If you can’t find it or you’re not sure, stop and call.
The general order of operations for resetting:
- Reset the up limit first. Run the door to the fully open position, adjust the up limit screw or control until the door stops at the correct point without hitting anything.
- Set the down limit. Close the door, adjust until it meets the floor with the rubber seal compressed about half its thickness and no gap.
- Test the reverse. Place a 2×4 flat on the floor under the door and run it down. The door must reverse on contact. If it doesn’t, the force is too high or the reverse system is faulty.
- Test the photo eyes. Wave your leg through the beam during a close. The door must reverse. If it doesn’t, the photo eyes are not protecting anyone and the opener needs service.
Force settings on older Craftsman and Raynor openers are adjusted by turning a screw on the back panel. On newer LiftMaster and Chamberlain models with MyQ, some of the limit travel is adjusted through the control panel rather than by screw. If you’re not sure which you have, we can walk you through identifying it over the phone.
When the Symptom Means Stop and Call
Some problems are not homeowner fixes. Two specific symptoms should stop every DIY attempt immediately.
A broken torsion spring. You’ll know it because there’s a loud bang from the garage, the door won’t lift, and there’s a visible gap in the spring above the door. A torsion spring stores enough energy to move a 200-pound door and enough to break a wrist. Do not try to lift the door by hand under a broken spring, and never try to adjust or replace a torsion spring yourself. This is a trained-professional job, every time, no exceptions.
A burning smell from the motor. If the opener head smells like hot wiring or scorched plastic, unplug it and leave it unplugged. A motor that’s been run under a stalled load, or a failing capacitor inside the head, can overheat enough to start a fire. You’re not saving money by running it once more to make sure. Call.
Two more situations call for a technician even though they sound milder: a door that won’t stay up when you lift it halfway by hand, and a door that comes off one track. Both mean the door is being held by less than it should be. If you’re not sure which symptom you have, call (866) 347-9495 and describe it. We answer around the clock, and we’ll tell you honestly whether it’s a callout or something you can handle.
For new door and opener installs (a different process from repair), see our Garage Door Installation in North Las Vegas page.
Common Mistakes to Avoid
- Buying a new opener before checking the photo eyes. A reversing door is a sensor problem more times than a motor problem. Buying an opener is a several-hundred-dollar fix for what may be a $4 realignment.
- Turning up the force setting to fix a binding door. When a door binds in the heat-expanded tracks of a North Las Vegas summer, the right fix is to realign the tracks, not to make the opener push harder through the obstruction. Push hard enough and it cracks the door panel or warps the rail.
- Replacing a remote before the battery. Nine out of ten intermittent remote problems are batteries. Try the battery before the remote.
- Standing on a chair. Every year, homeowners in this county fall off improvised steps while checking a wall button or the opener head. Use a real ladder, and move the car out from underneath first.
- Pulling the manual release with the door up. If the carriage is engaged and the door is open, pulling the release drops the door under its own weight. Release only when the door is down and the opener is off.
- Ignoring a buzzing or humming opener. A humming motor that won’t turn is a stalled start. Every second it runs and doesn’t move is burning the motor winding. Unplug it and call.
- Assuming “it’s an old opener, time to replace.” Openers can last twenty years or more if the door is balanced and the tracks are clean. Age alone is never the reason to replace one.
See the difference
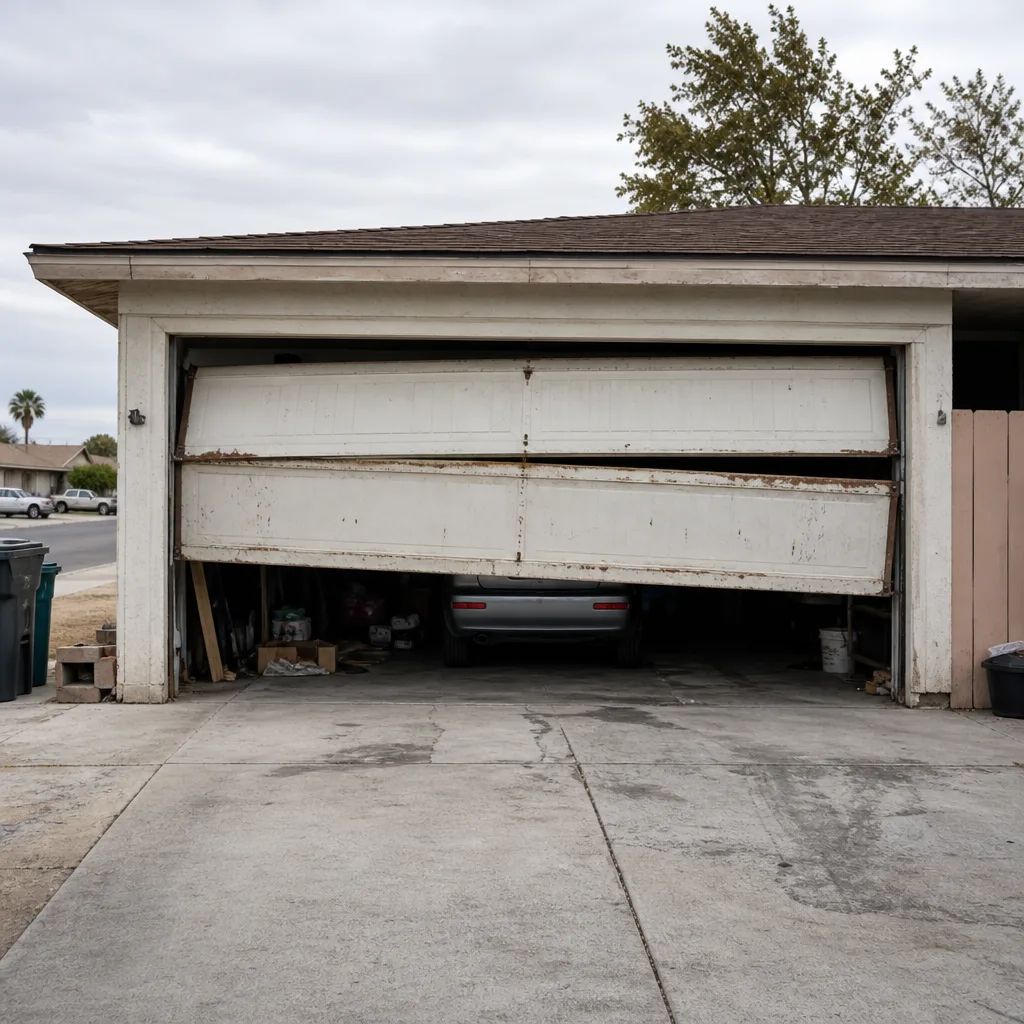 Before
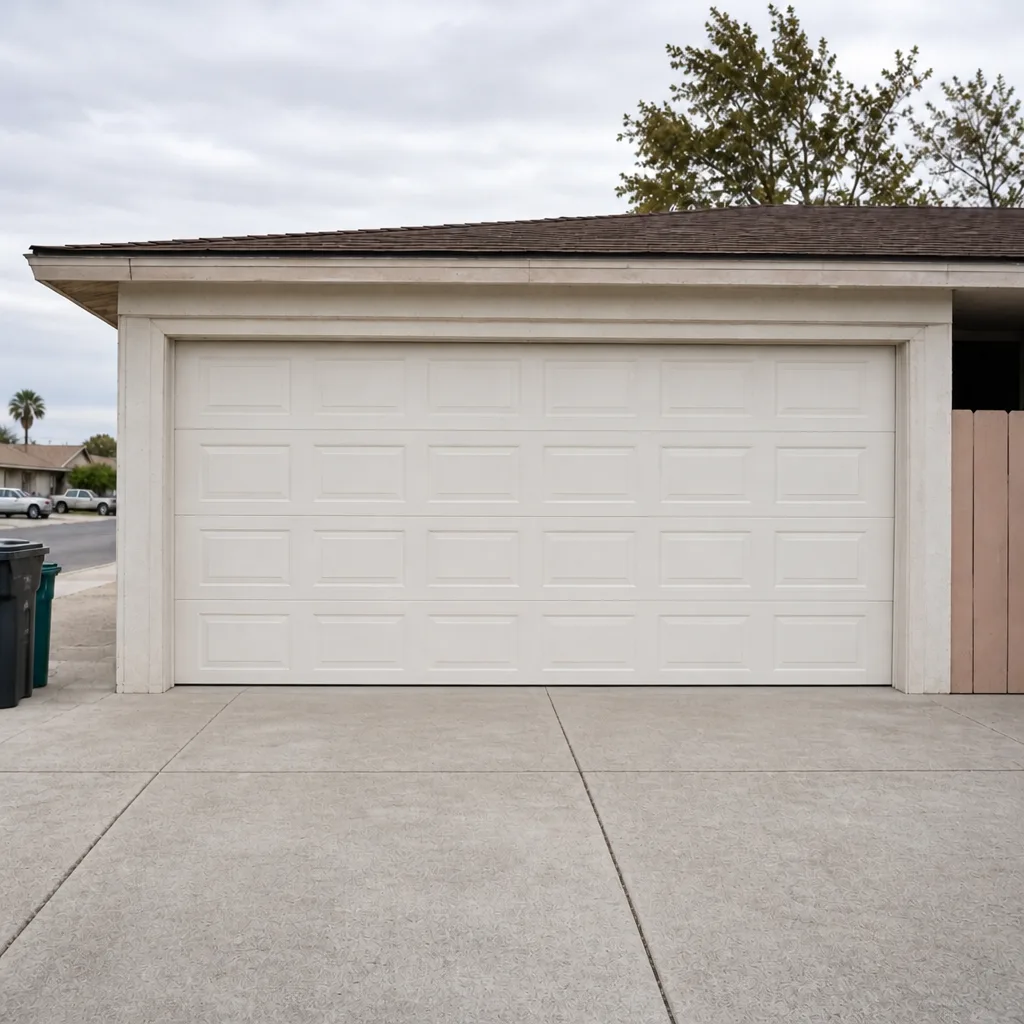 After
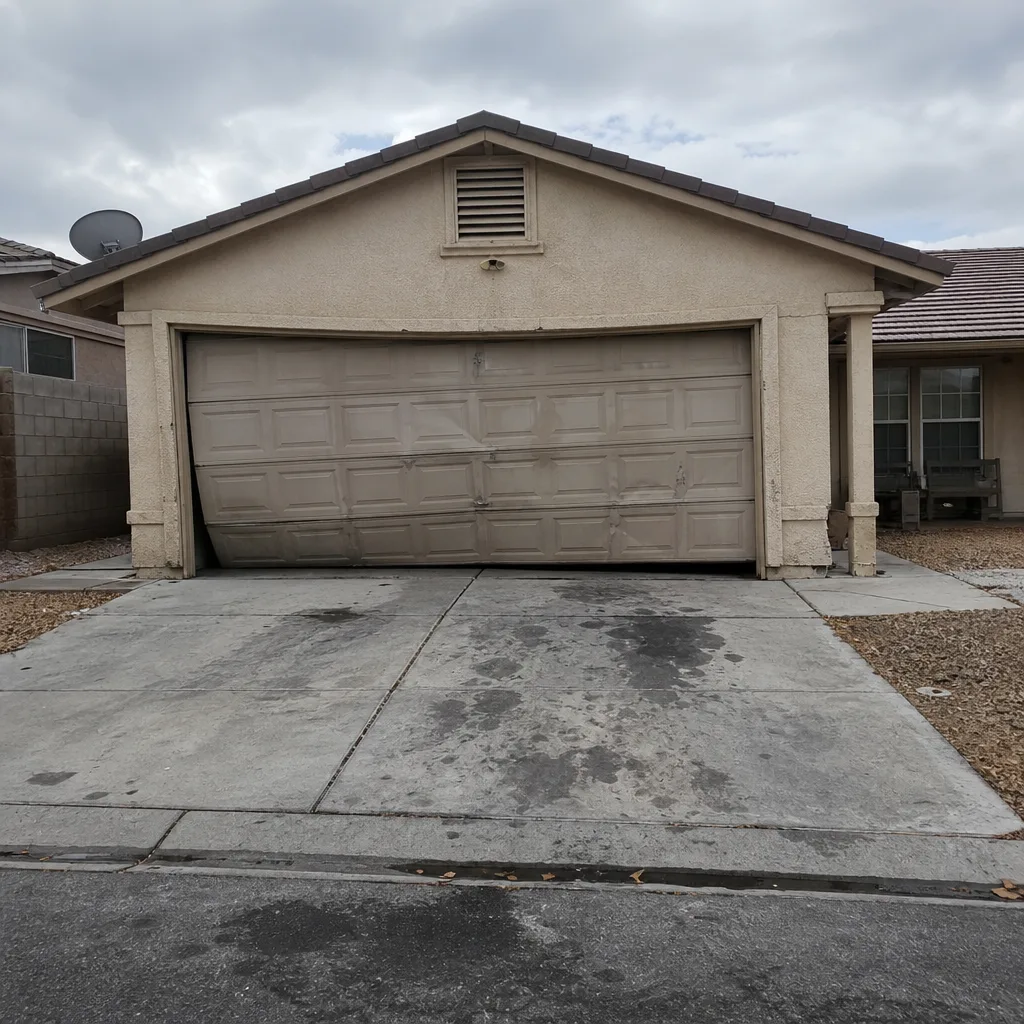 Before
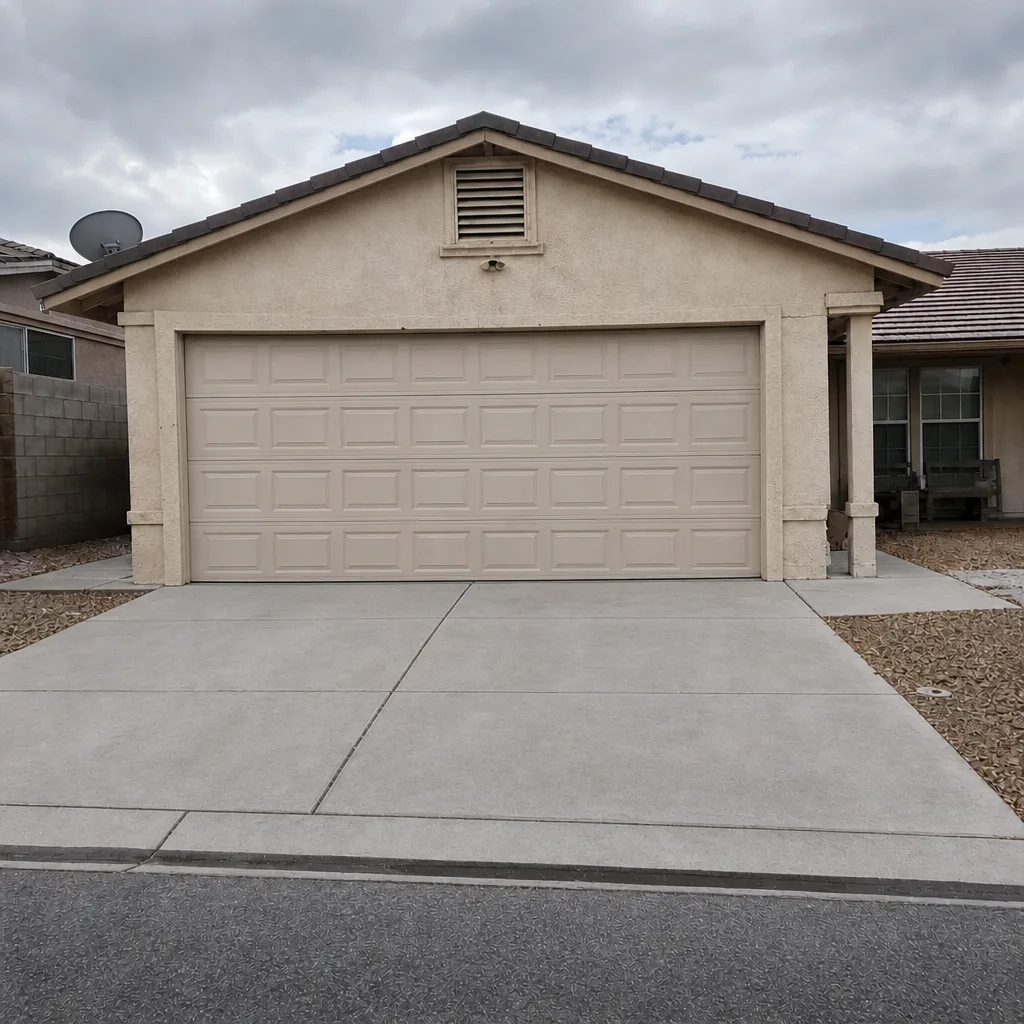 After
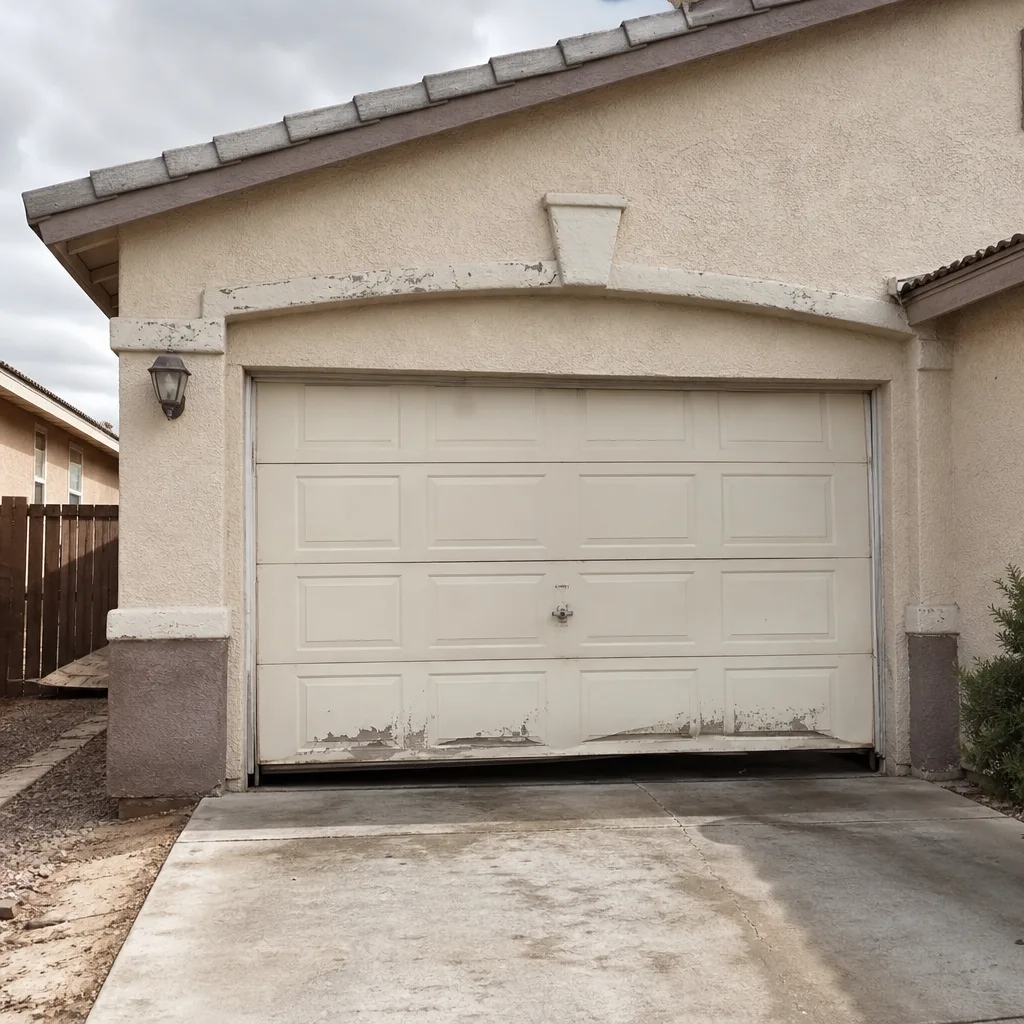 Before
 After
When to Call a Professional
Call a technician for anything involving the torsion spring, cable, drum, or hinge plates. Call for a burning smell, a motor that hums without turning, or a door that won’t stay up. Call when you’ve done the photo-eye check and the wall button check and the door still misbehaves. And call if the door has come off one track or is binding in a way you haven’t been able to trace. These are the calls we run daily across North Las Vegas, and they’re quick to diagnose in person. Otto’s Garage Door North Las Vegas offers free estimates in North Las Vegas. Call (866) 347-9495 and describe the symptom. We’ll tell you whether the fix is a screwdriver, a technician, or a new opener, and we quote the price before the visit and hold it when we arrive. That’s the whole deal.
Frequently Asked Questions
The wall button circuit is broken, not the opener. A loose wire at the back of the button is the most common cause, followed by a worn-out button or a chafed wire run inside the wall. Re-seating the wire usually brings the wall control back, and if it doesn’t, a new button is an inexpensive fix.
Both sensors blinking together means the beam is misaligned, blocked, or the sensors are pointed at each other incorrectly. One blinking and one solid usually means the beam is being seen by only one sensor, which points to alignment, a dirty lens, or a wire fault. Wipe the lenses first, then realign.
You can, but only if you follow the manufacturer’s manual for your exact model and test the safety reverse when you’re done. An opener with the force setting too high will not reverse on an obstruction, which is dangerous for kids and pets. If you’re not sure which setting you’re adjusting, call (866) 347-9495 and we’ll talk you through it.
In North Las Vegas, the metal tracks expand in the afternoon heat and pinch the door, which triggers the opener’s auto-reverse as a false safety stop. If the door works at 7 a.m. and fails at 2 p.m. on hot days, the tracks need realignment, not a new opener.
Most homeowner-fixable problems (batteries, realignment, wall button) cost nothing or under $20. A technician visit for a photo-eye realignment, wall button replacement, or track adjustment is usually a modest service charge. A circuit board or motor replacement costs more, and a full opener replacement runs higher still. Otto’s quotes the price before the visit and holds it at the door. Call (866) 347-9495 for a free estimate.
No. The number we quote on the phone is the number on the invoice. If we find something different from what you described, we’ll tell you before we do any additional work and you get to say yes or no. Nothing starts before you agree to the price, and the 90-Day Done Right Promise is written on every invoice.
The Bottom Line
Nine out of ten “broken opener” calls come down to a dead battery, a wall button with a loose wire, misaligned photo eyes, or a door binding in heat-expanded tracks. Run the symptom-first decision tree and you’ll know within ten minutes whether the fix is cheap and yours or a technician’s job. Anything involving a torsion spring, a burning smell, or a door that won’t stay up is a stop-and-call. For everything else, we’re a phone call away, and the estimate is free.
For a broader look at how we handle the full range of residential garage work, start at Otto’s Garage Door North Las Vegas home. For new installs and opener replacements, our Garage Door Installation in North Las Vegas page spells out what’s measured, what’s ordered, and what the written price covers before any work begins.
Call (866) 347-9495 for a free estimate. A live person answers around the clock, often the owner himself, and if you’re in North Las Vegas and it’s already after dark with the car trapped inside, we’ll tell you exactly what to do while you wait.
Written by the team at Otto’s Garage Door North Las Vegas.