
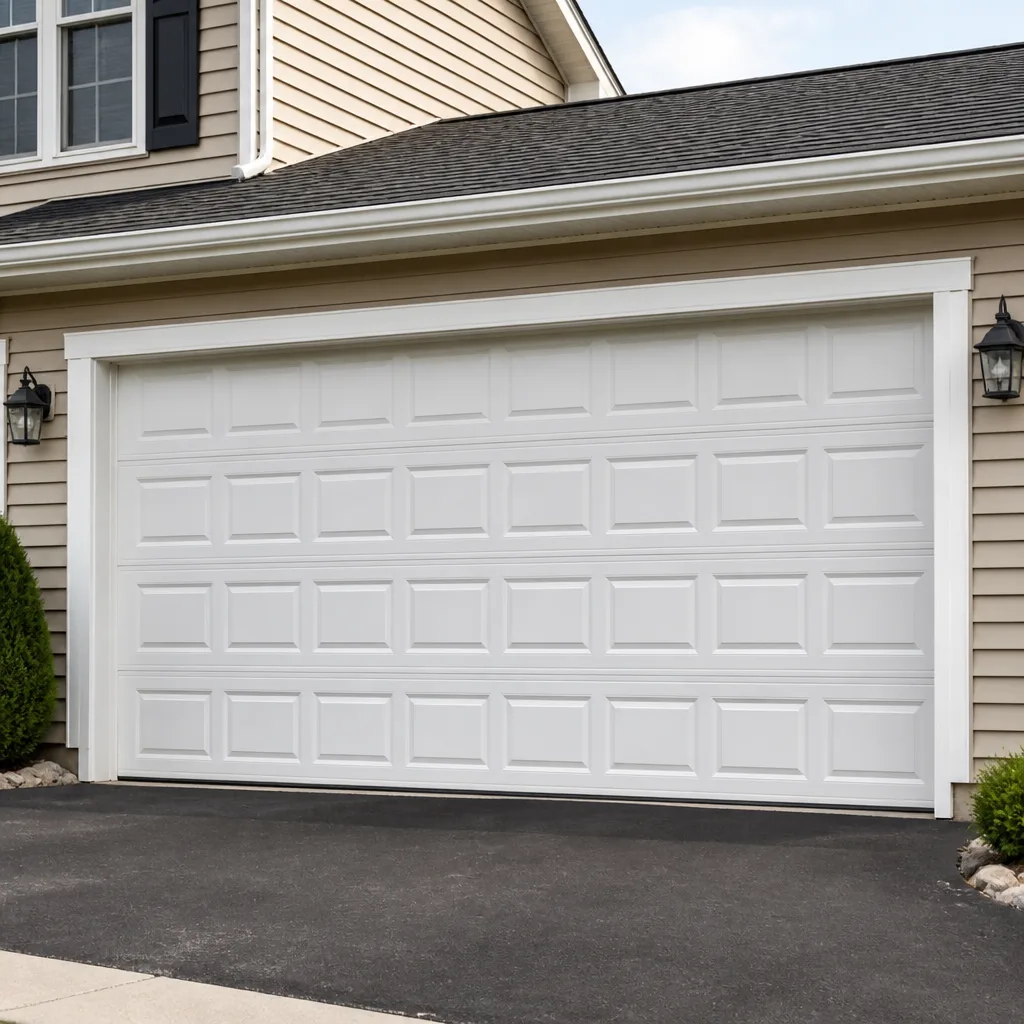
 Raised-panel steel
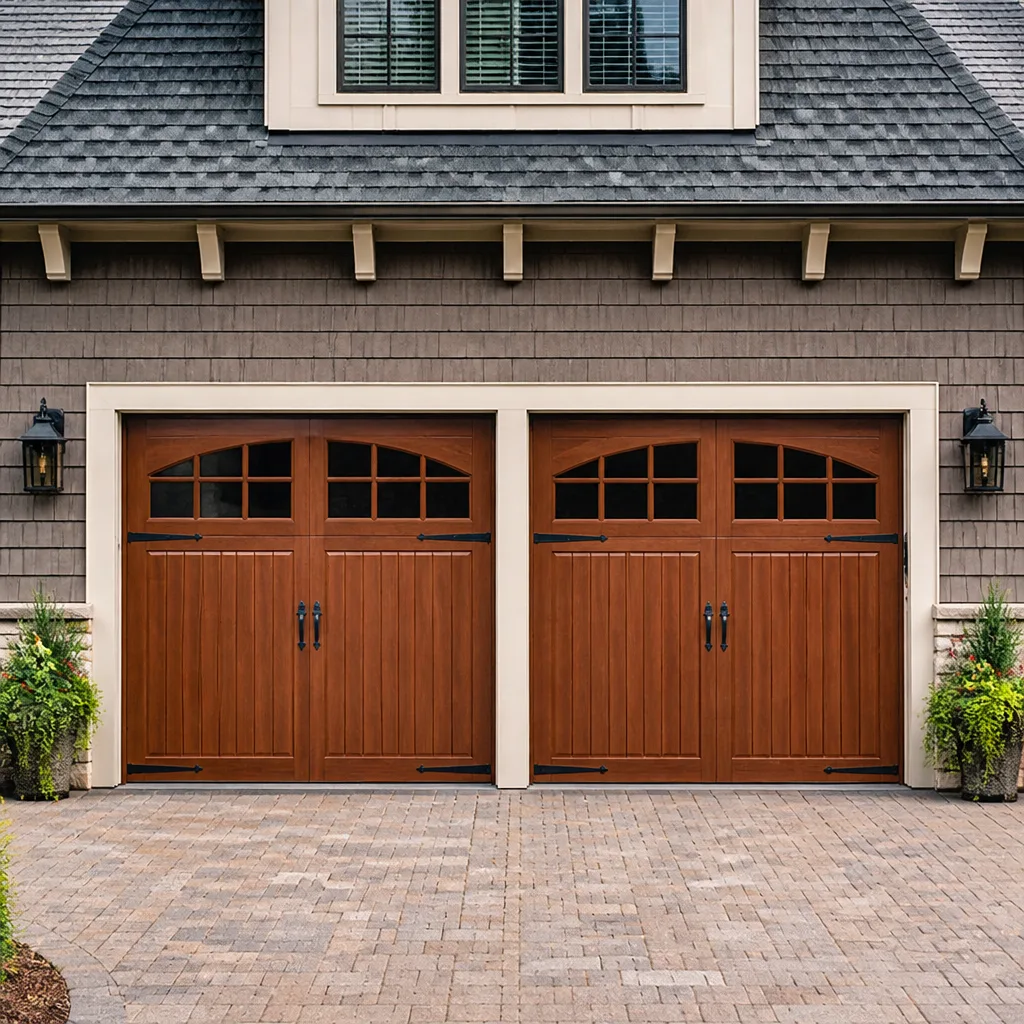 Carriage house
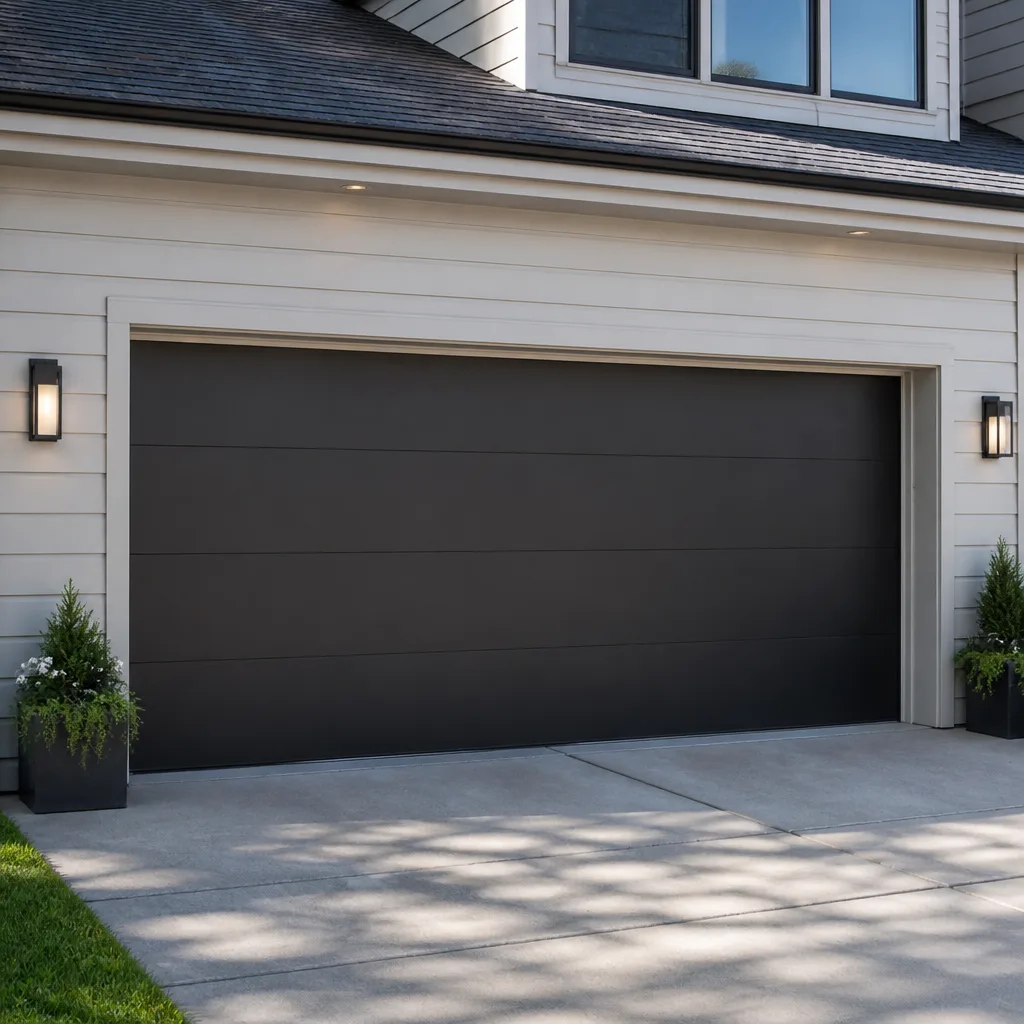 Modern flush
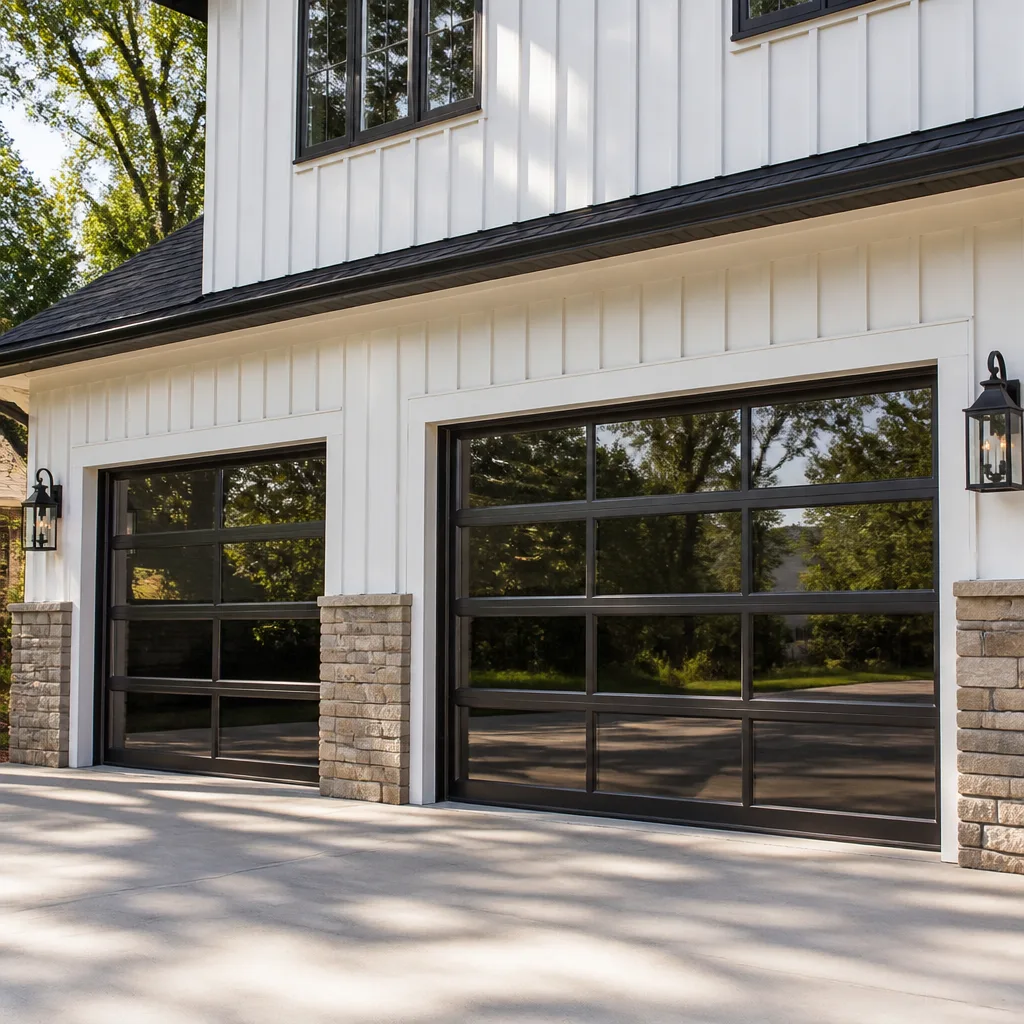 Full-view glass
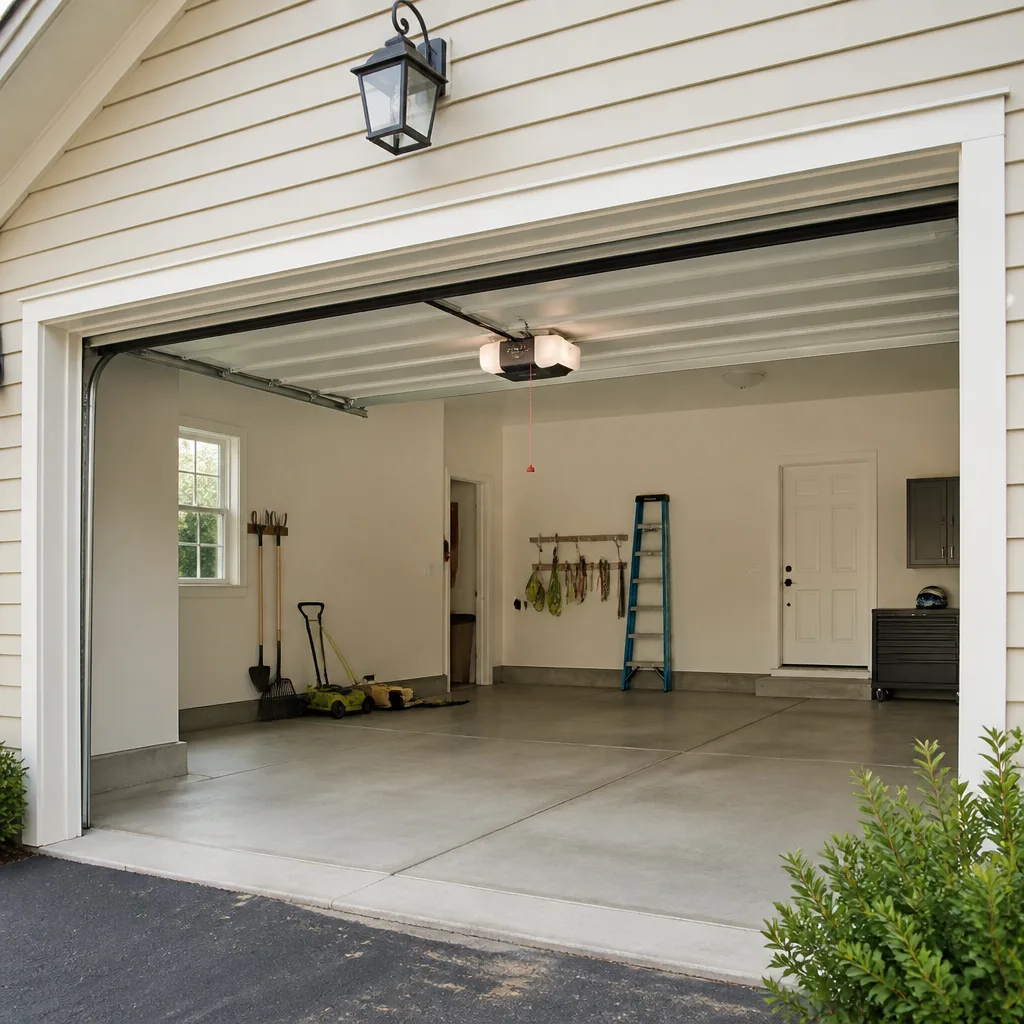 LiftMaster openers
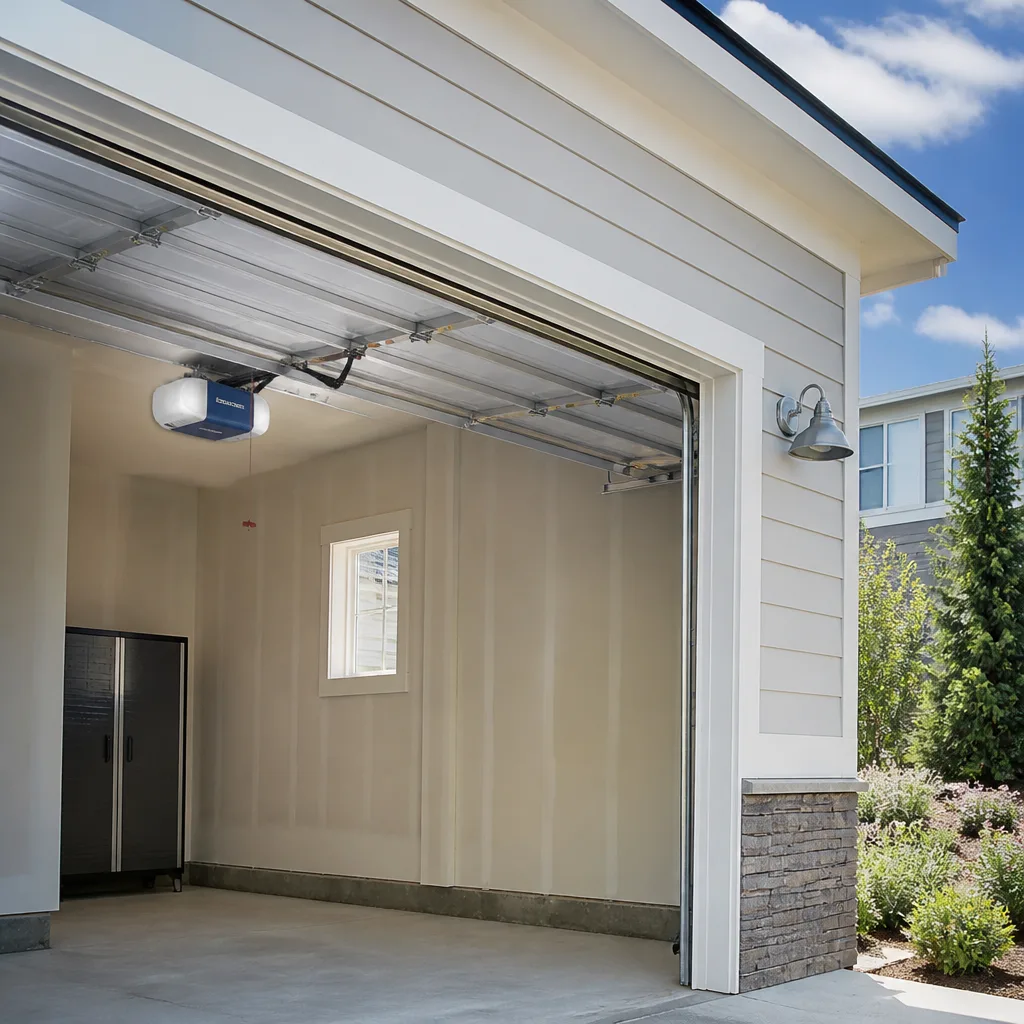 Chamberlain openers
Full 25-point door and opener safety check with every visit - springs, cables, rollers, tracks, and your LiftMaster or Chamberlain opener included
You get a price before we start. It does not change when the pro arrives.
Get your free estimateStyles & brands we work with
- Raised-panel steel
- Carriage house
- Modern flush
- Full-view glass
- LiftMaster openers
- Chamberlain openers
See the difference
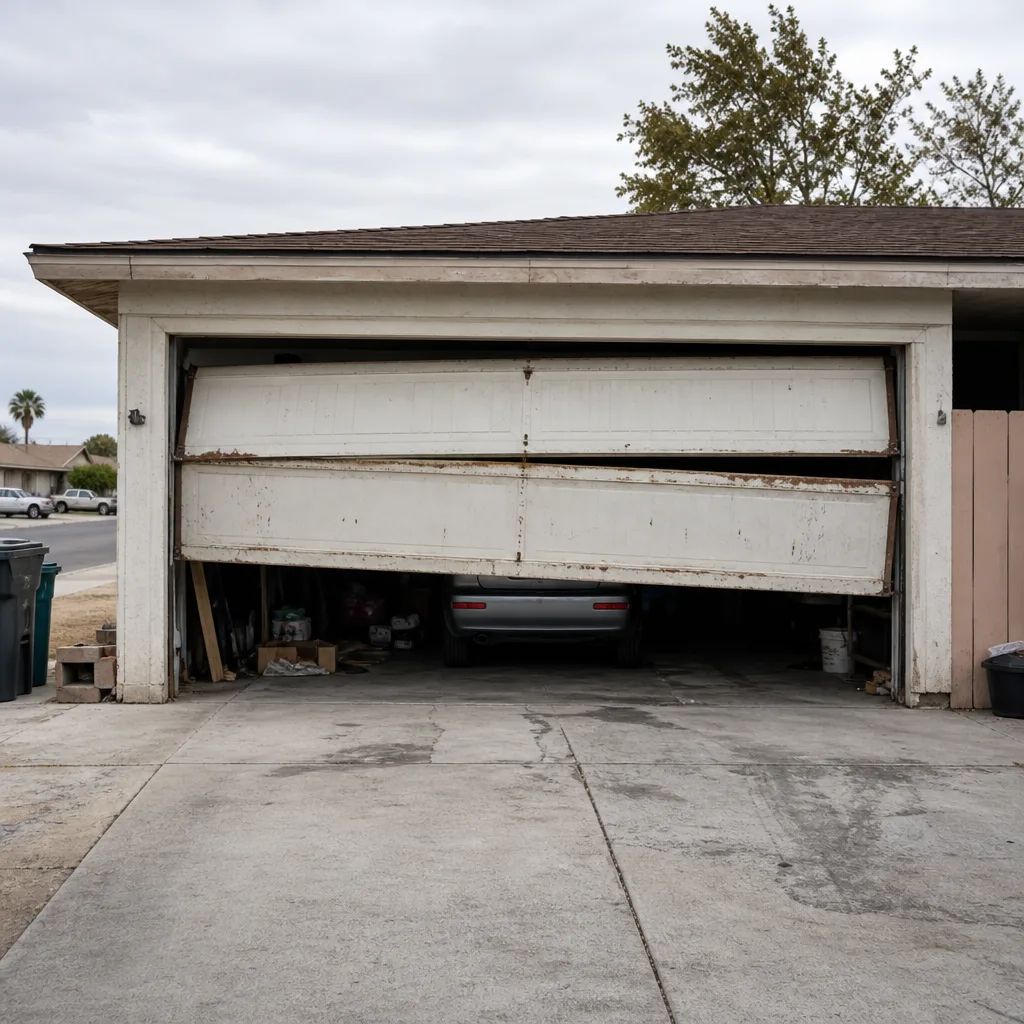 Before
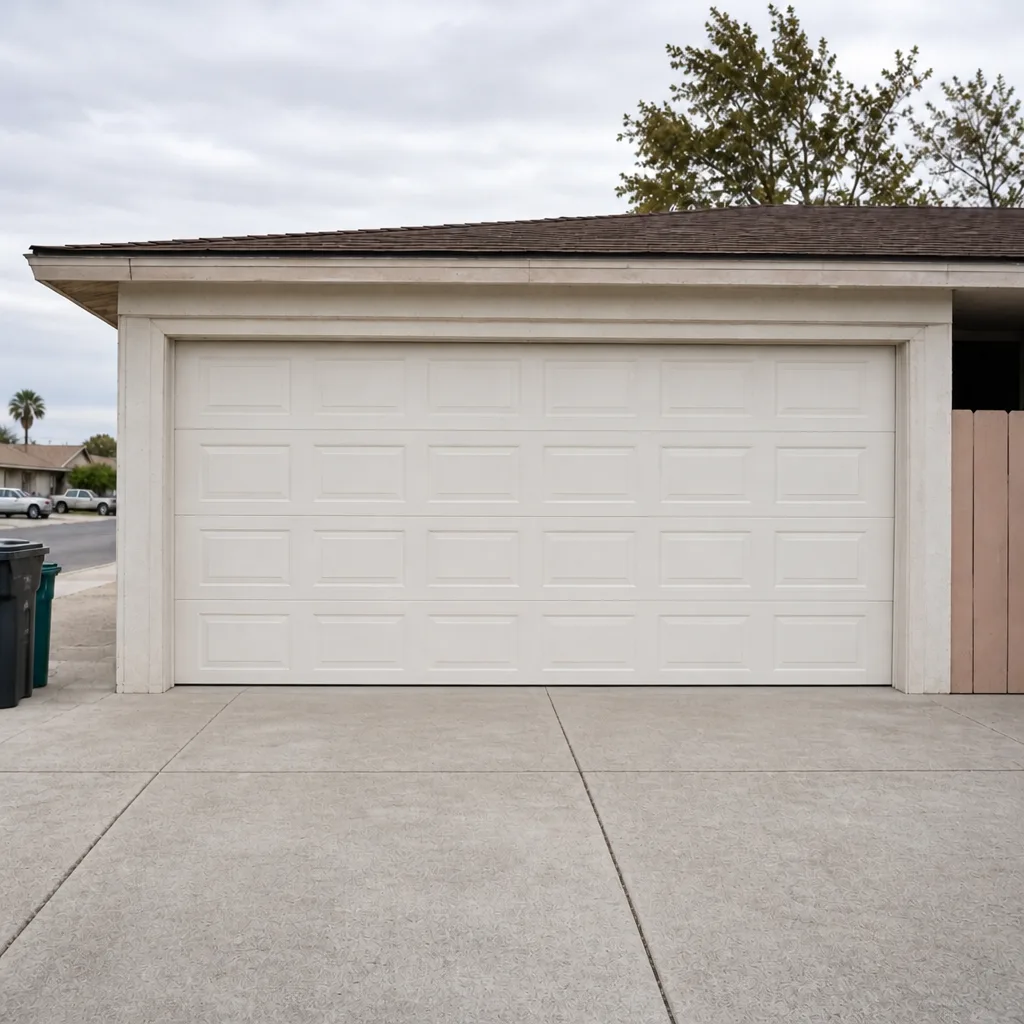 After
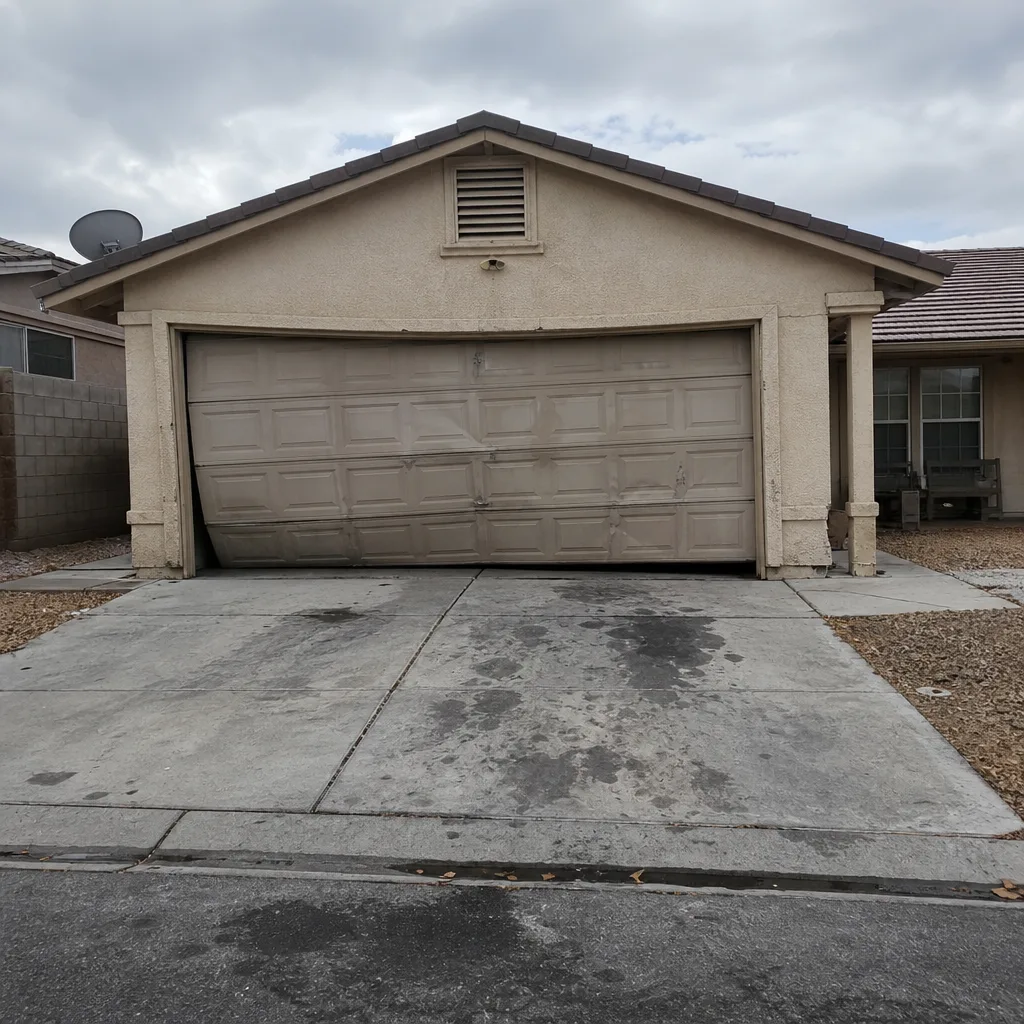 Before
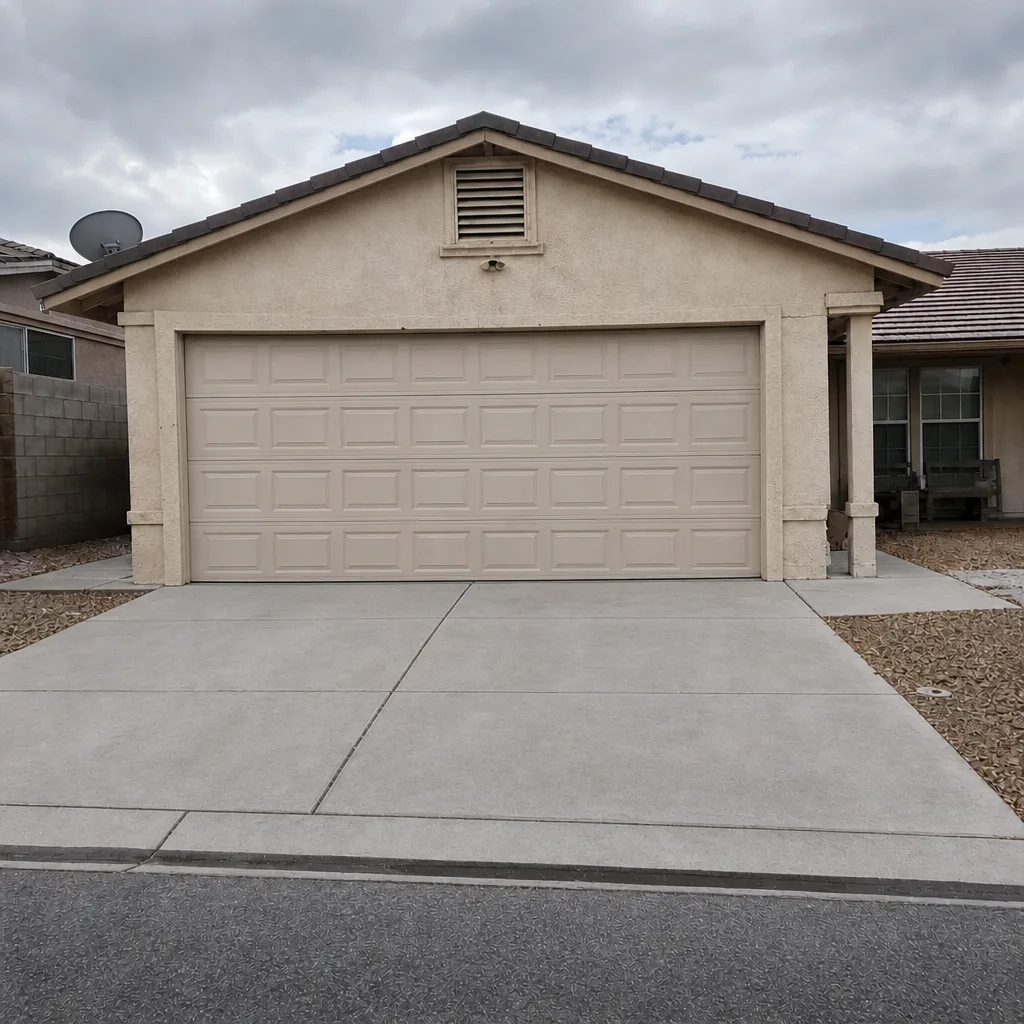 After
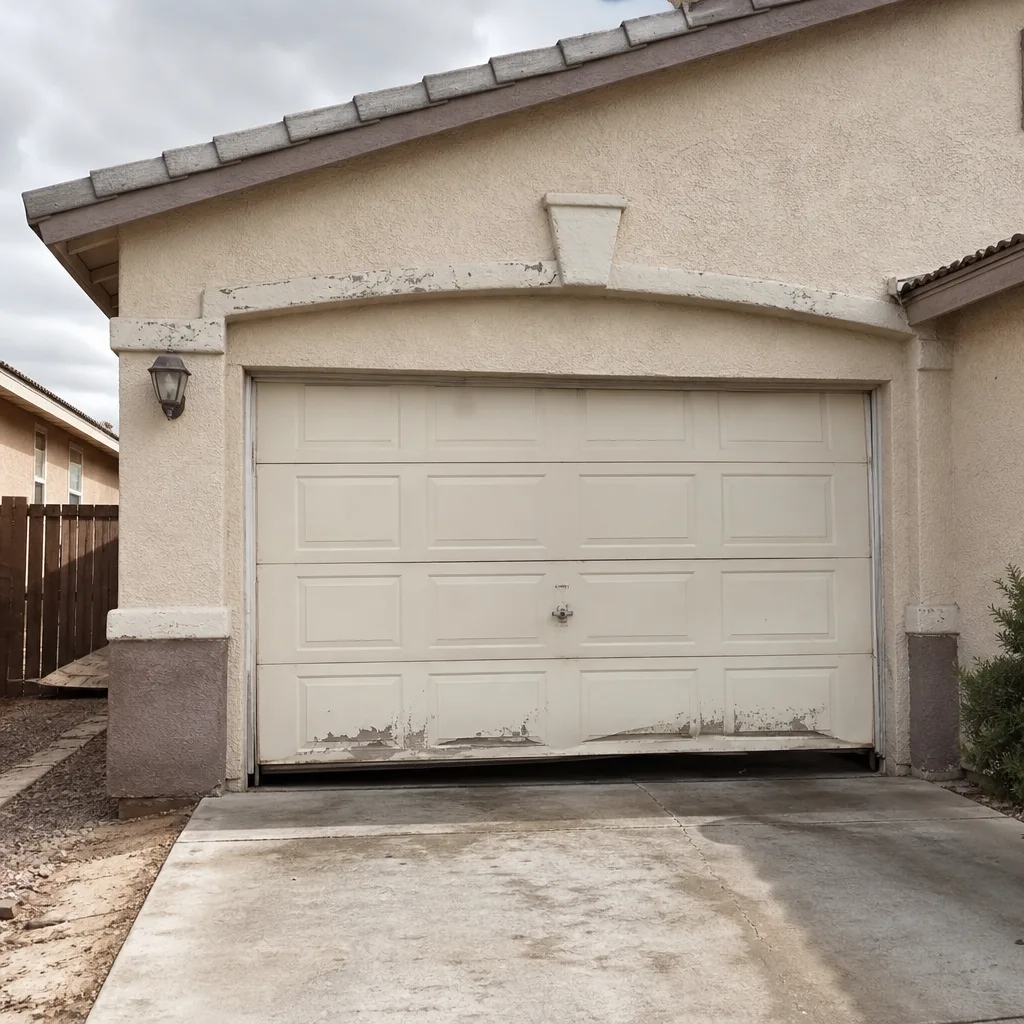 Before
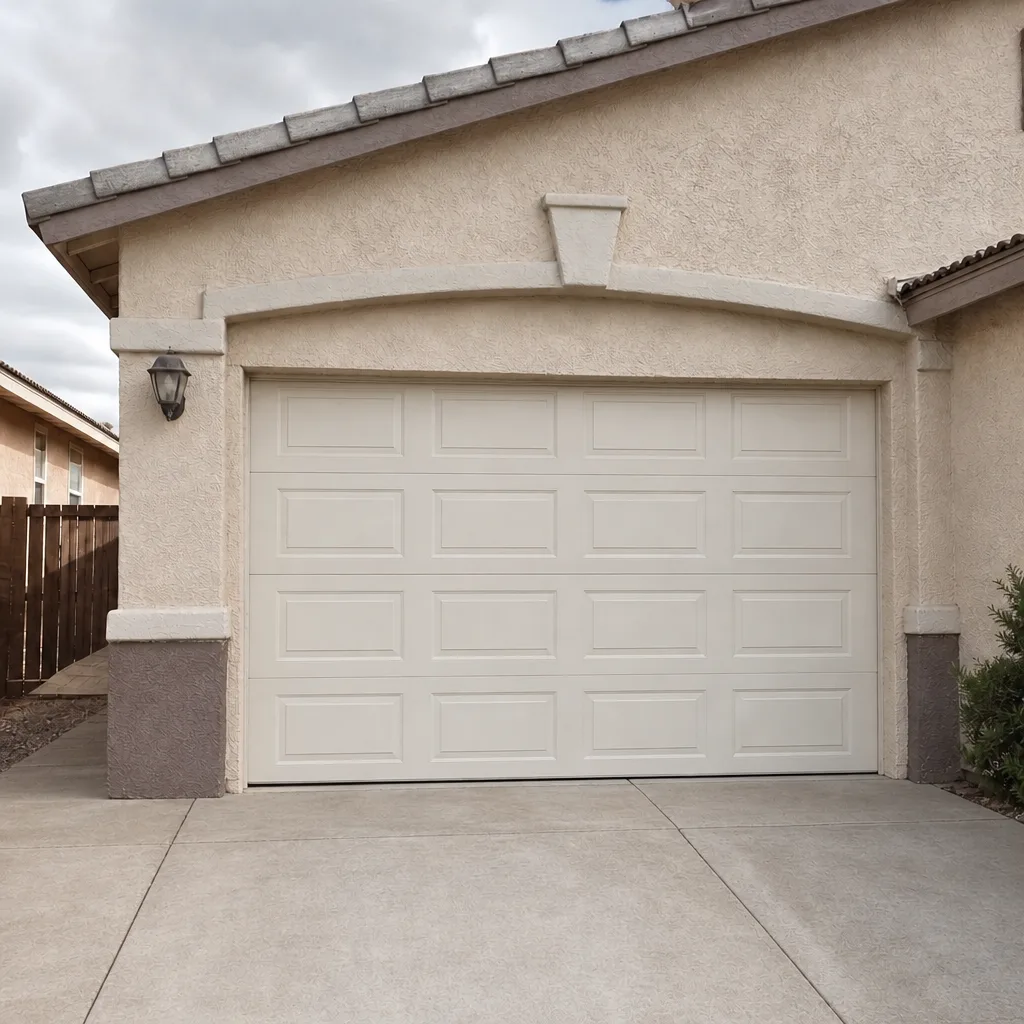 After
How to Program a Garage Door Opener in North Las Vegas (Without Fighting the Heat)
Press the learn button on the opener, then within 30 seconds press and hold the remote button you want to pair until the opener’s light blinks. That’s the whole method for a LiftMaster or Chamberlain unit. But in North Las Vegas, the step that trips people up isn’t the button sequence at all - it’s the temperature. If your garage is sitting at 130°F on an August afternoon, the logic board is running hot enough that some units won’t hold the pairing, and you’ll spend an hour convinced your remote is dead when the board is just cooking. Call (866) 347-9495 if two cool-morning attempts still won’t take.
Why the Heat Changes the Job in North Las Vegas
Most manufacturer guides are written for a climate that doesn’t exist here. They assume your attached garage stays somewhere reasonable. In North Las Vegas it doesn’t. Between late May and September, an attached garage facing west routinely climbs past 110°F, and the opener’s logic board sits inside its own little oven mounted to the ceiling. Manufacturer-rated operating temperatures top out well below what the inside of a closed garage reaches on a July afternoon.
What that means in practice: the learn button’s pairing window gets shorter, the receiver may drop the signal mid-handshake, and an opener older than about five years - already running warm from age - can fail to accept a new remote entirely in the heat. Programming in the early morning, before the garage has had a chance to bake, is a real fix for a failure mode no manufacturer FAQ lists. It costs nothing and it solves more “dead remote” calls than any other single tip.
We count spring cycles the way you count tire miles, and heat is the reason those cycles pile up fast here. After a 115°F stretch, we see a wave of snapped torsion springs hit subdivisions like Aliante and Eldorado on the same day, because the doors were all installed around the same time and all hit the wall together. Pairing trouble and spring fatigue are cousins - both are heat doing its slow work.
Step-by-Step: Programming the Three Most Common Brands in North Las Vegas
North Las Vegas is tract-home country - 1990s through 2010s builds, standard 16×7 or 8×7 steel roll-up doors, builder-grade hardware. That means you’re almost certainly running a LiftMaster, Chamberlain, Genie, or a Craftsman from the Sears era. Here’s the plain sequence for each.
LiftMaster and Chamberlain (learn button)
- Find the learn button on the back or side of the opener motor head. On most units it’s a colored square (purple, yellow, red, or orange).
- Press and release it once. The opener’s LED light comes on and starts a roughly 30-second pairing window.
- Within that window, press and hold the remote button you want to use until the opener’s light flashes or clicks. Release. Test the door.
Genie (learn button)
- Press the learn button on the powerhead and watch for the indicator light.
- Press the remote button twice in quick succession within the window.
- Test. If it doesn’t take, the board is likely heat-stressed - try again at 7 a.m. before the garage warms.
Craftsman (learn button on older models, DIP switches on the oldest)
- Newer Craftsman units with a learn button follow the same press-press-hold sequence as LiftMaster.
- Pre-1993 and many early-2000s units in the older ranch pockets near downtown use DIP switches, not a learn button - see the next section, because the method is entirely different.
Rolling Code vs. Fixed Code: The 1990s Divide
If you’re in one of the 1960s-70s ranch homes near downtown North Las Vegas - the ones with original wooden doors and extension springs - your opener may not have a learn button at all. Early-1990s and older units use fixed-code DIP switches: a little bank of tiny on/off toggles inside the remote and a matching bank inside the opener. You match the pattern in the remote to the pattern in the unit, switch for switch, and that’s the pairing. There’s no button to press and no rolling code, which also means anyone with an old compatible remote can open your door. Rolling code came along mid-1990s and changes the signal with every press; that’s why the modern learn-button method exists.
Every unit built after roughly 1996 uses rolling code. If your opener is a Wayne Dalton or a Raynor from the tract boom, it’s rolling code and the learn button is your path. The fix for a stubborn one is almost never the remote - if the opener is straining, the problem is almost never the opener, and the same logic applies here: the failure is usually at the receiver.
MyQ and Smart-Home Pairing: Do It in the Right Order
Newer LiftMaster and Chamberlain openers with MyQ built in let you control the door from your phone, but the app pairing is a separate sequence from the remote pairing, and people almost always do them in the wrong order. The remote first, then the app, every time. Reverse it and the app will refuse to see the opener while your remote still works fine - which is exactly the symptom that sends folks down a rabbit hole. Your Wi-Fi network also has to be on 2.4 GHz; MyQ won’t talk to a 5 GHz-only band. Get the remote paired, confirm the door cycles, then open the MyQ app, add the device, and let it walk you through the hub step.
When Programming Fails: The $25-$50 Part Worth Knowing
If you’ve tried two clean programming attempts in cool morning conditions and the opener still won’t accept a remote, the learn button’s receiver itself may be failing. That’s a $25-$50 part, and it’s a common one on openers past the 10-15 year mark. The rest of the board can be fine - a door that opens and closes on the wall button but won’t learn a remote points straight at the receiver. It’s not a mystery, and it isn’t always a new opener. A live consult on the phone usually confirms it before anyone needs to drive out. If your opener does need repair or replacement, the general Garage Door Opener Repair & Installation in North Las Vegas page lays out the full scope, and our home page has the overview.
No hassle, upfront pricing on that kind of job runs $120-$320 to repair the opener and $250-$550 to install a new one, and the number Otto quotes on the call is the number that holds at the door. Repairs over $200 currently have $40 off, and there’s no trip charge inside the home county.
| Service | Typical North Las Vegas Range |
|---|---|
| Opener Repair | $120-$320 |
| Opener Installation | $250-$550 |
| Spring Repair | $180-$340 |
| Cable Repair | $130-$250 |
| Track Realignment | $120-$240 |
Common Local Scenarios
- Remote died after a July heat wave. Opener worked fine in June, remote stopped in August. Almost always heat-stressed pairing - try a cool-morning reprogram before buying a new remote.
- Entire subdivision acting up at once. In the 2000s-2010s tract boom, every door on the street went in the same year. When they reach the 10-15 year mark, failures cluster. Your neighbor’s opener and yours are aging on the same clock.
- Wooden ranch door near downtown won’t take a new remote. Fixed-code DIP switch system. Match the toggles, don’t look for a button that isn’t there.
- App works, remote doesn’t. Pairing done out of order. Remote first, then MyQ.
- Wall button works, nothing else does. The receiver on the board. A $25-$50 part, commonly the real culprit on older units.
One safety note worth taking seriously: a door is 200 pounds riding on two springs. Respect it. Programming is safe to do yourself. Chasing a jammed track, a snapped torsion spring, or a frayed cable is not - those carry real injury risk, and they need a trained pro. If the door is binding or the spring has let go, stop and call. Our technicians have up to 22 years of experience across LiftMaster, Chamberlain, Genie, Clopay, Amarr, and Wayne Dalton openers and doors.
FAQs
Usually not reliably, and the trick is timing. In an attached garage that hits 130°F in July, the logic board can be at or above its rated temperature, so the pairing window may time out or drop the signal. Program in the early morning or after the sun’s off the garage. If your opener is older than five years, use the morning window first before assuming the remote is bad.
Because the pairing got done in the wrong order. Do the remote first, then the app - reversing it leaves the app unable to see the opener even though the remote works fine. Also confirm your Wi-Fi is broadcasting 2.4 GHz, since MyQ won’t pair on a 5 GHz-only band.
Opener repair runs $120-$320, and a failing receiver part is typically $25-$50. If two clean attempts in cool conditions fail, that’s the likely culprit. Call (866) 347-9495 for an exact quote - the estimate is free, and the phone price holds at the door.
Rarely. A door that still opens from the wall button points at the receiver, not the whole unit, and that’s a cheap part fix. Replace only when the board is genuinely gone - usually on openers well past the 10-15 year mark.
If you’d rather have it looked at, Otto’s Garage Door North Las Vegas offers a no-pressure assessment in North Las Vegas - call (866) 347-9495. That’s a free estimate, no trip charge inside the county, and a live person answers around the clock. Seniors and veterans always get 10% off.
Written by the team at Otto’s Garage Door North Las Vegas, serving North Las Vegas, NV.