
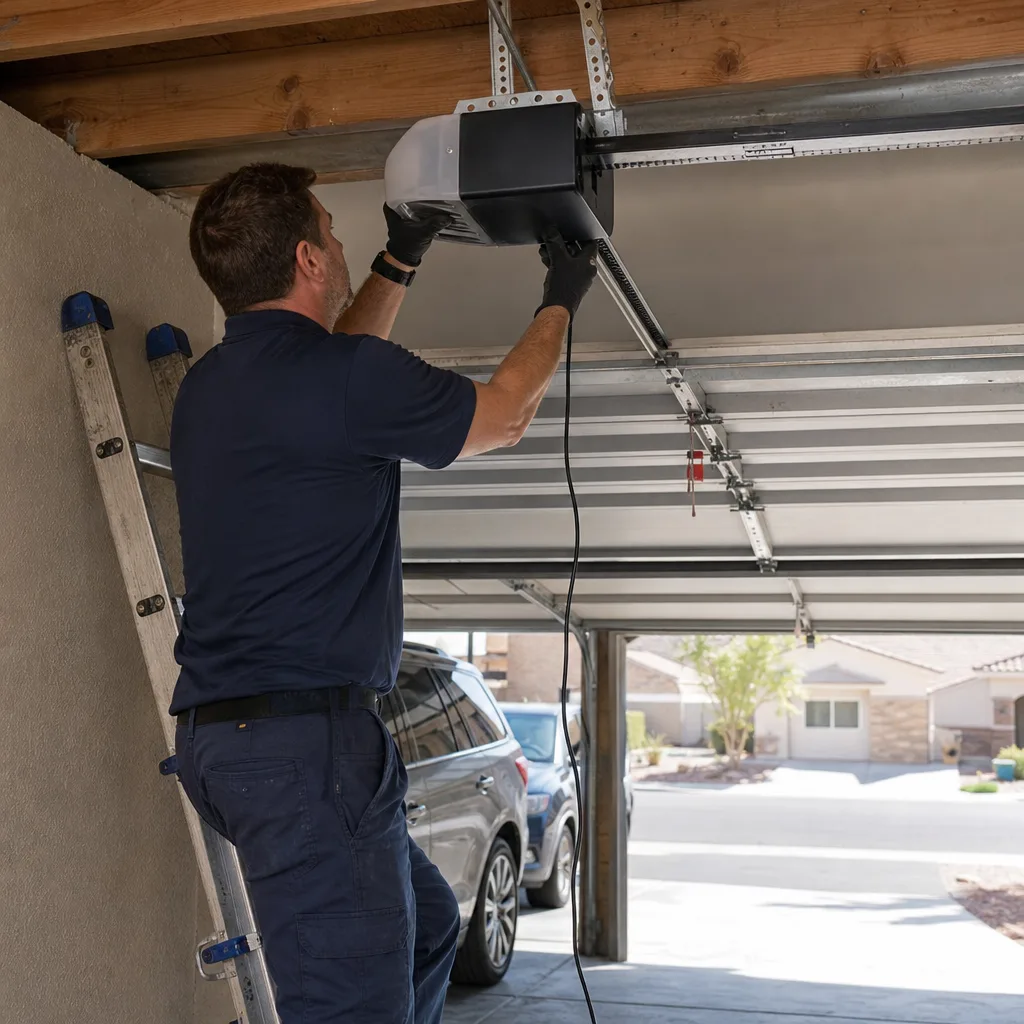
Last updated November 18, 2026
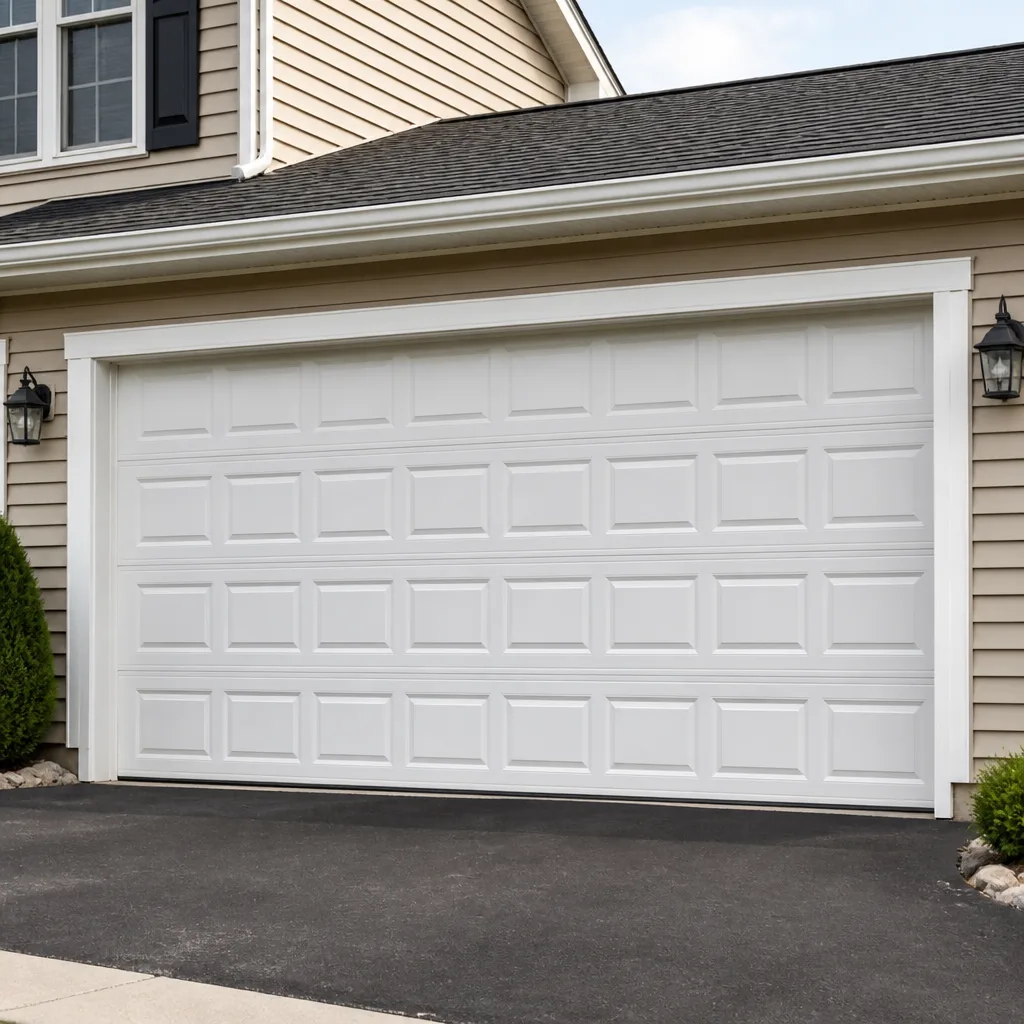 Raised-panel steel
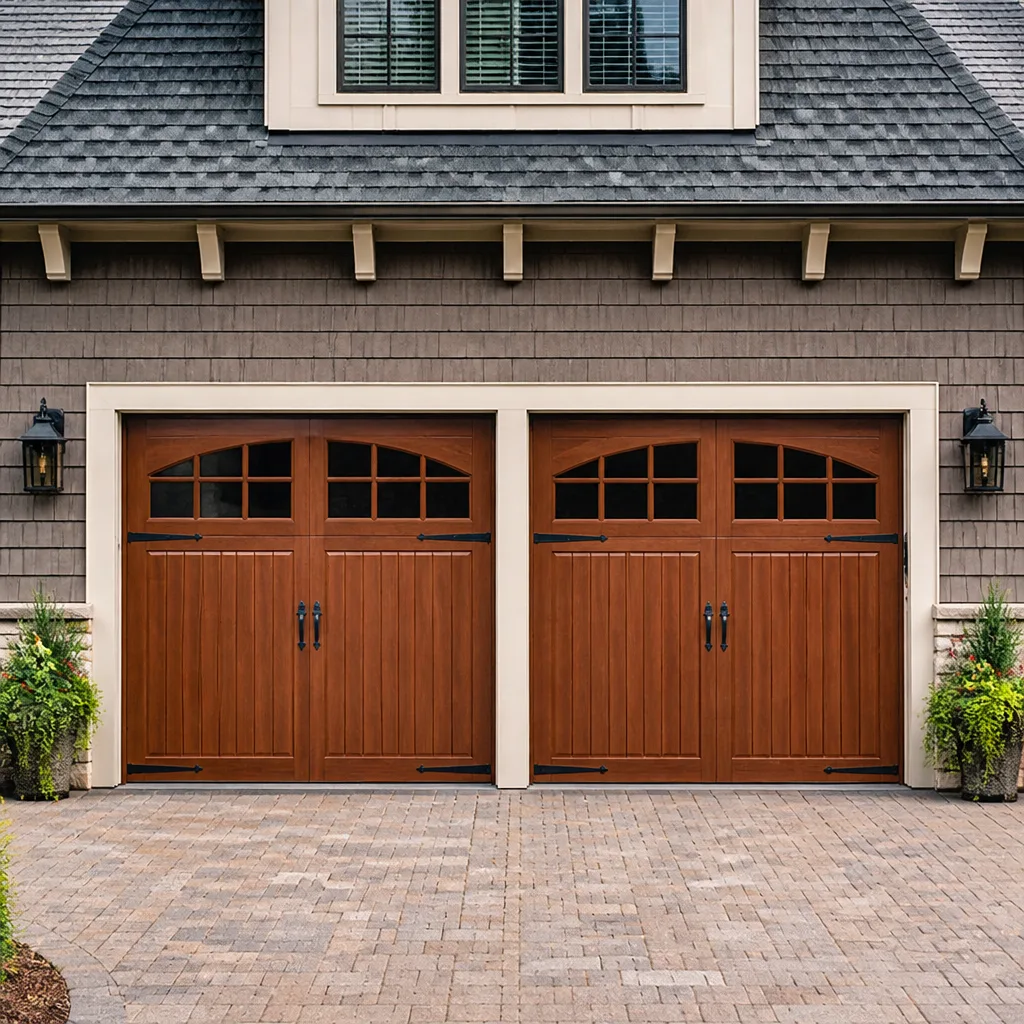 Carriage house
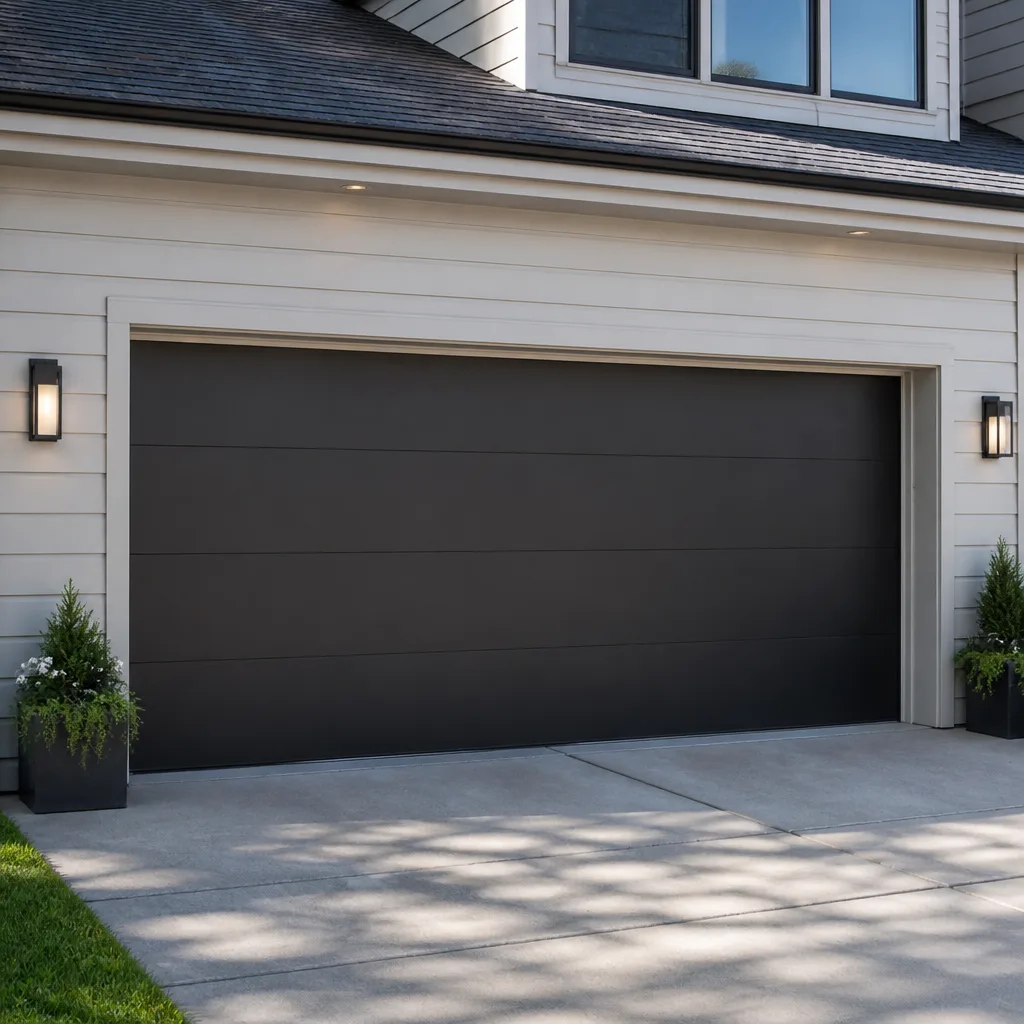 Modern flush
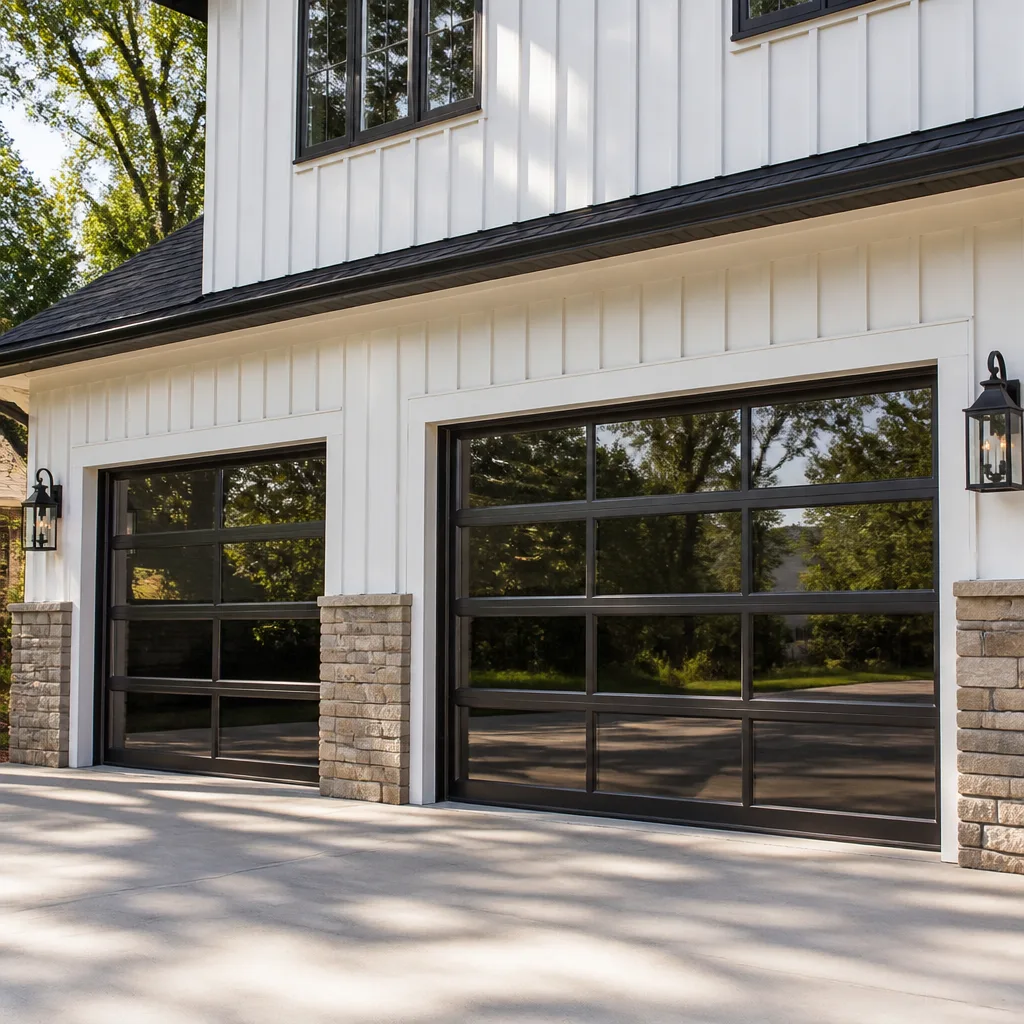 Full-view glass
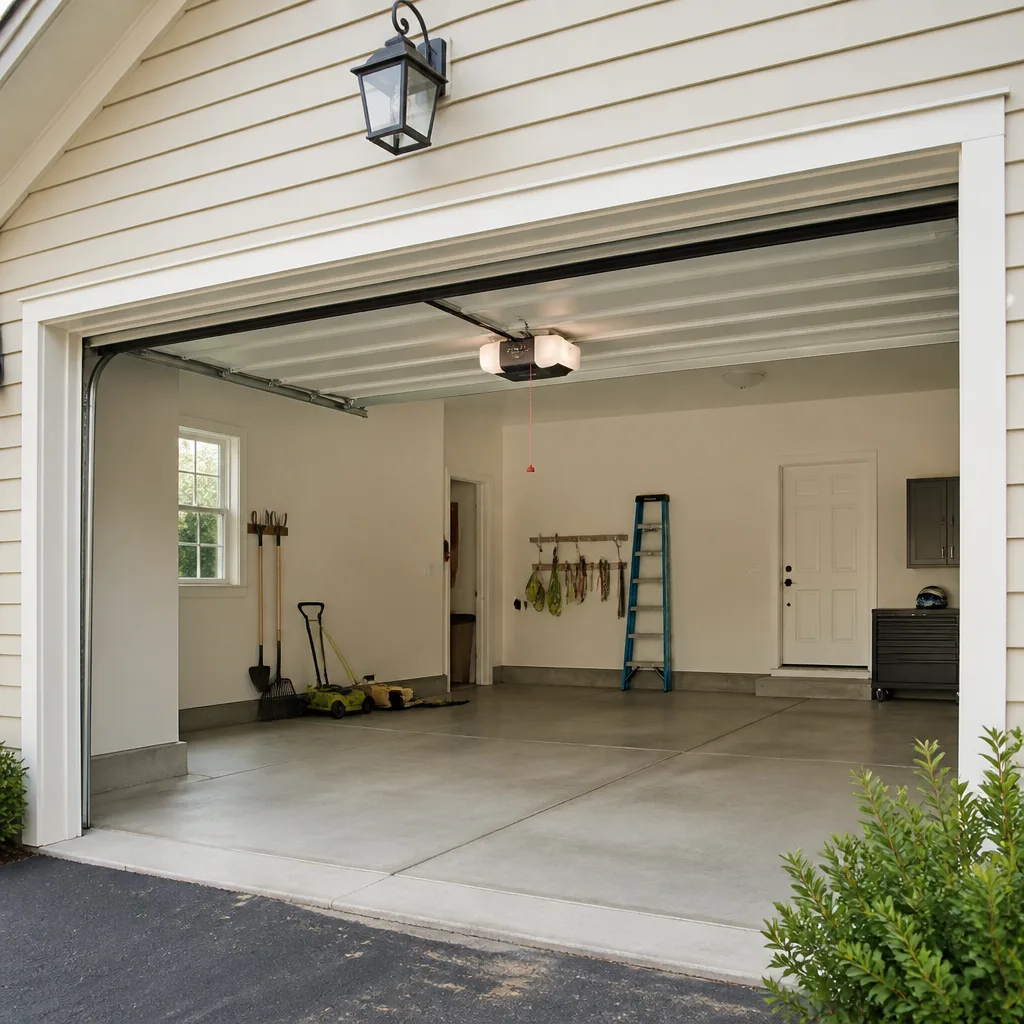 LiftMaster openers
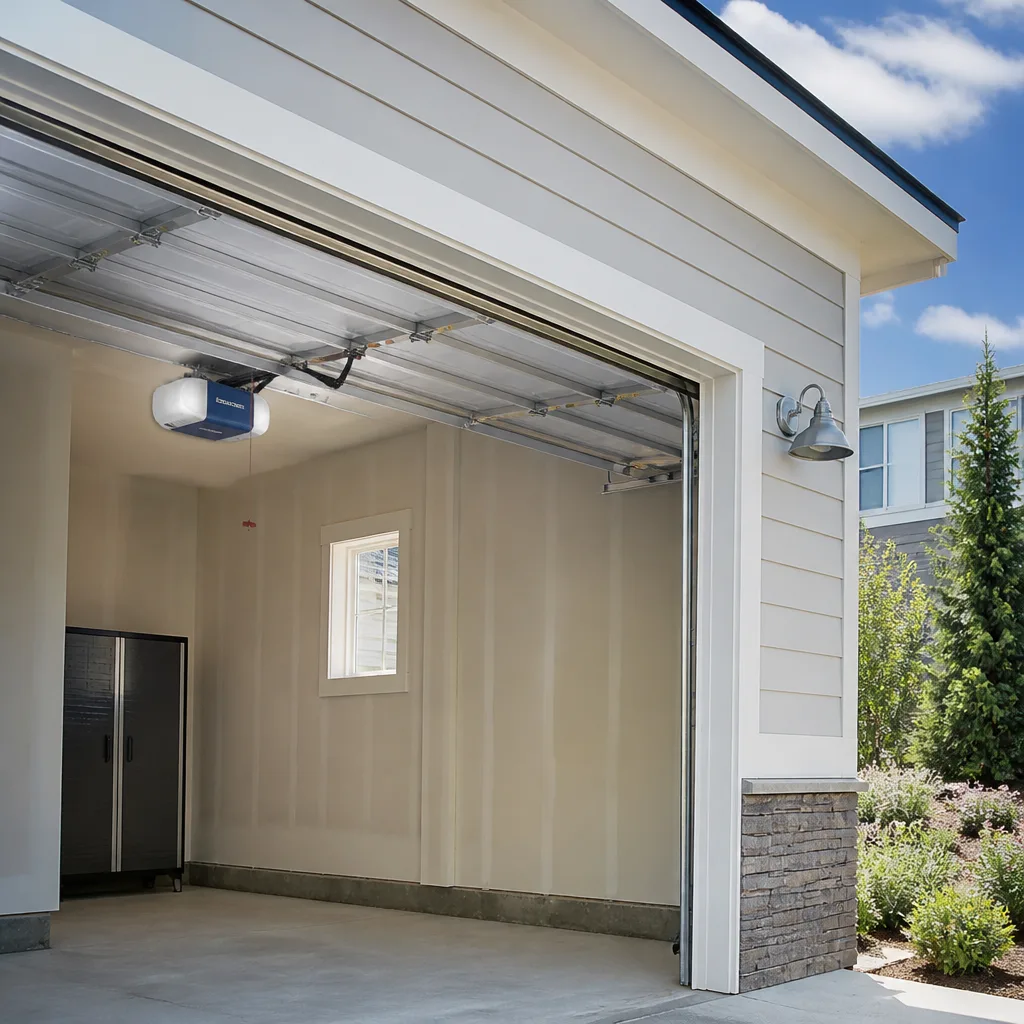 Chamberlain openers
Full 25-point door and opener safety check with every visit - springs, cables, rollers, tracks, and your LiftMaster or Chamberlain opener included
You get a price before we start. It does not change when the pro arrives.
Get your free estimateGarage Door Repair Troubleshooting: Common Problems and How to Fix Them
Roughly four in ten “broken garage door” calls we run in North Las Vegas turn out to be a dead opener battery or a photo-eye knocked crooked by a garden hose. That’s it. Four minutes of work, a phone call that never needed to happen, and a hundred-dollar service fee that didn’t need to leave anybody’s pocket. Most troubleshooting guides read like a WebMD page – symptoms listed alphabetically, no rhyme or reason, nothing a homeowner can act on. This guide works the way a technician actually thinks: you start at the opener, follow the energy path to the door, and eliminate causes in the order they’re most likely to bite you.
Quick Answer
If your garage door won’t open, check the opener’s power and battery first, then find the photo-eye lenses near the floor rails and clear anything blocking the beam. If the door is stuck solid with the remote dead, pull the red manual release handle once – never while the door is halfway up – and you’ve eliminated the opener entirely. Springs, cables, and center bearings are the dangerous parts and belong in trained professional hands, full stop.
Styles & brands we work with
- Raised-panel steel
- Carriage house
- Modern flush
- Full-view glass
- LiftMaster openers
- Chamberlain openers
Table of Contents
- Start Here: The Opener to Door Diagnostic Path
- The Opener Won’t Respond: What to Check First
- The Door Won’t Move Even With the Manual Release
- The Door Moves but Sounds Wrong: Decoding the Noise
- The Door Moves but Won’t Stay Up
- Why the Door Reverses Before Closing (It’s Not the Spring)
- Common Misdiagnoses That Cost You Money
- Two Checks to Do Before You Call Anyone
Start Here: The Opener to Door Diagnostic Path
A garage door system is a chain of simple parts that pass force from the opener down through the track, springs, cables, and rollers to the door itself. When the door fails, one link in that chain is telling you what’s wrong – you just have to know how to read it. Follow this order in North Las Vegas and you’ll skip the guesswork.
- Power and remote. Does the opener light come on when you press the wall button? If yes, the unit has power and the trouble is downstream. If no, start with the circuit, then the battery in every remote and keypad.
- Photo-eye alignment. Look at the two little lenses mounted to the rails, one on each side of the door, a few inches up from the floor. They should be pointed straight at each other. If one is knocked sideways by a boy with a soccer ball or a hose, nothing will move until you straighten it.
- Manual release. Pull the red handle to disconnect the opener from the door. Now you know whether the problem is the opener or the door. If the door still won’t budge by hand, the issue is mechanical – springs, cables, or a seized roller.
- Track and hardware. Walk the rails, look for bent track, hangers off the horizontal track, or a roller popped out of the channel. This is the second most common call we get in North Las Vegas after photo-eyes.
- Everything past here is spring, cable, and bearing work. That’s where we stop and tell you to call us. A door is 200 pounds riding on two springs. Respect it.
That’s the whole map. Follow the energy from the opener outward, and you’ll have a real answer before anybody’s truck pulls up.
The Opener Won’t Respond: What to Check First
Nine times in ten, this is a battery problem or a photo-eye problem, and it’s solved in the garage. We’ve seen North Las Vegas homeowners buy brand-new LiftMaster openers for $350 because a remote was dead and nobody checked. Don’t be that homeowner.
- Remote batteries. Every remote dies eventually, and it always dies the day you’re rushing to work. Pop the back off the LiftMaster or Craftsman remote, swap the coin-cell or AAA, and test it standing right under the opener.
- Wall button vs. remote. If the wall button works and the remote doesn’t, you’ve just isolated the remote. If neither works, look at the opener itself.
- The breaker and the outlet. Most openers plug into a ceiling outlet near the motor; some of those outlets are on a GFCI that tripped. Check the electrical panel and any GFCI reset button on the same circuit.
- Photo-eye obstruction. A spiderweb, a fallen leaf, or a kid’s toy in the beam kills the door. Wipe the lens with a rag and straighten it by hand.
- Manual lock. If your door has a sliding bolt-style lock on one side, even a small one, the opener will strain against it. Unlock it.
The last thing to rule out is the opener’s logic board or a failed capacitor. If the unit clicks or hums but never fires, the motor isn’t getting clear commands and it’s time to call. For opener-specific problems, our Garage Door Opener Repair & Installation in North Las Vegas page has the deeper breakdown.
The Door Won’t Move Even With the Manual Release
This is the diagnostic fork in the road, and it’s the one most homeowners skip. Pull the red handle – once, with the door fully closed – and try to lift the door yourself. If the door lifts with a reasonable pull, the problem is in the opener. If the door won’t budge, you have a mechanical failure in the springs, cables, or track, and no amount of opener resetting will help.
Stop here and be safe. Extension and torsion springs are under enormous tension even when the door looks “down.” A snapped spring will recoil with enough force to break a bone or worse. Never try to remove a spring, unwind one, or loosen a cable drum yourself. These are the jobs that put people in the emergency room every single month, and in our experience across North Las Vegas, they are not worth the risk to save a service fee.
What you can do safely: look at the springs, the coiled bars above the door. Do you see a clean break where a spring coil has separated? That’s a snapped spring. Look at the cables running down each side – a cable off its drum or dangling in a loose loop means a trip to the pro. Look at the track for a crushed or bent section. Photograph what you see. When you call us, that photo tells us in ten seconds what a written permit in North Las Vegas tells you in ten pages: this is a repair for a trained technician.
The Door Moves but Sounds Wrong: Decoding the Noise
A garage door speaks a language, and every sound points to a specific component. Learn three of them and you’ll know whether you’re looking at a $20 fix or a $400 one.
- Grinding. Metal-on-metal from the track or hinges. Almost always dry rollers, worn torsion tube bearings, or a bent track dragging against a roller. Start with lubricant; if grinding continues, the roller or bearing is shot.
- Popping. A sharp pop as the door starts to move means a hinge screw has pulled loose or a roller has jumped the track. Don’t run the door on a popped roller – it will chew the track and turn a $90 repair into a $400 one.
- Squealing. Dry nylon rollers or a dry torsion spring. A squirt of garage-door lubricant (not WD-40 – real lubricant) on every hinge, roller, and spring once a season handles this.
- Banging. The opener is straining against a door that’s gotten heavy. Nine times out of ten this means the springs have lost tension, not that the opener is dying. We count spring cycles the way you count tire miles – a spring good for 10,000 cycles in 2008 is a spring that shipped out at its limit today.
- Humming without moving. The opener is trying but the door is locked, jammed, or the drive gear has stripped. Turn off the opener, pull the manual release, and test the door by hand.
Every one of these sounds has a story, and most of them end with “put a wrench on it and see if it’s a fifteen-dollar part.” But if the sound is a snap followed by a bang, and then nothing moves – that’s a broken spring, and you call us. In North Las Vegas, we routinely see spring failures in the spring after a hard cold snap, when the metal has been cycling hot and cold for months and finally gives.
The Door Moves but Won’t Stay Up
If you can lift the door by hand and it drops back down on its own, the spring tension is inadequate or one spring has snapped and the other is carrying the whole load alone. This is a spring problem, not an opener problem – and a spring problem is a safety problem. Do not leave a car parked under that door. Do not let kids play in the garage. Call for help.
The other scenario: the door goes up fine but creeps down slowly. That’s usually a torsion spring that has lost some of its winding tension through wear, and it’s a sign the spring is near the end of its service life. If your door was installed with a Wayne Dalton or Raynor system in the 1990s or 2000s, this is exactly the kind of slow failure those springs hit. A technician measures the tension, tells you what’s left on the spring, and you make a decision with real numbers in front of you.
There’s also the “door goes partway up and stops” failure. That’s often a bent track pinching the rollers, or a photo-eye that’s been moved mid-travel. Move the door by hand and see if it binds at the same spot every time. If it does, you’ve found the mechanical culprit yourself.
Why the Door Reverses Before Closing (It’s Not the Spring)
About the only thing a reversing door has in common with a broken spring is the panic it causes. But the two failures live in completely different parts of the system, and a reversing door is almost never a spring issue.
- Photo-eye misalignment. The lenses near the floor are the top cause. One knocked sideways, one fogged from humidity and dust, or one with a spiderweb across it – the door reads that as an obstruction and reverses on the way down. Straighten them, wipe them, and watch the LED indicator on each lens turn solid when they’re aimed correctly.
- Close-limit setting. The opener has a close-limit screw that tells it when to stop pushing down. If the limit is set too early, the door reverses just before it hits the ground because the opener thinks it hit something. Advanced DIYers can adjust a LiftMaster or Chamberlain close limit with a screwdriver and the owner’s manual.
- Something in the track. A toy, a rock, a piece of loose hanger – anything riding in the track triggers the same safety reversal. Look up.
- Cold-weather binding. A door that reverses only in January is a door with a binding track or a tight seal. Lubricate it and check that the bottom rubber isn’t catching on the concrete.
If the door reverses on the way up instead, that’s different: it’s almost always a wall-control lockout, a photo-eye, or a miswired wall button. Those are North Las Vegas electrical-cheap fixes, not door replacements.
Common Misdiagnoses That Cost You Money
This is the section we wish every homeowner read before they called us, because we’ve watched a lot of good money go out the door in North Las Vegas on unnecessary parts.
The biggest one: replacing a perfectly good opener because the door got heavy. If an opener is straining, the problem is almost never the opener. It’s the springs, the rollers, or a center bearing. A new opener on a heavy door burns out its motor in a couple of years, and then you’re out twice the money you needed to spend.
The second: buying a new remote when the photo-eye is the culprit. The wall button works, the remote doesn’t, so you assume the remote is dead. But if the wall button also doesn’t open the door – because the door’s reverse circuit is tripped – the new remote won’t help.
The third: replacing the whole door because a hinge screw pulled out. A door that bangs and clatters at one corner is a $5 fix nine times out of ten. The fourth: believing the cables are worn when the center bearing is shot. A grinding noise from above the door center, unchanged after lubrication, is a bearing, not a cable. A bearing is a fraction of a door’s cost.
None of these require a full replacement. All of them require someone looking at the right part.
Two Checks to Do Before You Call Anyone
These two checks take ten minutes, save most homeowners a service fee, and give any technician the information he needs to walk in with the right part the first time.
- Photograph and label the failure. Take a picture of the springs (are they broken?), the photo-eyes (are they aligned?), and the opener model label on the back of the unit. Write down what the door does when you press the wall button: nothing, a click, a hum, a strain, or a partial lift. When you call, having those photos and that one-sentence description makes the difference between a diagnostic visit and a same-day repair.
- Run the manual release and the balance test. With the door closed, pull the red handle. Lift the door to waist height and let go. A balanced door stays put. A door that slams down means the springs are failing; a door that shoots up means the springs are over-wound or a cable is off. Either is a spring-side diagnosis, and you’ve just saved the technician twenty minutes of walking around the door with a clipboard.
When you call a professional with those two answers, you’re already ahead of the game. The tech who arrives knows what to bring, and you know to expect a spring or a cable – not an opener replacement. That’s the value of understanding your own door.
Common Mistakes to Avoid
- Trying to adjust or remove a torsion spring. A spring holds a door’s weight under hundreds of pounds of tension, and a slip is a hospital trip in North Las Vegas as fast as anywhere. Leave springs, cables, and drums to trained technicians – always.
- Replacing the opener when the door is heavy. The opener is doing what it’s told. If the door strains and clunks, fix the springs and rollers, then decide whether the opener lives.
- Lubricating with the wrong product. WD-40 will clean a hinge but it attracts dirt and dries out a roller. Use a garage-door-specific lubricant on springs, hinges, and rollers once a season – twice a year in the hot dry North Las Vegas summer.
- Ignoring a photo-eye misalignment. A crooked lens is a two-minute fix. A homeowner who calls out a service fee for it is paying for someone else to straighten a plastic cup.
- Skipping the annual balance test. If a door lifts with one hand and stays where you put it, it’s balanced. If not, the spring is tired, and you want to know that before it snaps at 7:00 AM on a Tuesday.
- Paying a call-center quote sight-unseen. A price quoted over the phone by a national dispatcher is not a price. It’s a guess. A local owner-operator quotes your job, holds that number when he gets there, and puts it in writing.
- Running the door on a popped roller. That roller will carve up your track and turn a $75 fix into a $400 repair. Stop, pull the manual release, and call.
See the difference
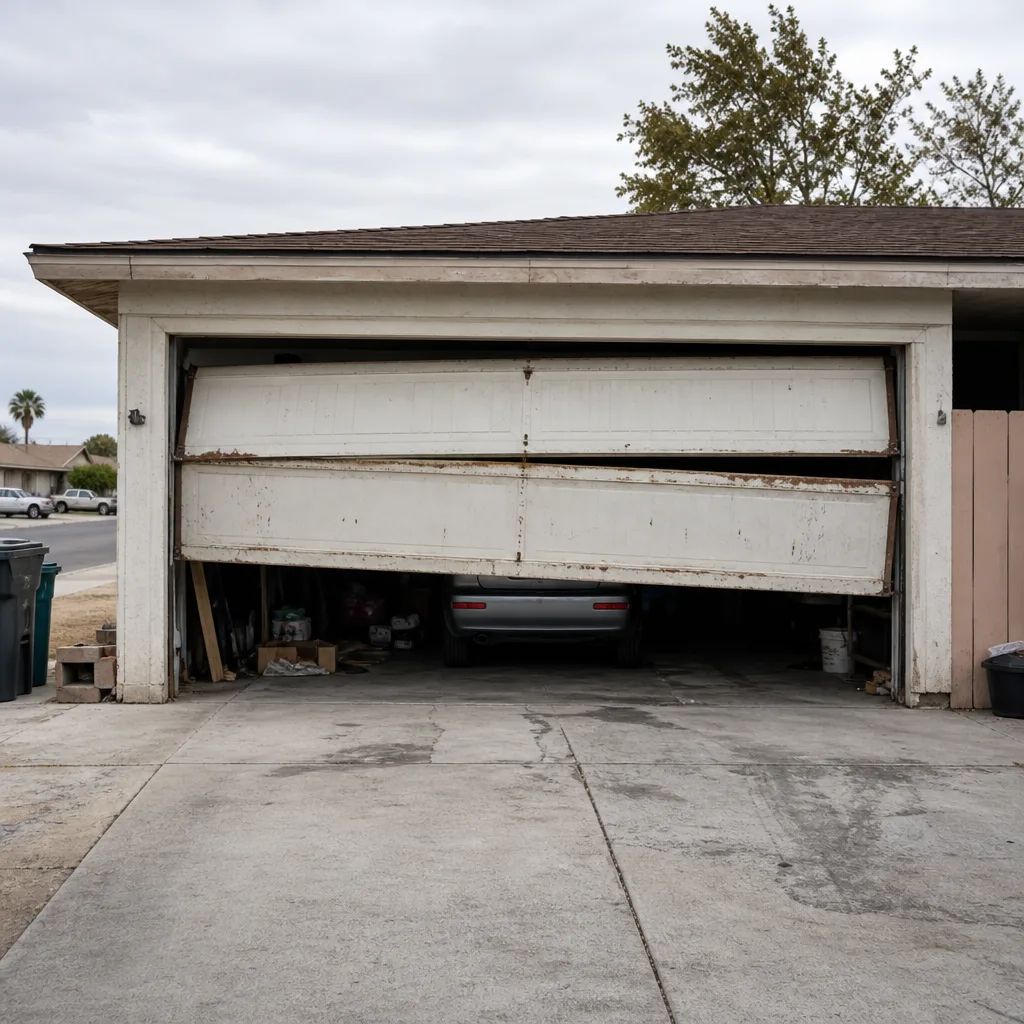 Before
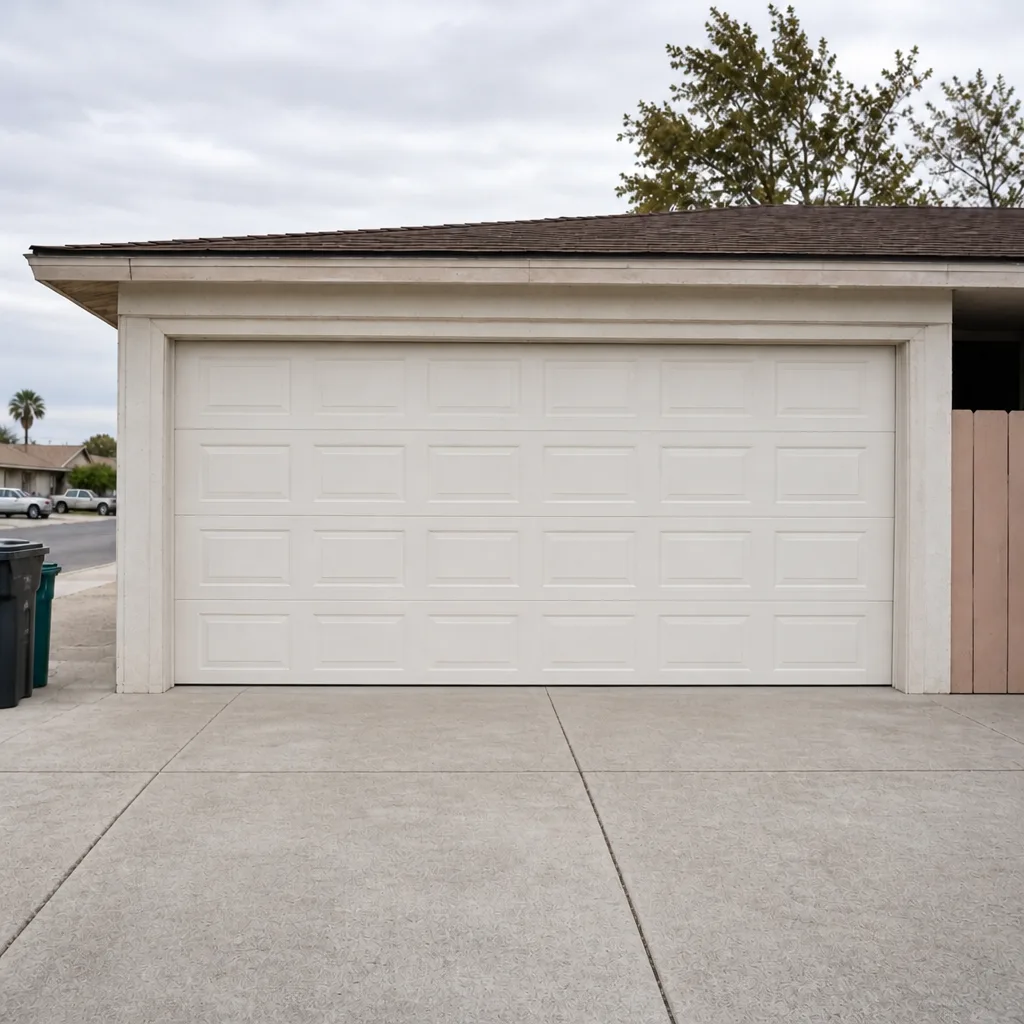 After
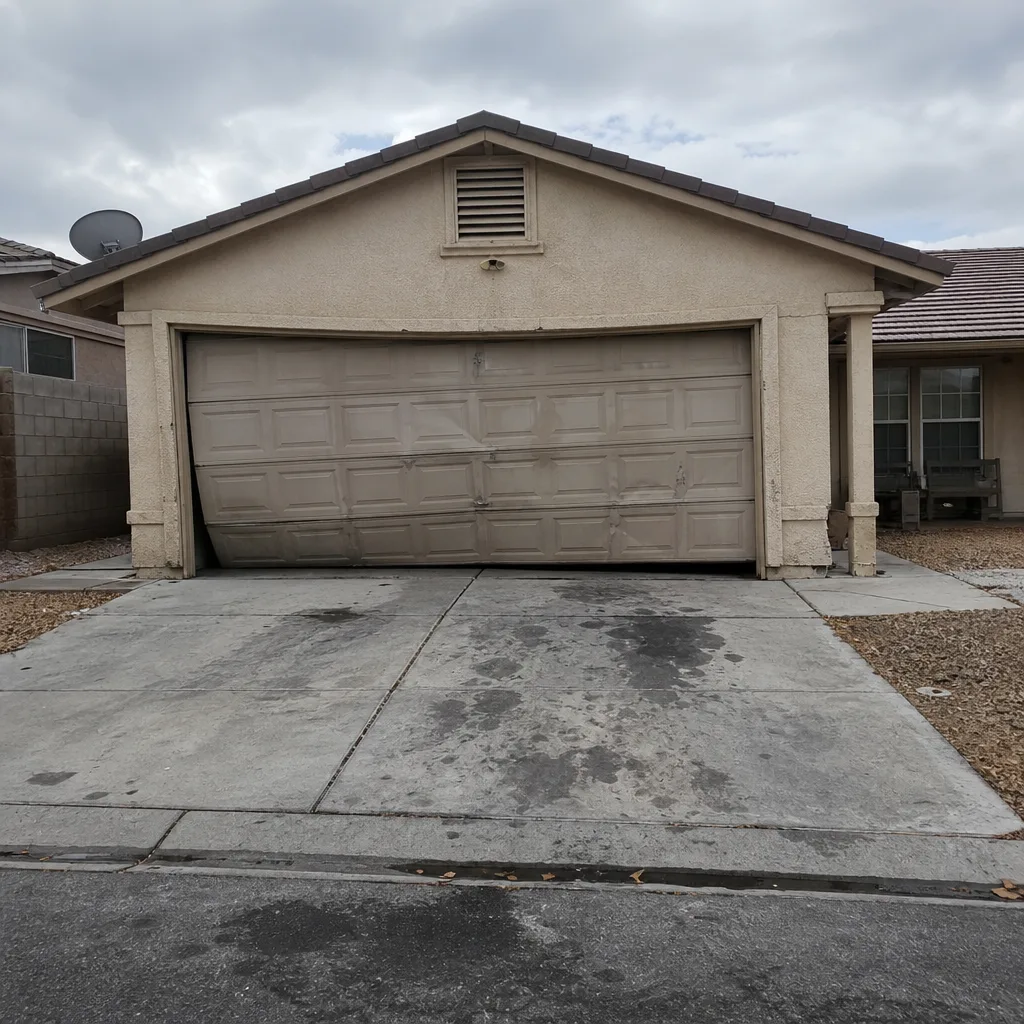 Before
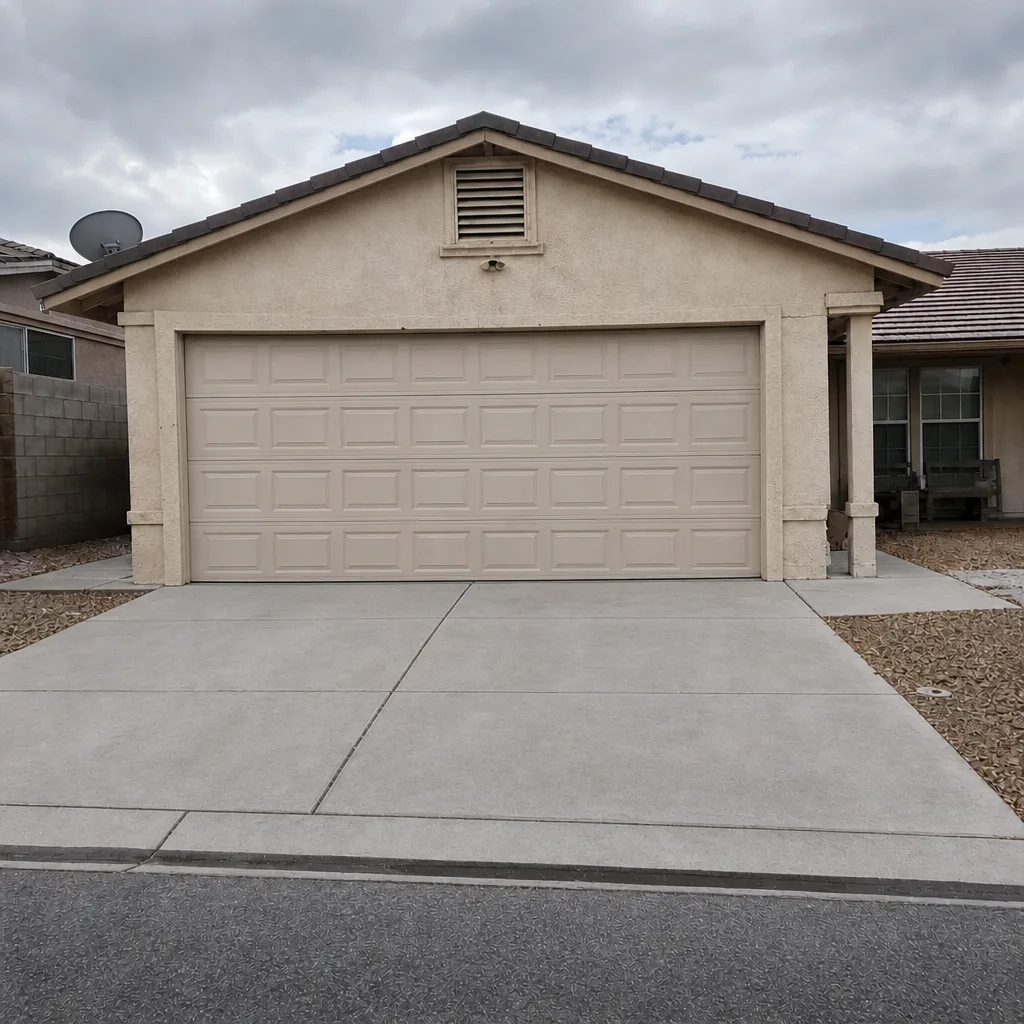 After
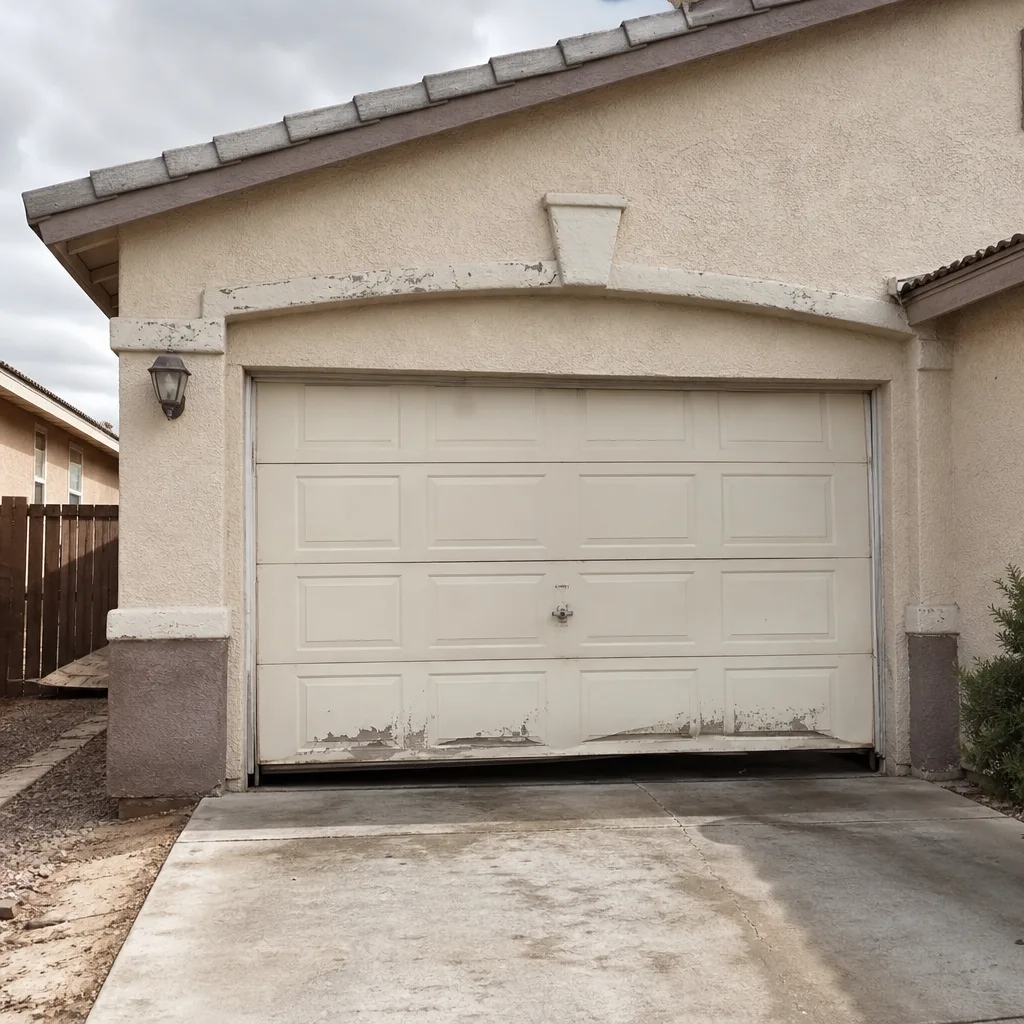 Before
 After
When to Call a Professional
Call a professional the moment you see a snapped spring, a cable off its drum, a bent track you can’t straighten by hand, or an opener that hums but won’t move a balanced door. Call immediately if the door has dropped halfway or the cables are loose – do not run the opener on a door with a free cable. In North Las Vegas the heat and dust wear out springs and rollers faster than you’d think, and a yearly inspection catches most of these before they strand your car. If you can handle a dead battery and a crooked photo-eye yourself, do it. Anything spring, cable, drum, or center-bearing is ours. Focus on the parts that are safe to touch, and let a trained technician handle the rest.
Otto’s Garage Door North Las Vegas offers free estimates in North Las Vegas. Call (866) 347-9495. We answer the phone around the clock, we quote on the call, and we hold that number when we get to your driveway.
Frequently Asked Questions
Photo-eye misalignment or a close-limit setting that’s slightly off. Check the two lenses near the floor first – if either lens shows a blinking LED or the aim is crooked, straighten it and try again. If the eyes are solid, adjust the close limit. If neither fixes it, call (866) 347-9495 – the reverse circuit is usually a two-minute fix once it’s diagnosed.
Spring repairs typically run a few hundred dollars depending on whether it’s one spring or the pair and whether the door uses torsion or extension hardware. We quote the exact number before we leave the driveway and never move it once we’re there. Call (866) 347-9495 for a free, no-obligation estimate on your specific door.
Yes – a stuck door is exactly the kind of call we take around the clock in North Las Vegas. Call (866) 347-9495, describe what the door is doing, and we’ll tell you the safest next step while we head your way.
Usually not. A humming opener is almost always trying to move a door that’s locked, jammed, or off its track. Pull the red manual release and try lifting the door by hand. If it won’t move, the trouble is mechanical and the opener is fine. Call us before you replace a good unit.
Grinding means dry rollers, a worn bearing, or a track dragging on metal. Popping means a hinge screw has backed out or a roller has jumped the track. Both are worth fixing promptly – a popped roller left running will damage the track. If the sound is a single snap followed by nothing, that’s a spring and you should stop and call.
Repair wins if the door panels, springs, and frame are sound and the failure is isolated to one component. Replace when the panels have warped, the spring/mounting hardware has failed structurally, or the door is old enough that a full rebuild costs more than half of a new one. Call (866) 347-9495 for a free second opinion on any written estimate – we’ll tell you honestly which way to go.
The Bottom Line
Garage door troubleshooting works in one direction: from the opener to the door. Check the power, the battery, and the photo-eyes first, because those are the cheap fixes and they cover a huge chunk of what looks like a broken door. Use the manual release to isolate the opener from the mechanical system. Trust the sound to tell you which component is failing. And know the line you don’t cross – springs, cables, drums, and torsion hardware are trained-technician territory, in North Las Vegas and everywhere else. Otto’s Garage Door North Las Vegas is here for the parts you shouldn’t touch, with a written 90-Day Done Right Promise and free estimates on every job.
Ready to Get Your Door Fixed?
If troubleshooting has run its course and you’re ready to have a pro take a look, call Otto’s Garage Door North Las Vegas at (866) 347-9495. We quote before we come, we hold the price when we arrive, and we answer the phone around the clock. Free estimates, honest diagnoses, and the name on the license is the name on the invoice.
Written by the team at Otto’s Garage Door North Las Vegas.