
Last updated November 18, 2026
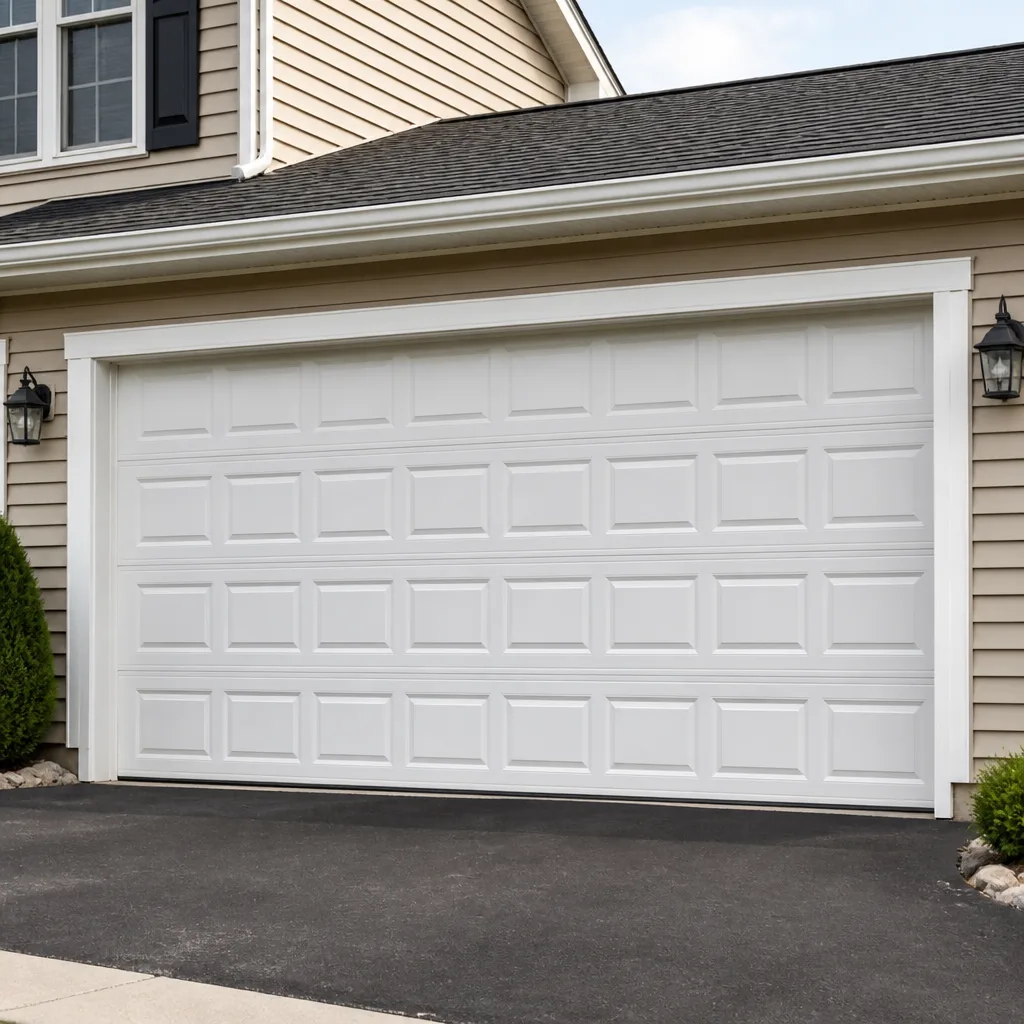 Raised-panel steel
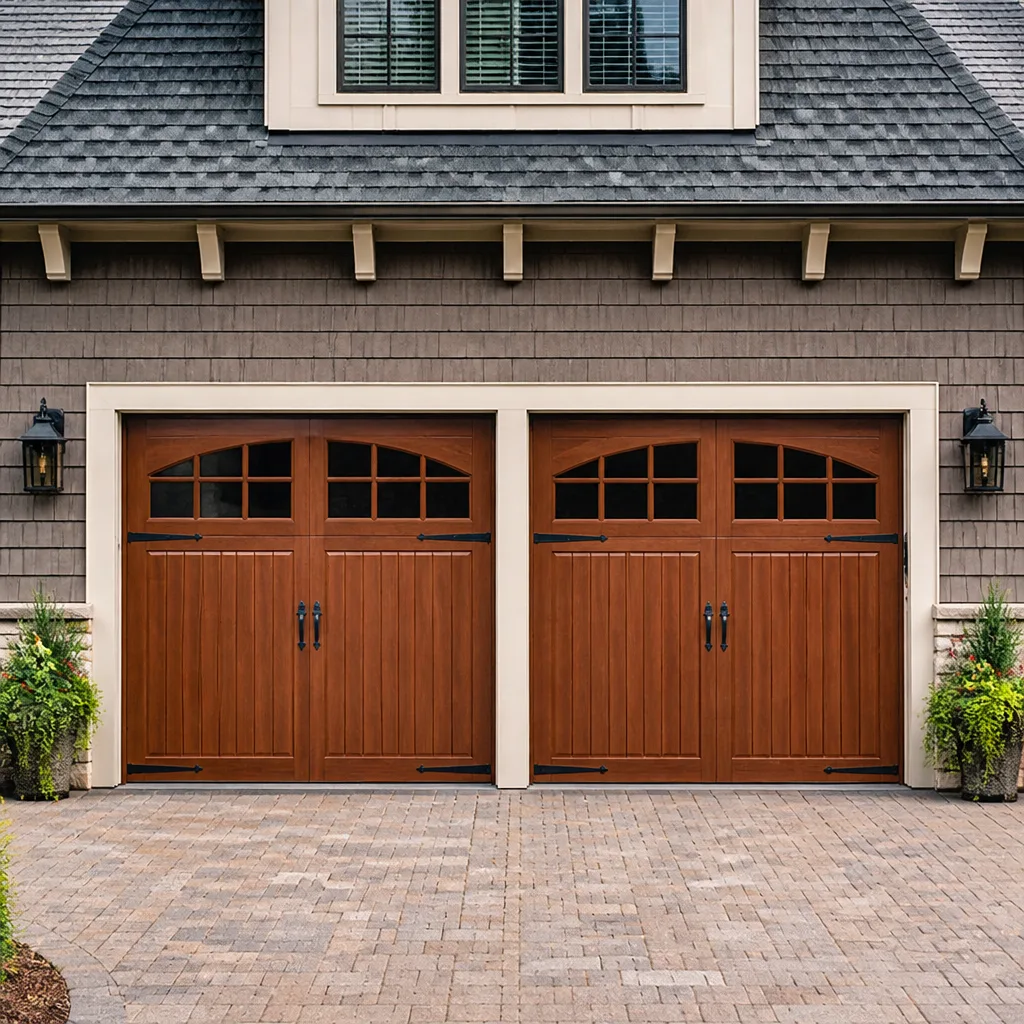 Carriage house
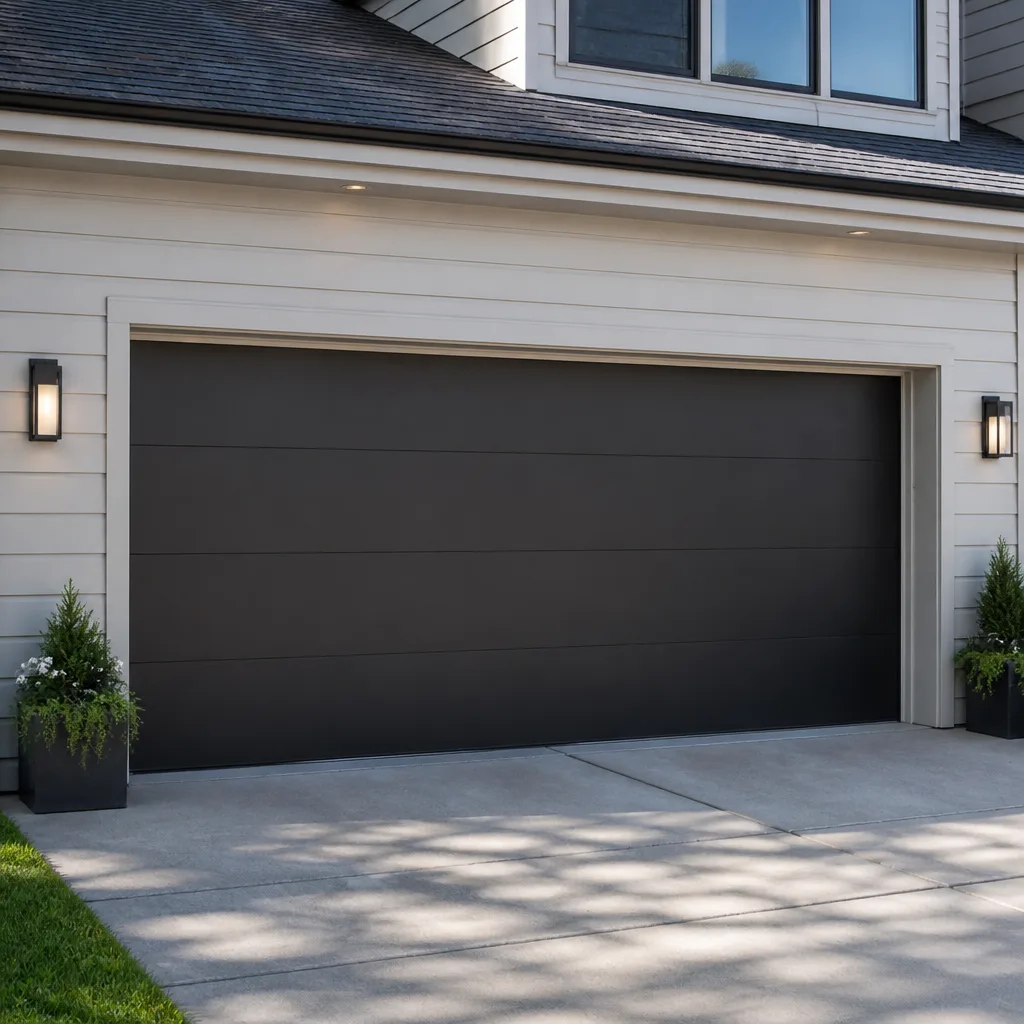 Modern flush
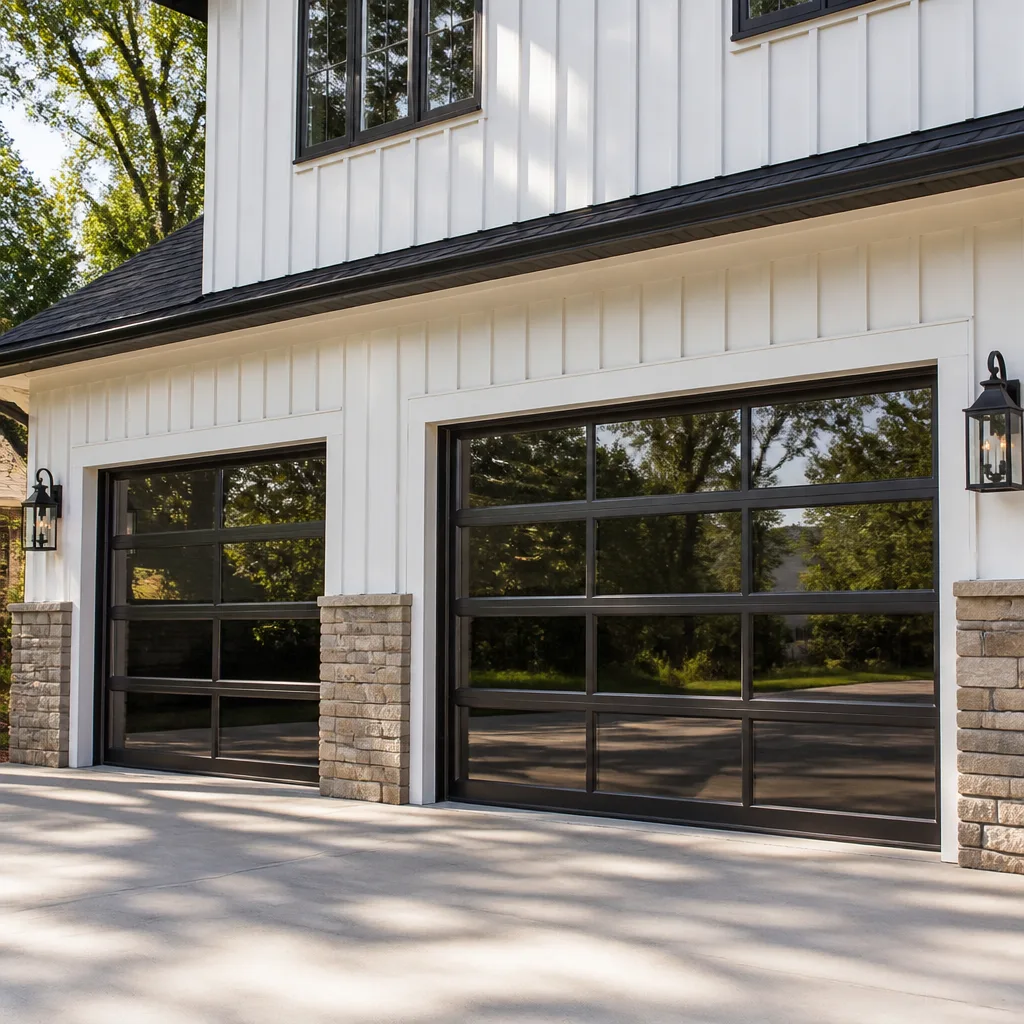 Full-view glass
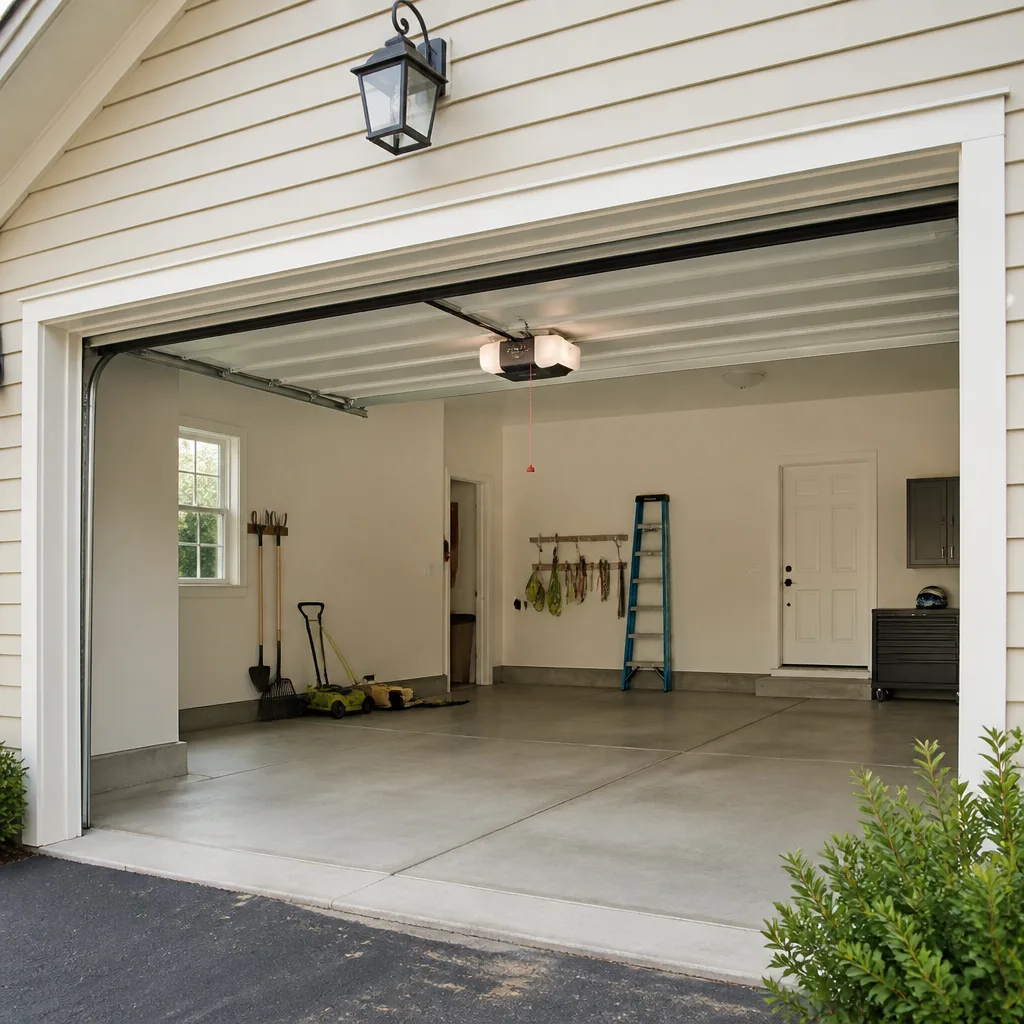 LiftMaster openers
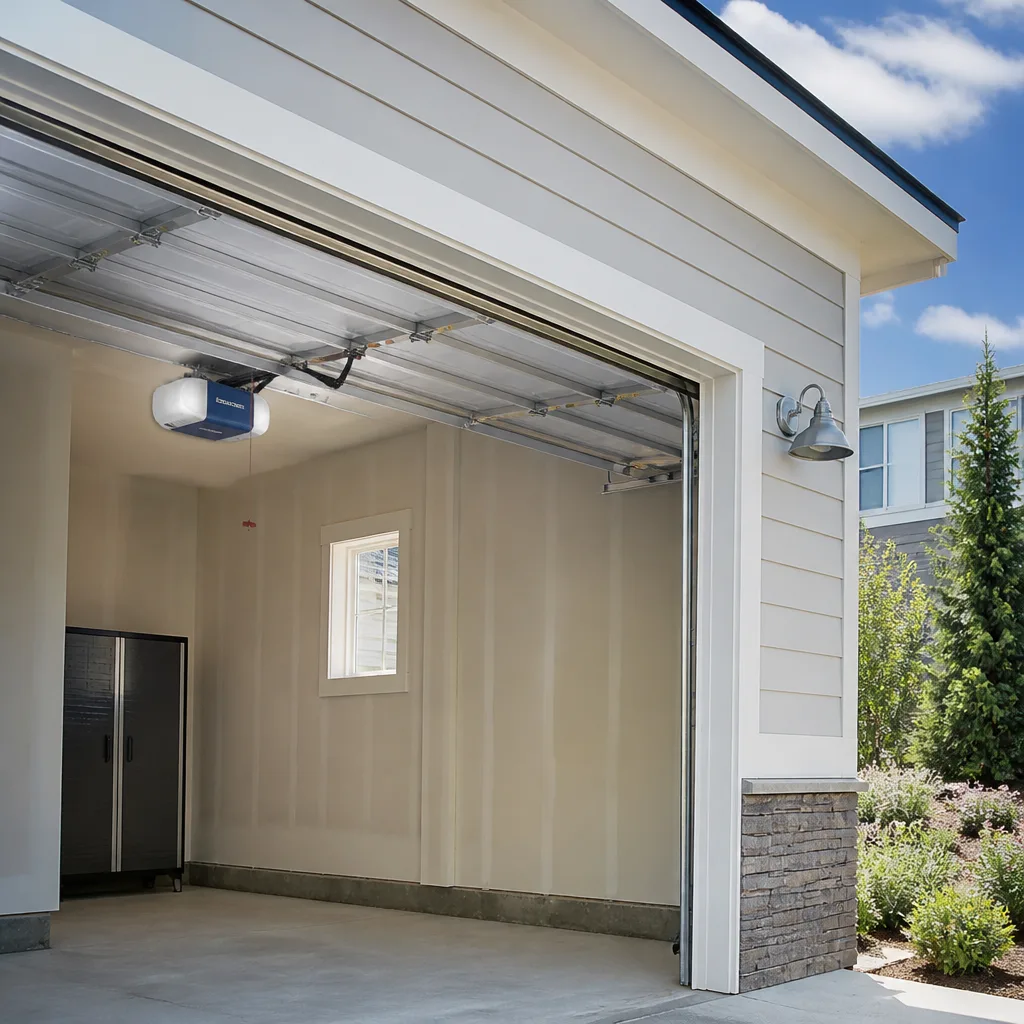 Chamberlain openers
Full 25-point door and opener safety check with every visit - springs, cables, rollers, tracks, and your LiftMaster or Chamberlain opener included
You get a price before we start. It does not change when the pro arrives.
Get your free estimateEmergency Garage Door Troubleshooting: Common Problems and How to Fix Them
Most after-hours garage door calls aren’t emergencies. In our experience, roughly a third of them come down to something a homeowner could spot with a flashlight in under three minutes. A photo-eye knocked crooked by a broom handle. A manual release pulled by mistake. A GFCI outlet tripped by a summer monsoon surge. Otto would rather you find that yourself at 10 PM than pay after-hours rates for a two-second fix. This guide walks through the five checks in order, tells you what a pass and a fail actually look like, and shows you how to tell the difference between an electrical problem and a broken spring. If you live in North Las Vegas, where summer heat runs springs hard and monsoon storms flip breakers, these checks are worth knowing by heart.
Quick Answer
Before you call for emergency service, run five checks in this order: power at the outlet, photo-eye alignment, manual release position, wall button versus remote test, and visual inspection of springs and cables. These take under three minutes and resolve about a third of after-hours garage door problems. If the door is visibly hanging, a cable is snapped, or a spring is broken, stop and call a professional immediately – do not run the opener or try to lift the door yourself.
Styles & brands we work with
- Raised-panel steel
- Carriage house
- Modern flush
- Full-view glass
- LiftMaster openers
- Chamberlain openers
Table of Contents
- Step One: Check the Power Source
- Step Two: Test the Photo-Eye Alignment
- Step Three: Check the Manual Release Position
- Step Four: Isolate the Wall Button from the Remote
- Step Five: Look for Visible Cable and Spring Damage
- Motor Running but Door Not Moving vs. Motor Not Running at All
- What You Should Never Try to Help Along
- How to Secure the Door Until Help Arrives
Step One: Check the Power Source
Start with the simplest thing: is the opener getting power? A dead opener isn’t a door problem – it’s an electrical problem, and no amount of adjustment will fix it. Before you do anything else, walk out to the garage and look at the opener’s light. Is it on? Does the wall button click? If the light is dead and the button does nothing, you likely have a tripped circuit.
Two spots to check in North Las Vegas in particular. First, the GFCI outlet (the one with the test/reset buttons) that the opener is plugged into or that feeds the circuit. During monsoon season, power surges and brownouts trip GFCIs across the valley, and a tripped GFCI is one of the most common reasons a door goes dead on a Tuesday night. Second, the breaker panel. Look for a tripped breaker labeled for the garage.
- Pass: The opener light is on, the wall button clicks when pressed, and you hear the motor hum. Move to Step Two.
- Fail: The opener is completely dead. Reset the GFCI, then the breaker. If the door comes back to life, you’re done. If the breaker trips again immediately, that’s an electrical issue – stop and call an electrician or us.
One thing to note: if you press the wall button and hear nothing but see the opener’s light flicker, that’s usually an internal board problem, not just power. That’s a repair-and-replace situation, not a reset.
Step Two: Test the Photo-Eye Alignment
The photo-eye test takes ten seconds and rules out the single most common reason a door reverses before it closes. If your door goes down a foot and then shoots back up, or stops short of the floor and reverses, the odds are very high the safety sensors at the bottom of the tracks are misaligned, dirty, or blocked.
Here’s the test. Walk to the door and look at the two small sensors mounted a few inches off the floor on each side of the door. Each one has a small LED indicator light.
- Look at the sensor on the left. Most brands – LiftMaster, Chamberlain, Genie – use a solid green or amber LED to signal correct alignment, and a blinking LED to signal trouble. Blinking means misaligned or blocked.
- Look at the sensor on the right. Same thing.
- Wipe both lenses with your thumb or a rag. Dust and cobwebs are a common culprit in North Las Vegas – the desert air blows fine dust through open garages, and the summer heat cooks whatever settles on the lens.
- Gently nudge each sensor with your hand and watch the lights. If one stops blinking and goes solid, that was the problem.
Pass: Both LEDs steady (no blinking), and the door closes and stays closed when you press the button. Fail: One or both lights blink even after wiping and nudging. Check for spiders, a dangling string, the manual release cord itself hanging in the beam, or a sensor that’s been knocked out of its bracket. Genie sensors in particular slide out of adjustment easily if someone bumps them with a recycling bin.
Step Three: Check the Manual Release Position
Every opener has a manual release cord hanging from the carriage – the piece that runs along the rail. When pulled, the door disconnects from the opener and can be lifted by hand. Someone (a kid, a contractor, a homeowner who wanted to open the door during a power outage and forgot to re-engage it) may have pulled that cord. If it’s pulled, the wall button and remote will run the motor but the door won’t budge.
Walk to the door, find the cord, and look at the carriage. If the release has been pulled, the arm will be hanging from the door rather than connected to the carriage. Some people can re-set this themselves by lifting the door slightly and re-engaging the trolley with a firm pull toward the opener – but only if the door is otherwise healthy and the springs are intact. If the door feels extremely heavy when you try to lift it, or won’t stay up on its own at the halfway mark, stop. That’s not a release problem, that’s a spring problem, and it moves to Step Five.
Pass: The release cord is at rest, the carriage is engaged, and the motor can move the door. Fail: The door is disconnected but so heavy you can’t lift it. That tells you something else is wrong, and it’s one of the reasons the door is stuck closed.
Step Four: Isolate the Wall Button from the Remote
If the door does nothing from your car remote but works fine from the wall button inside, you don’t have a door emergency – you have a remote problem. Dead battery, lost signal, or a remote that needs to be re-paired after someone unplugged the opener for a few minutes. Every opener is different, but the general test is the same.
- Press the wall button inside the garage. If the door moves, the opener is fine and the issue is the remote or its programming.
- If the door does not move from the wall button but does move from the remote, that’s a wall button failure – a loose wire at the button is common, especially in older homes near Aliante and in the neighborhoods off Camino Al Norte where the original wiring is now 20-plus years old.
- If neither the wall button nor the remote moves the door, and you’ve already passed Steps One through Three, move to Step Five.
Pass: One but not both works, and you can isolate the fix. Fail: Neither works and the opener is silent. Confirm Step One again, then move on.
If you find that the opener itself is failing – the wall button works but the motor grinds, screams, or runs inconsistently – the issue is in the machine, not the door. Garage Door Opener Repair & Installation in North Las Vegas is where to look next, since it’s usually a gear, a logic board, or a capacitor.
Step Five: Look for Visible Cable and Spring Damage
Now the serious one. Turn the opener off (unplug it or pull the cord) and look up at the springs and cables above the door. Do not touch anything. Just look. This is a visual check – nothing more.
What failure looks like:
- Extension springs (the ones running along the sides of the horizontal tracks): A broken one will be visibly separated into two pieces, sometimes with a foot of space between them. Look for a gap in the coil.
- Torsion springs (the coiled ones on the shaft above the door): A broken torsion spring will have a visible gap in the coil – usually about a quarter-inch or more – and the door will feel extremely heavy when you try to lift it. There’s often also a loud “bang” story that goes with it, since a snapping torsion spring is one of the loudest sounds in a garage.
- Cables: The two steel cables run from the bottom corner brackets up to the springs. A broken one will be drooping off its drum, tangled, or snapped near the bottom bracket. If you see the cable off its drum or dragging, stop the inspection.
In North Las Vegas, we regularly see spring failures in late spring after a mild winter, because the temperature swing across the valley (from overnight lows in the 40s to midday highs above 90) works the metal harder than a steady climate does. Springs are rated in cycles, not years – and a door that gets used four or five times a day will wear through a standard opener-rated spring faster than one used twice.
Pass: Springs intact, cables taut and seated on their drums. Fail: Any gap in a spring coil, any broken cable, or a door that feels dangerously heavy. Stop here. Do not run the opener. Do not try to lift the door. Move to “What You Should Never Try to Help Along.”
Motor Running but Door Not Moving vs. Motor Not Running at All
These are two completely different problems, with two very different urgency levels. Getting them confused is where people hurt themselves or make an inexpensive fix expensive.
Motor running but door not moving. You press the wall button, you hear the motor hum or grind, and the door doesn’t budge. That’s almost always a mechanical failure – a stripped opener gear (very common on older LiftMaster and Chamberlain units past about 10 years), a broken spring, or a disengaged carriage (Step Three). A stripped gear will grind for a second and then stop. A broken spring will sometimes let the motor spin freely with no load. Either way, the motor itself isn’t the culprit and the door needs a mechanical repair.
Motor not running at all. You press the wall button and hear nothing. No hum, no light flicker, no sound. That’s electrical – Step One and Step Four. Could be a tripped GFCI, a dead breaker, a bad logic board, or a failed capacitor. It’s usually a smaller repair than a stripped gear.
Here’s the test that separates them in ten seconds. Stand near the opener and press the wall button while watching the opener’s housing.
- If you hear a hum or grind, or see the belt/chain move, the motor is alive – the problem is downstream.
- If the light comes on but you hear nothing, the motor is possibly seized or the capacitor is bad.
- If nothing happens at all – no light, no sound – it’s power. Go back to Step One.
If the troubleshooting points to a mechanical repair, that’s usually a same-day job for a technician. If it points to the opener’s electronics, that’s Garage Door Repair in North Las Vegas territory and could go either way – repair or replacement, depending on the opener’s age and what the diagnostic shows.
What You Should Never Try to Help Along
A door is 200 pounds riding on two springs. Respect it. There are specific things people do after a spring or cable failure that turn a repair into a full replacement – or into an emergency room visit. These are the ones we see most often.
- Never try to lift a door with a broken spring. The spring is what counterbalances the weight. With it broken, the full 150 to 250 pounds of the door is on your back. People have been seriously injured trying to “help” a heavy door up by hand.
- Never try to help a stuck door up with a pry bar or a piece of wood. The door comes down faster than it goes up.
- Never try to re-seat a cable that’s come off its drum. Cables are under extreme tension. A snapped cable can whip across the garage at head height. This is a trained-technician job, full stop.
- Never spray lubricant on a spring that’s already cracked or gapped. It won’t fix it and it will leave a mess for the tech. Lubrication is maintenance for healthy springs, not a repair.
- Never run the opener again to “see what happens” after a spring or cable fails. The motor is now driving a 200-pound door with no counterbalance. It can bend the tracks, shear the opener’s carriage, and in a worst case drop the door.
- Never pull a manual release cord while the door is up. The door can come crashing down.
If a spring or cable is visibly broken, the safest thing you can do is stop and call. We’ve seen homeowners in North Las Vegas who tried to “just help it up” end up replacing the whole door instead of a spring – the door bent the tracks and the panels warped beyond repair.
How to Secure the Door Until Help Arrives
Once troubleshooting has confirmed a real failure, your job changes from “fix it” to “make it safe until a technician gets there.” A door with a broken spring or cable is not secure, and a garage door that’s halfway up is an open invitation.
- Unplug the opener. Pull the cord or unplug the wall outlet. You don’t want anyone pressing the wall button by accident.
- Do not try to lower or raise the door by hand. Leave it where it is. If it’s fully closed, leave it closed. If it’s fully up, leave it up.
- If the door is partially down and you need it closed, this is a two-person job and it’s still risky. Call us first – we can often talk you through whether it’s safe to try, or tell you to leave it and wait for the technician.
- Secure the perimeter. If the door is stuck open, lock the door between the garage and the house. If there’s a side door to the garage, lock that too. A garage door stuck open in a neighborhood where kids cut through yards is not something to leave overnight.
- Take a photo of the broken spring or cable so we know what to bring before we roll. This saves a trip.
In North Las Vegas, you’re covered by a live person answering the phone around the clock – not a call center. When you call with a confirmed spring or cable failure at 9 PM, we can quote the repair on that call and hold the number when we get there. That’s the whole point of the L.O.C.A.L. way: Local roots, On time, Community first, Accountable, Loyal. The name on the invoice is the name you’ll see again at the hardware store.
Common Mistakes to Avoid
- Pressing the wall button “just to see” after hearing a loud bang. That bang was likely your torsion spring. Running the opener against a broken spring bends tracks and strips gears. Unplug the opener and leave it.
- Assuming a reversing door means a broken sensor. Nine times out of ten it does – but the tenth time it’s a loose wire at the sensor or a door track that’s out of alignment from the summer heat expansion. Test with the LED lights before you replace the eyes.
- Replacing the opener when the door is the problem. If the opener is straining, the problem is almost never the opener. It’s almost always the door’s balance – a worn spring, a bent track, a roller that’s dragging. Replacing the opener won’t fix a door problem and it will burn out the new opener faster.
- Ignoring a slow-drooping door after monsoon season. North Las Vegas dust storms push grit into the tracks, and a door that used to close quietly starts grinding. It’ll get worse, not better. Clean and lubricate the tracks with a silicone-based spray twice a year (spring and fall) and you’ll get more cycles out of your springs.
- Leaving the manual release cord hanging low enough for a car to catch. A pulled release looks like a dead opener – and we’ve seen more than one homeowner pay for a service call for a release they pulled by accident loading groceries.
- Hiring whoever shows up first after a 10 PM spring break. Some after-hours outfits quote a low number on the phone and revise it at the door. Ask for a written quote before they start. We quote on the call and hold the number, in writing, and the 90-Day Done Right Promise is on every invoice.
- Assuming an old Raynor or Wayne Dalton door needs replacing. Most older doors have plenty of life left. A spring and roller replacement on a 20-year-old Raynor is often a fraction of the cost of a new door, and it’ll run like new for years.
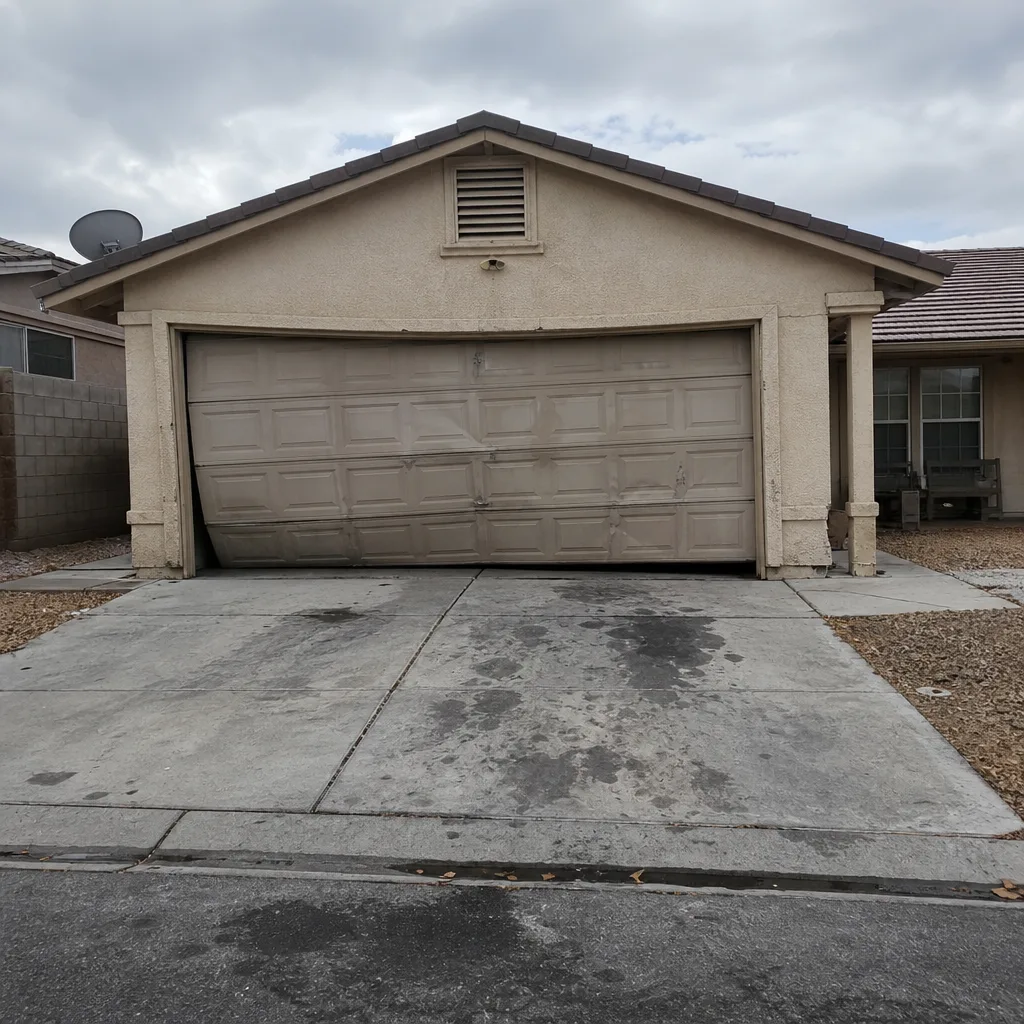
See the difference
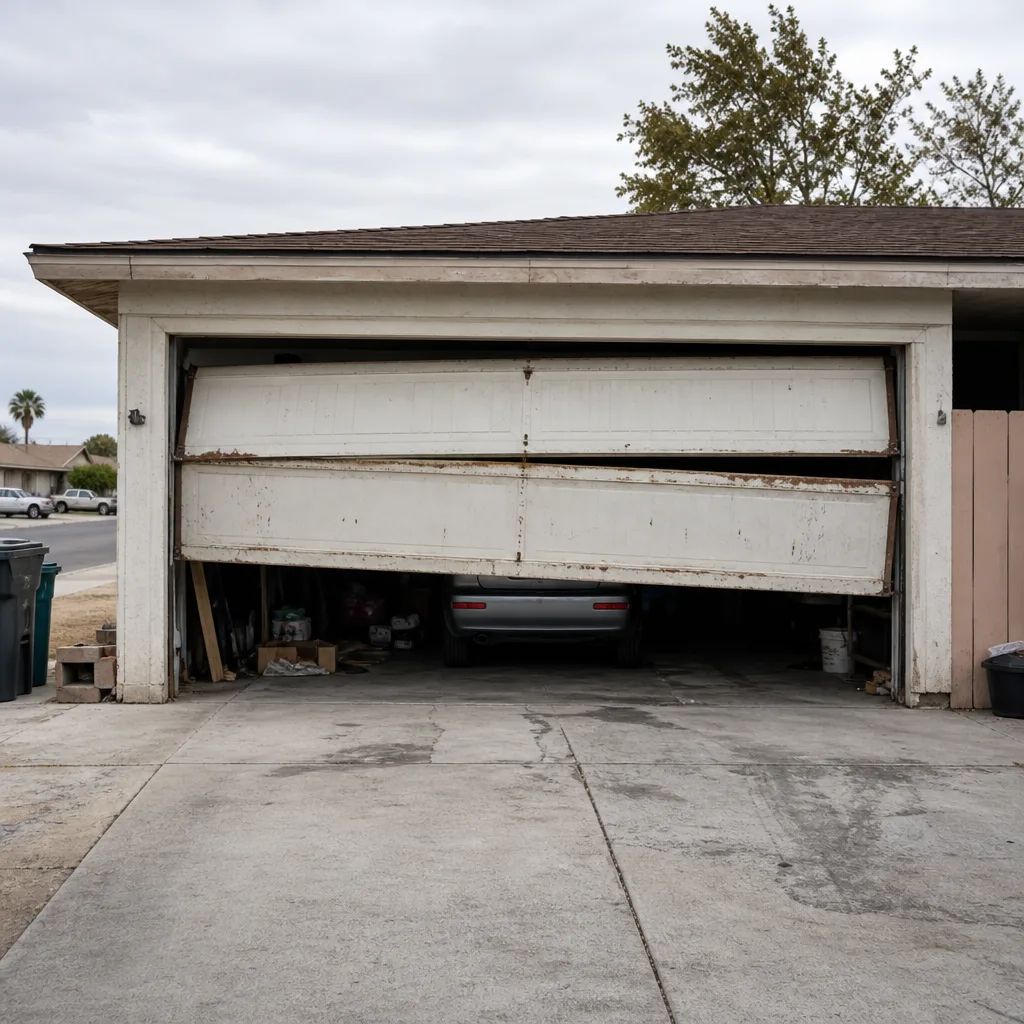 Before
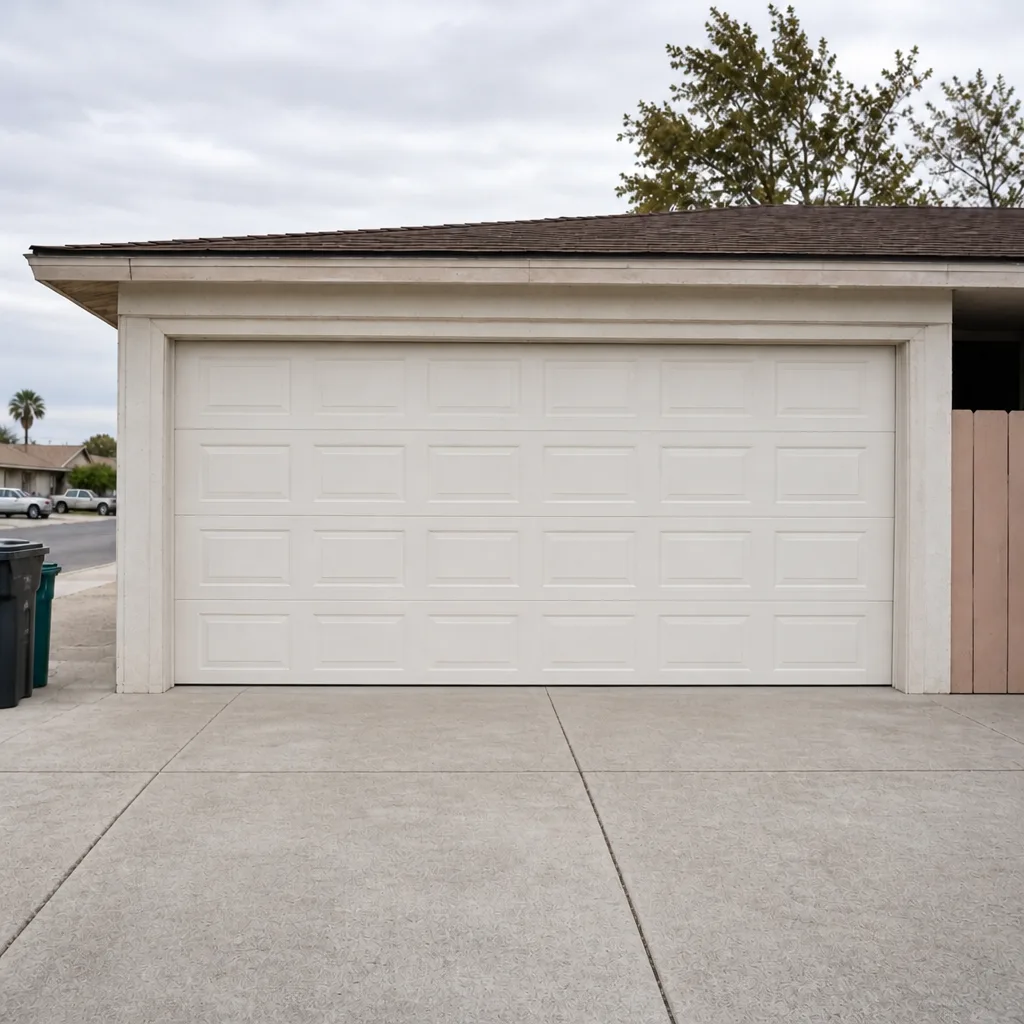 After
 Before
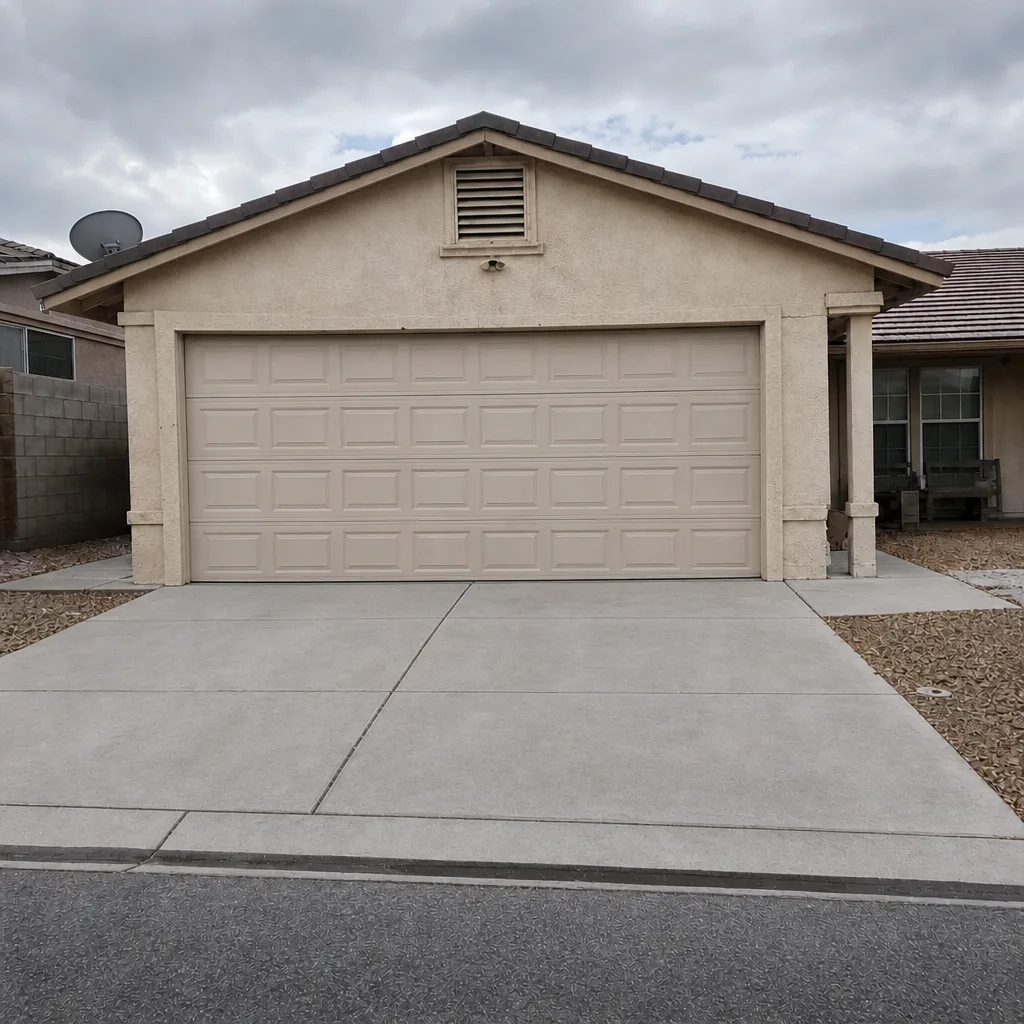 After
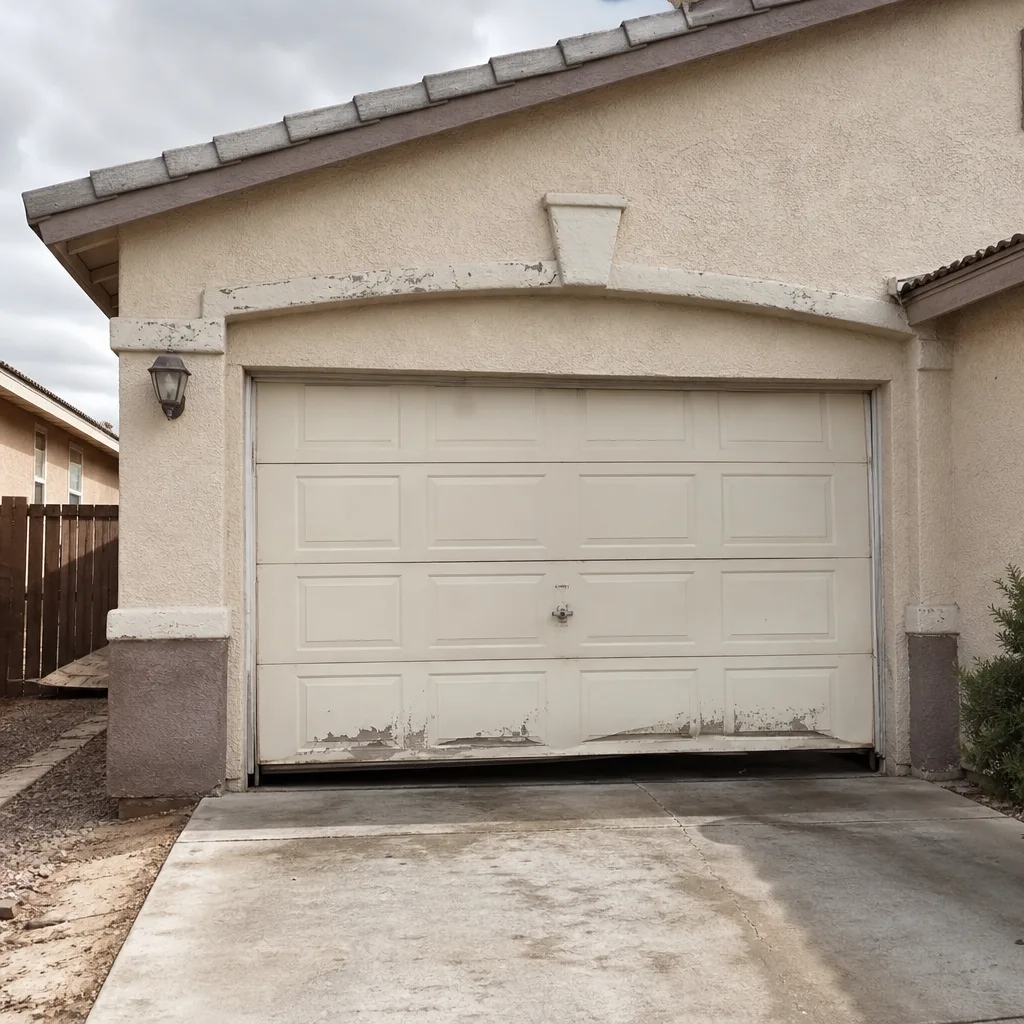 Before
 After
When to Call a Professional
Call a professional immediately – do not wait, do not troubleshoot further – in these situations: any visible spring break or cable snap, any door that is hanging or sagging on one side, any door that won’t stay up when lifted to the halfway point, any grinding or snapping sound coming from the opener under load, or any situation where you’re not sure whether it’s safe. Spring and cable work involves extreme tension and hundreds of pounds of stored energy. It’s not a homeowner job, and the tools required (winding bars, winding cones) are not something to fake with a couple of screwdrivers. Our technicians have up to 22 years of experience and are trained across all major brands. Otto’s Garage Door North Las Vegas offers free estimates in North Las Vegas – call (866) 347-9495 and a live person will answer, including after hours.
Frequently Asked Questions
Most emergency repairs fall into a range that depends on what’s broken – a photo-eye realignment is at the low end, a spring replacement or opener repair runs more, and a full door replacement is a separate conversation. We quote the job on the call and hold the number when we arrive, so you’re not looking at a surprise invoice. We also have a standing $40 off any repair over $200, and a free second opinion on any written estimate. Call (866) 347-9495 for an exact quote – estimates are free.
Often yes. A broken spring is a genuine emergency and we treat it that way – a live person answers the phone around the clock and we can usually get to a North Las Vegas spring break the same day. When you call, tell us the make and approximate age of the door if you can, and the model of the opener (Raynor, LiftMaster, Chamberlain, and Genie are all common here). That saves a diagnostic trip.
That’s almost always the photo-eye sensor. The door is coming down, the opener’s sensor detects something blocking the beam, and it reverses for safety – exactly the way it’s supposed to. Step Two of the self-check covers this. Wipe the lenses, check for a spider web or the manual release cord hanging in the beam, and verify both LEDs are steady, not blinking.
No. A door with one broken torsion spring is running on half its counterbalance – the motor is lifting 200 pounds with no help, and the remaining spring is taking twice the load. Do not run the opener, do not try to lift the door by hand, and do not pull the manual release. Unplug the opener and call. The remaining spring can break under the load, and that’s when the door drops.
Will the price change once you see it?
No. We quote on the call and hold the number at the door. The written estimate doesn’t change unless you ask us to do additional work beyond what we discussed. That’s the whole point of the 90-Day Done Right Promise and the reason we publish our address and license number – so you can verify who you’re calling before we ever roll up. Call (866) 347-9495 for a free estimate.
It depends. A hum with no movement usually points to a stripped opener gear (common on openers past about 10 years old), a disengaged carriage, or a broken spring. A stripped gear is a manageable repair and often done the same day. A broken spring is a more urgent job with different risks. Either way, don’t run the opener repeatedly – you’ll make it worse. Call (866) 347-9495 and we can usually tell from your description which one you’re looking at.
The Bottom Line
Run the five checks before you call – power, photo-eyes, manual release, wall button versus remote, and a visual on springs and cables. If everything passes and the door still won’t work, the problem is inside the opener or in the door’s balance, and that’s a job for a pro. If anything fails at Step Five, stop, unplug the opener, and call. In North Las Vegas, we’ve seen enough doors to know that the difference between a $40 repair and a $2,000 door replacement often comes down to what the homeowner did in the first five minutes after hearing a snap. Keep the garage door safe, keep the receipts from whoever shows up, and don’t pay a dime until you see a written quote. That’s a straightforward deal, and it’s the same deal we’ve been running since 2004.
If you’re in North Las Vegas and your door needs a look, call (866) 347-9495 for a free estimate. A live person answers around the clock – often Otto himself – and the quote you get on that call is the quote you’ll see at the door. If you’re weighing a repair against a replacement, start with Garage Door Repair in North Las Vegas and we’ll tell you straight. If the door is genuinely on its last legs, Garage Door Installation in North Las Vegas covers what a new door actually involves. And if you just want to know more about who’s coming, Otto’s Garage Door North Las Vegas home has the address and license number published so you can verify before we knock.
Written by the team at Otto’s Garage Door North Las Vegas.