
Last updated November 18, 2026
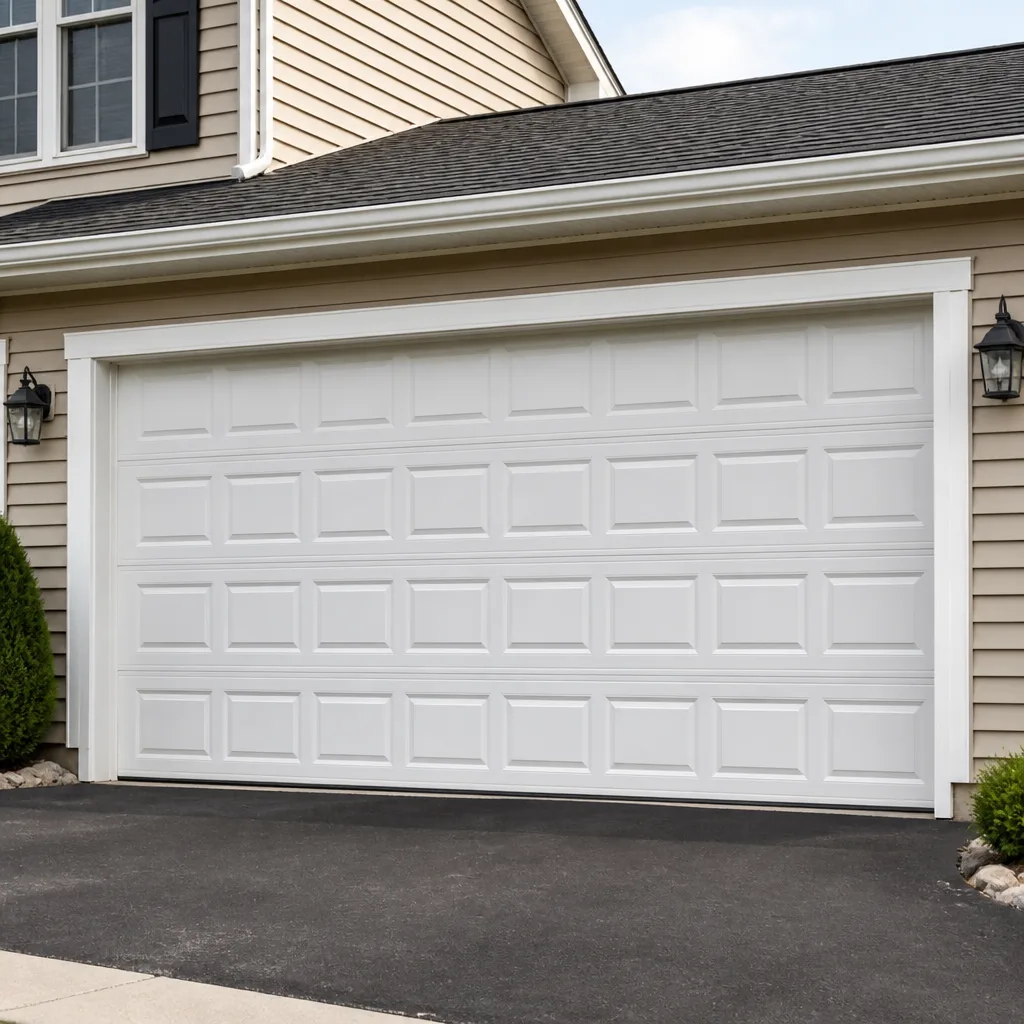 Raised-panel steel
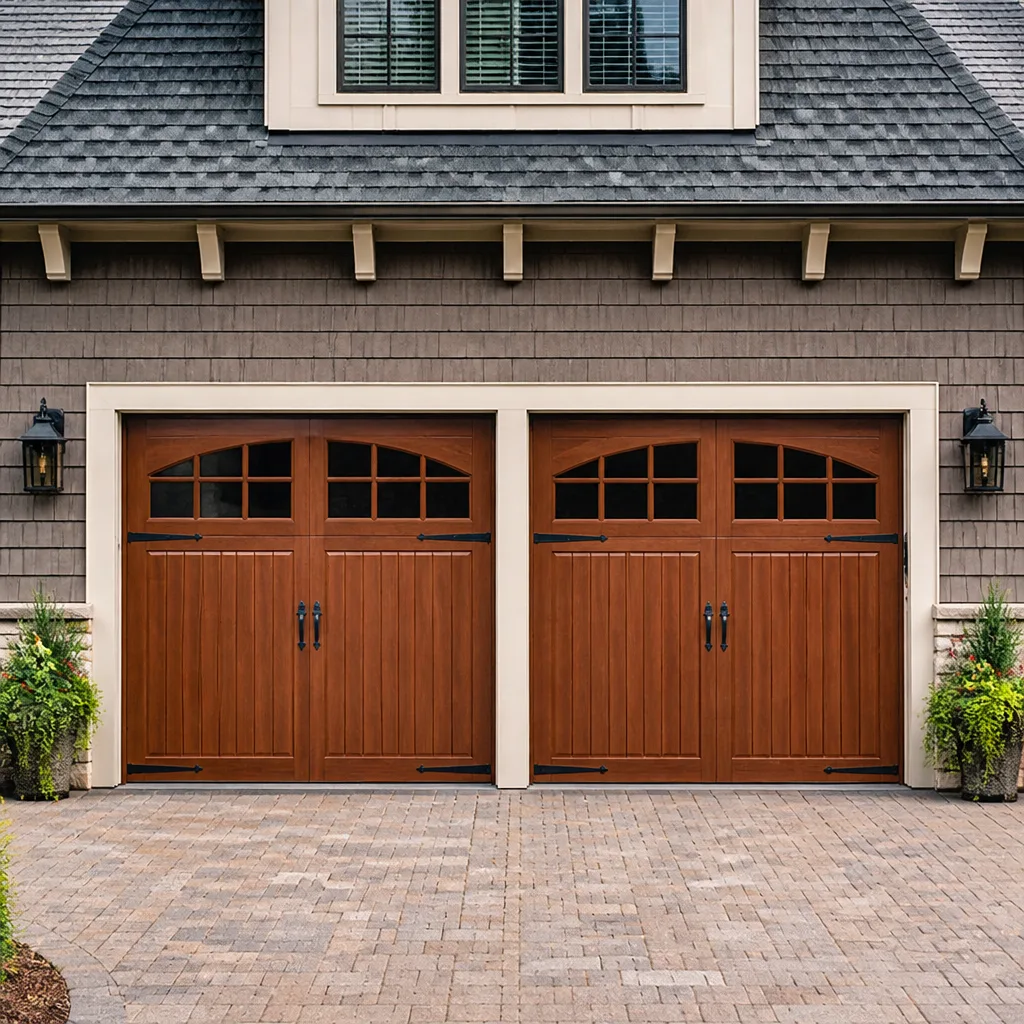 Carriage house
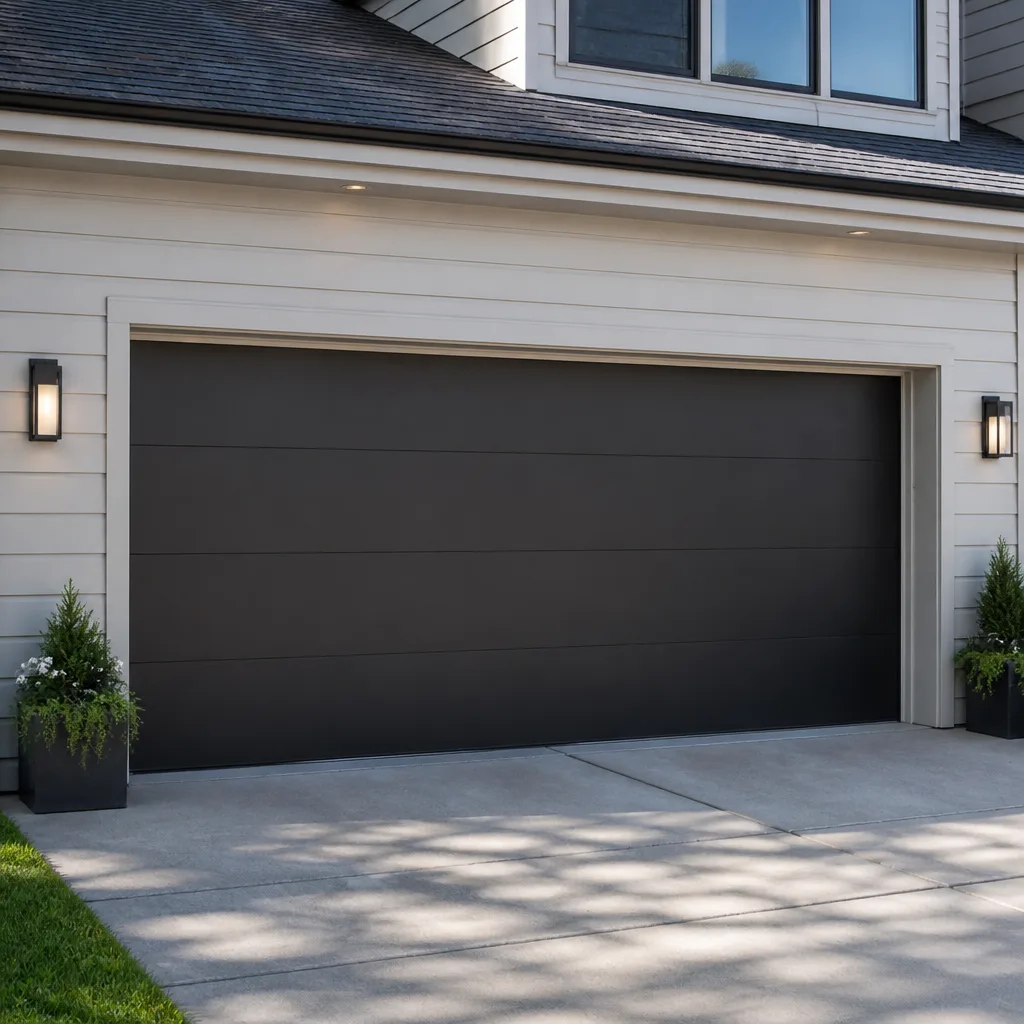 Modern flush
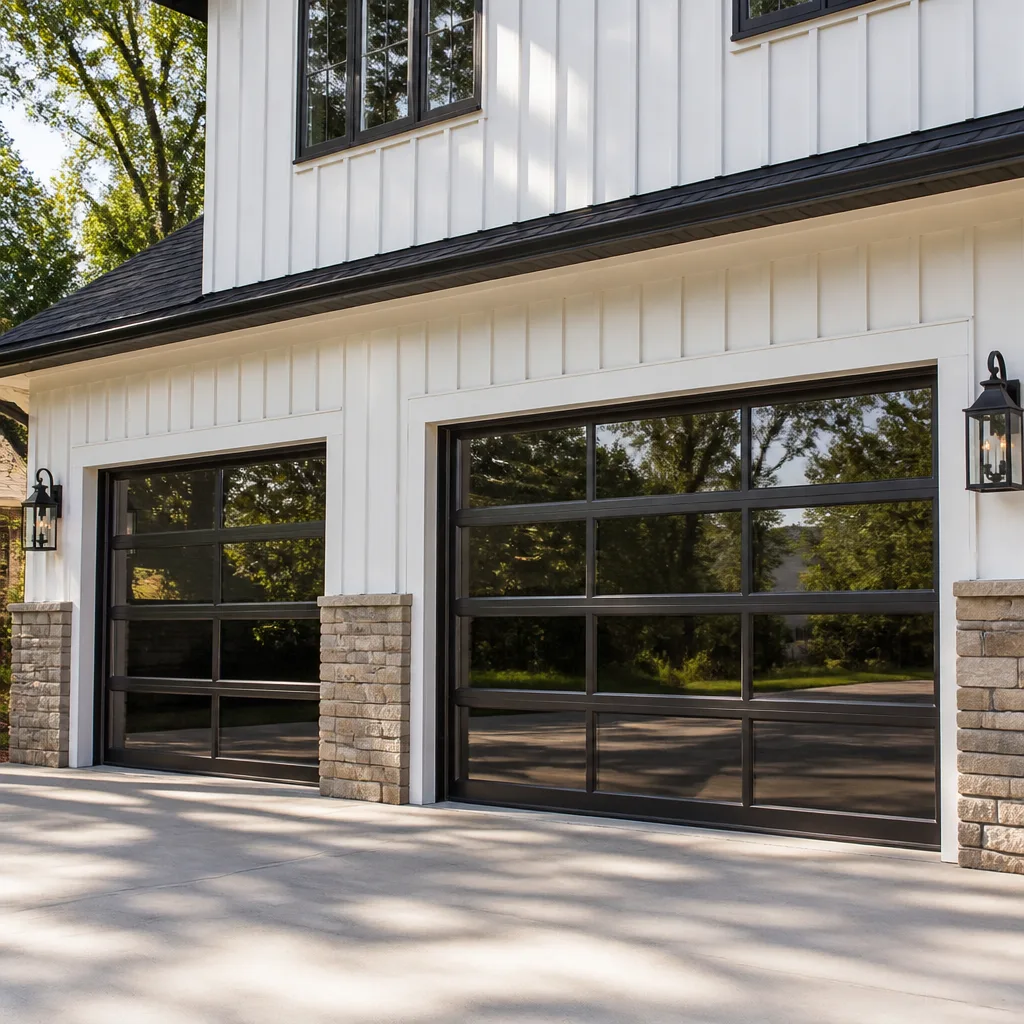 Full-view glass
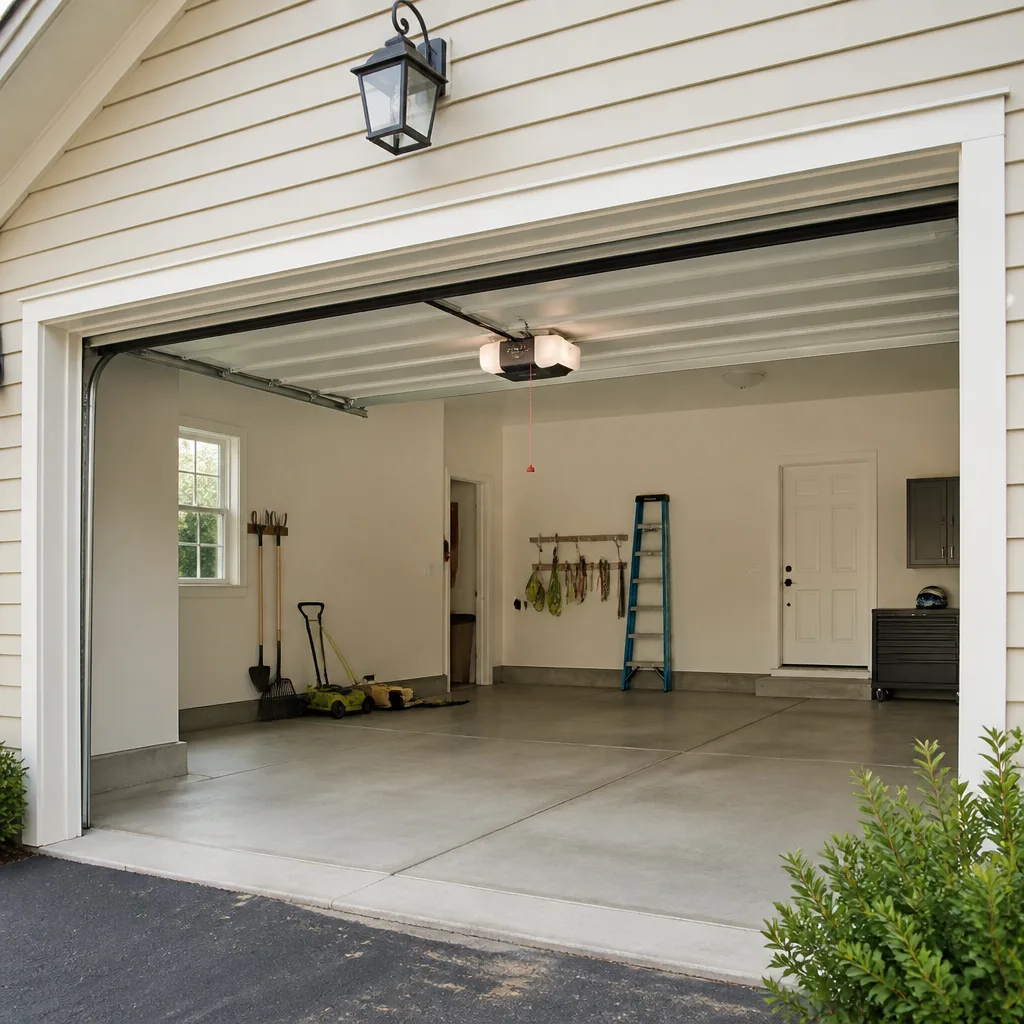 LiftMaster openers
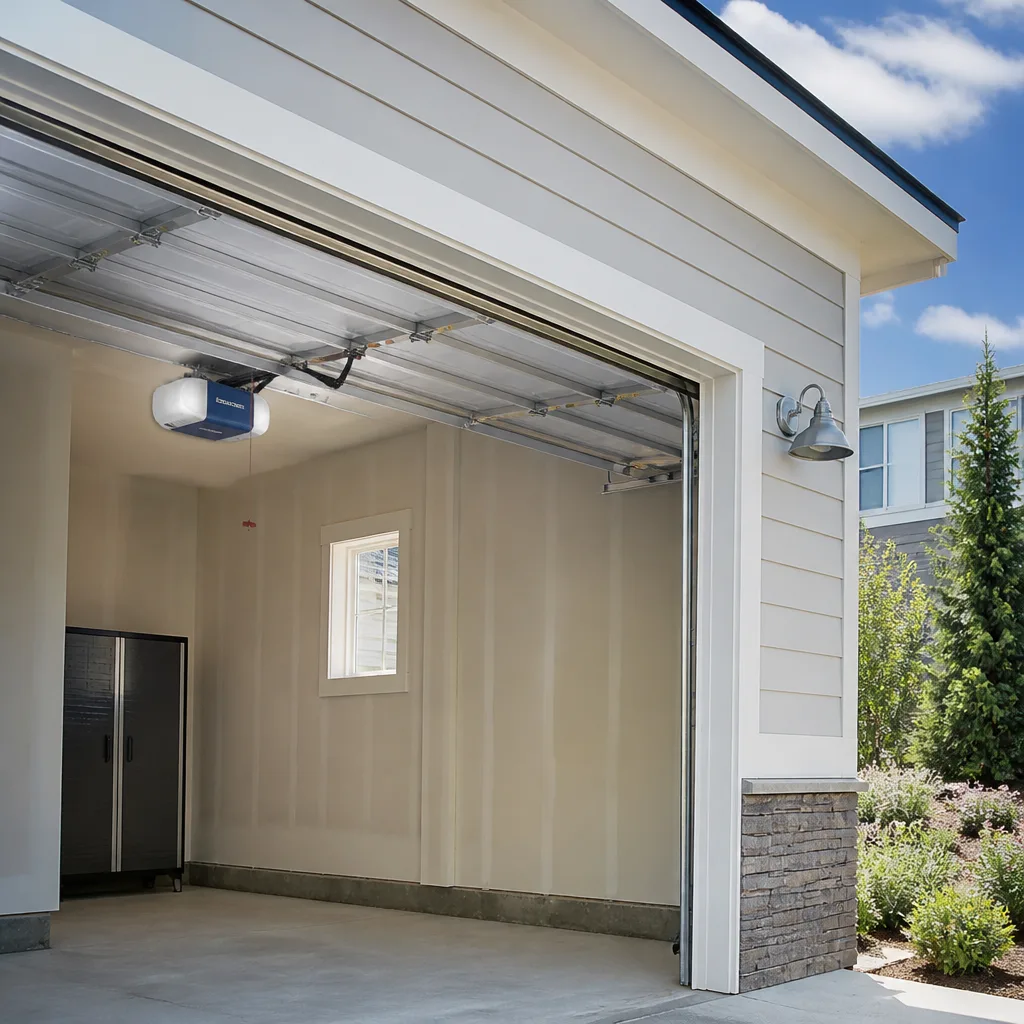 Chamberlain openers
Full 25-point door and opener safety check with every visit - springs, cables, rollers, tracks, and your LiftMaster or Chamberlain opener included
You get a price before we start. It does not change when the pro arrives.
Get your free estimateDIY vs Professional Garage Door Opener Repair & Installation: What’s Safe to Do Yourself
Reprogramming a remote, replacing a wall button, and adjusting travel limits on the opener head are all homeowner jobs. Real ones. You don’t need a truck in the driveway for any of them. Touching the torsion spring above the door when the opener starts acting up is not one of those jobs. Not ever. That spring holds the full weight of the door under enormous tension, and it stores enough energy to put a hand through drywall – or worse – when it lets go. We’ve seen the aftermath in North Las Vegas more times than we want to. This guide draws the line honestly, task by task: what’s genuinely safe to handle yourself, what a pro should do, and how to tell the difference before you grab a ladder you shouldn’t be on.
Quick Answer
Most opener problems that show up as “the door won’t close” are safe DIY fixes: a misaligned sensor, a dead remote battery, a wall button gone bad, or a travel limit that drifted. Anything that involves the springs, the cables, the torsion hardware, the high-voltage wiring, or a full head unit replacement belongs to a trained technician. If you’re asking whether the springs are involved, they are – call someone.
Styles & brands we work with
- Raised-panel steel
- Carriage house
- Modern flush
- Full-view glass
- LiftMaster openers
- Chamberlain openers
Table of Contents
- What’s Genuinely Safe to Do Yourself
- What Requires a Technician
- The Tool Reality Check
- What DIY Actually Saves – and Hides
- The Warranty Trap on New Installations
- How to Check Your Sensors and Force Settings
- When the “Free” Fix Becomes a Real Bill
- North Las Vegas Particulars
What’s Genuinely Safe to Do Yourself
Let’s start with the jobs we’d tell our own neighbors to handle. None of these put you near stored spring tension or line voltage, and all of them are reversible if you get it wrong. In our experience, about half the calls we get about “broken openers” turn out to be one of these:
- Reprogramming a remote. Every major brand – Genie, Chamberlain, LiftMaster, Craftsman – has a press-and-hold “learn” button on the head unit and a five-second window to pair a remote. It’s on the opener housing, reachable with a step stool.
- Replacing remote batteries. A CR2032 costs a couple of dollars at any hardware store. Nine times out of ten, “the remote stopped working” is a dead battery, not a dead opener.
- Swapping a wall button. A wall-mounted push button runs on low-voltage wiring. Kill the breaker to the opener, unscrew the old one, match the two wires to the new one, screw it back. No risk of shock.
- Aligning the safety sensors. The two little eyes on either side of the door near the floor need to see each other. If the LED on either one is blinking, clean the lens, check for a bent bracket, and nudge it back into line.
- Adjusting travel limits and force settings. These are the up/down screws or buttons on the opener head itself. If your door stops short of the floor or reverses before it should, this is a documented adjustment – but only while the door runs smooth and the springs are healthy.
- Cleaning and lubricating the tracks and rollers. A rag and a can of proper garage door lubricant (not WD-40) on the rollers and hinges twice a year quiets a lot of doors and stretches roller life.
What these tasks have in common: you never touch the torsion bar, the springs, the cables, or the wiring inside the opener housing. Stay on that side of the line and you’ll save yourself a service call. Need the how-to on the opener itself? Our Garage Door Opener Repair & Installation in North Las Vegas page covers brands and symptoms.
What Requires a Technician
Now the other column. These are the jobs where the risk-to-savings math runs the wrong way. The garage door spring system holds 150 to 250 pounds of door weight under tension every single day. One wrong move and the spring – or the cable whipping off it – releases that stored energy instantly. No warning, no do-over.
- Torsion spring replacement or adjustment. Two winding bars, a specific technique, and a knowledge of how many turns a given door needs. A pro handles this in 30 to 60 minutes. This is the number one injury category in garage door work, by a wide margin.
- Cable replacement. Cables carry the spring tension from the drum to the bottom bracket. Snapped or frayed cables mean you stop using the door and call someone.
- Replacing the opener head unit. Hanging a new opener means matching the rail to the door weight, aligning the drive gear, mounting to the ceiling joists, and routing the safety reverse hardware correctly.
- Any new high-voltage wiring. A new opener circuit, a new outlet near the opener, or replacing a burned outlet – that’s licensed electrician territory, and in North Las Vegas the local code requirements for residential electrical work are not DIY-friendly.
- Balancing a door that’s binding or crooked. If the door looks like it’s hanging off square, that’s a spring, cable, roller, or hinge issue. Not an opener issue, even though the opener is what’s straining.
We’ll be blunt with you the way we are with everyone: a door is 200 pounds riding on two springs. Respect it. If you’re not sure the spring is healthy, back away from the door and call.
The Tool Reality Check
Here’s what YouTube doesn’t tell you. The installers in those videos have a fully stocked truck – winding bars, a drill-driver with an impact clutch, specialty sockets, an actual voltage tester, spare sensors, and a second person on the ladder. The average homeowner has a hammer and a nearly-dead cordless drill from a decade ago. Before you start any opener job, be honest about what’s actually in your garage:
- Eight-foot stepladder. Not a kitchen chair, not a two-step. A proper ladder with a person holding it if you’re over 60. Falls off ladders send more people to the ER than any other garage door mistake.
- Nut drivers, Phillips and flathead screwdrivers, and an adjustable wrench. That’s enough for a wall button swap, sensor adjustment, or remote programming.
- A multimeter or basic voltage tester. If you don’t own one, don’t touch anything that requires one. Not negotiable.
- Proper garage door lubricant. Silicone or lithium grease, not cooking spray, not WD-40.
- A second person. Anything overhead is a two-person job unless you’re genuinely confident in your balance on that ladder.
What you don’t need, despite what you’ll see online: winding bars. If you ever find yourself comparing prices on winding bars, that’s the moment to call a pro. Winding bars are a tool that only a garage door tech should own in the first place.
What DIY Actually Saves – and Hides
Let’s be cost-honest, because this is where most people make the decision. Here’s what the safe DIY tasks actually save versus what a typical service call in North Las Vegas runs – and where the hidden cost lives.
- Remote reprogramming: DIY is free. A tech call is $75 to $120 for the visit alone. Legitimate DIY win.
- Remote battery: $2 DIY, same cost if you call. Straightforward.
- Wall button replacement: $10 to $20 for the part, no risk. A tech call runs $100 to $160 fitted. DIY win if you’re comfortable with two low-voltage wires.
- Sensor alignment: free DIY. Service call $75 to $120. This one routinely saves the full trip charge.
- Travel limit / force adjustment: free DIY when the door is healthy. Free. But if it doesn’t fix the problem, the underlying issue is not the opener – stop adjusting.
- Spring replacement: $0 DIY because you don’t touch it. Replacing a snapped spring yourself is the number one way people end up in the ER – and the hidden cost there is a lot more than a $250 to $400 spring job.
The hidden cost of a botched DIY, in our experience, is usually not the part – it’s the diagnosis. When a homeowner has already replaced a sensor or a wall button that wasn’t the problem, we’re walking in behind someone else’s guesswork. That’s a second visit and a second bill. The 90-Day Done Right Promise exists precisely because we get called to undo work that wasn’t done right the first time. We’d rather tell you honestly which side of the line a job is on than take a service call you don’t need.
The Warranty Trap on New Installations
Here’s the trap most DIY guides skip entirely. If you buy a new Genie or Chamberlain opener and hang it yourself, the manufacturer’s warranty for the initial installation is often void. Not always – but often. The fine print usually says a “qualified or certified installer” must perform the install, and the manufacturer gets to decide what that means. Before you pick up a drill for a new opener, check the warranty card inside the box – specifically the phrase “professional installation required” or “qualified installer”.
Common patterns we’ve seen:
- Most premium Chamberlain and LiftMaster units: warranty runs 5 years on parts and lifetime on the motor, but only if a qualified installer does the hang and the initial tune. The fine print in the box defines “qualified.”
- Genie: varies by unit. Reading the paperwork before you cut the box open is the smart move.
- Clopay and Amarr doors: warranty terms are separate from the opener, and a poorly matched opener can void the door warranty too. Worth checking both.
- Wayne Dalton: same story – match the opener to the door and check the warranty paperwork for the install requirement.
If the warranty card doesn’t mention a certified installer, you’re clear to hang it yourself. If it does, a written install from a qualified tech protects a warranty you’d otherwise lose. That’s not a scare tactic – it’s just reading the paperwork. A new opener installed correctly also matters for safety reverse performance, which is not a place to guess.
How to Check Your Sensors and Force Settings
This is where the safe DIY work lives. If the door won’t close all the way, opens right back up, or the opener light flashes a specific code, the sensor or a force setting is the honest first stop. Here’s the check, in order:
- Check the sensor LEDs. Both sensors have a small indicator light. Steady on both sides means aligned. Blinking on either side means misaligned or blocked.
- Clear the path. Cobwebs, leaves, a stray piece of cardboard, or a reflection off a shiny floor can all trigger a sensor. Sweep and retry.
- Check the brackets. A gentle nudge with a hand loosens a bent bracket. Realign so both sensors point directly at each other.
- Test the safety reverse. With the door on the way down, put a two-by-four flat under it. It should reverse on contact. If it doesn’t reverse, stop using the door and call a pro – this is a safety feature, not a convenience feature.
- Check the force adjustment only if the door runs smooth. On the opener head, one screw or button raises and lowers the force. Bump it one notch, retest. If it still doesn’t close, the opener is not the problem – the door or the springs are.
If you’re in North Las Vegas and the door stops halfway but the sensors check out and the door feels heavy when you lift it by hand, the opener is doing its job. The spring is tired. That’s a call-a-pro job, not an opener job. We go through this same checklist on the phone on every “my door won’t close” call, because we’d rather save you the visit than take it.
When the “Free” Fix Becomes a Real Bill
Some DIY saves you the trip charge. Some DIY turns a $150 fix into a $400 fix. The line between them is whether you understand what’s actually failing before you start. Here’s the pattern we see in North Las Vegas, over and over:
- Replacing a sensor “just in case.” If the sensor isn’t the problem, the new one won’t fix it, and you’ve burned $80 and a Saturday. Diagnose first, replace second.
- Turning up the force adjustment to force a stuck door. Putting the opener into overdrive against a binding door is how the opener gear strips. Now you need a new opener, not a spring. That’s a $600 mistake on top of the original fix.
- Replacing a wall button when the real problem is a broken wire. Low-voltage, but the diagnosis is not. Back-trace before you buy parts.
- “Just one more adjustment” on a door that won’t balance. If the door doesn’t sit level at rest or feels heavy on the way down, it’s not the opener. Stop adjusting and call.
- Replacing the rollers and leaving the bearing plates. New rollers on worn plates will still squeal. If you’re in there, do the whole system.
If any of these sound like the fix you were about to try, call us first. Otto will tell you honestly whether it’s a job for you or a job for us – because we’d rather have a customer for twenty years than win one big ticket. Our Garage Door Repair in North Las Vegas page covers the repairs we’re called out for most.
North Las Vegas Particulars
Where you live changes the answer to “what’s safe to do yourself.” In North Las Vegas, three things show up more than most guides warn about:
- Summer heat stresses the springs. We regularly see spring failures in July and August along the Aliante and Centennial corridors, and in the older neighborhoods off Pecos and Craig. Heat cycling fatigues the torsion spring faster than most of the country experiences, which is why we count spring cycles the way you count tire miles. If your door hasn’t been tuned in three or four summers, the spring may be closer to failure than it feels.
- Dust and grit in the tracks. The desert air carries fine dust that works into the rollers and hinges. Dry rollers force the opener to work harder, which mimics an opener problem. It’s a lubrication problem. Two cleanings a year and a real garage door lubricant handle most of it.
- Code-compliant electrical work. If a new opener needs a new circuit or outlet in a North Las Vegas home, that’s permitted work, not a Saturday project. The local requirements for residential electrical aren’t friendly to unpermitted changes, and a home sale can stall over an outlet that wasn’t inspected. Run the wiring through a licensed electrician and the opener install through a garage door tech.
If you’re in North Las Vegas and just bought a new door, our Garage Door Installation in North Las Vegas page is the starting point. If you’re pricing out an opener replacement, we’re happy to give you the number over the phone before the visit, and hold it when we get there.
Common Mistakes to Avoid
- Assuming the opener is the problem. If the opener is straining, the problem is almost never the opener. It’s the door, the spring, or the rollers. Diagnose before you buy parts.
- Fighting a heavy door with the force setting. Turning up the force on a binding door strips the opener gear and can fail the safety reverse. Fix the door, not the opener.
- Touching the torsion spring because you’re sure you can be careful. Careful isn’t the issue. The energy in that spring doesn’t care how careful you are. This is the number one injury in garage door work, and it’s a call-a-pro job, every time.
- Hanging a new opener in a North Las Vegas garage without checking the warranty card. Some Chamberlain and LiftMaster units void the install warranty if a non-qualified installer hangs them. Read the box before you drill.
- Leaving the opener plugged in during service. If you’re swapping a wall button or adjusting sensor brackets, unplug the opener first. It’s a 30-second step that prevents an accidental activation.
- Skipping the two-by-four reverse test. If the door doesn’t reverse on contact with a piece of wood, the safety reverse is broken. Stop using the door and call a pro.
- Replacing a sensor without checking the bracket first. A bent bracket causes most sensor misalignment. Straighten the bracket before you buy a new sensor.
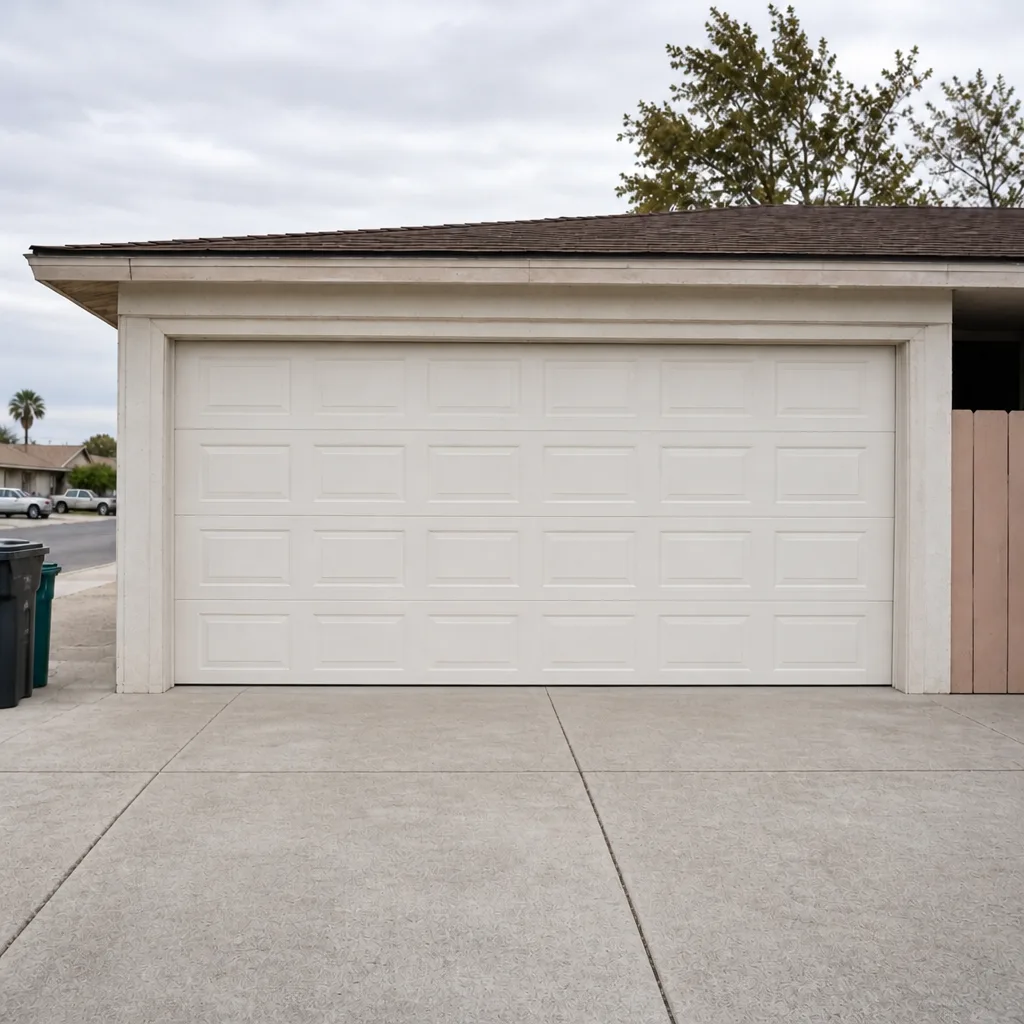
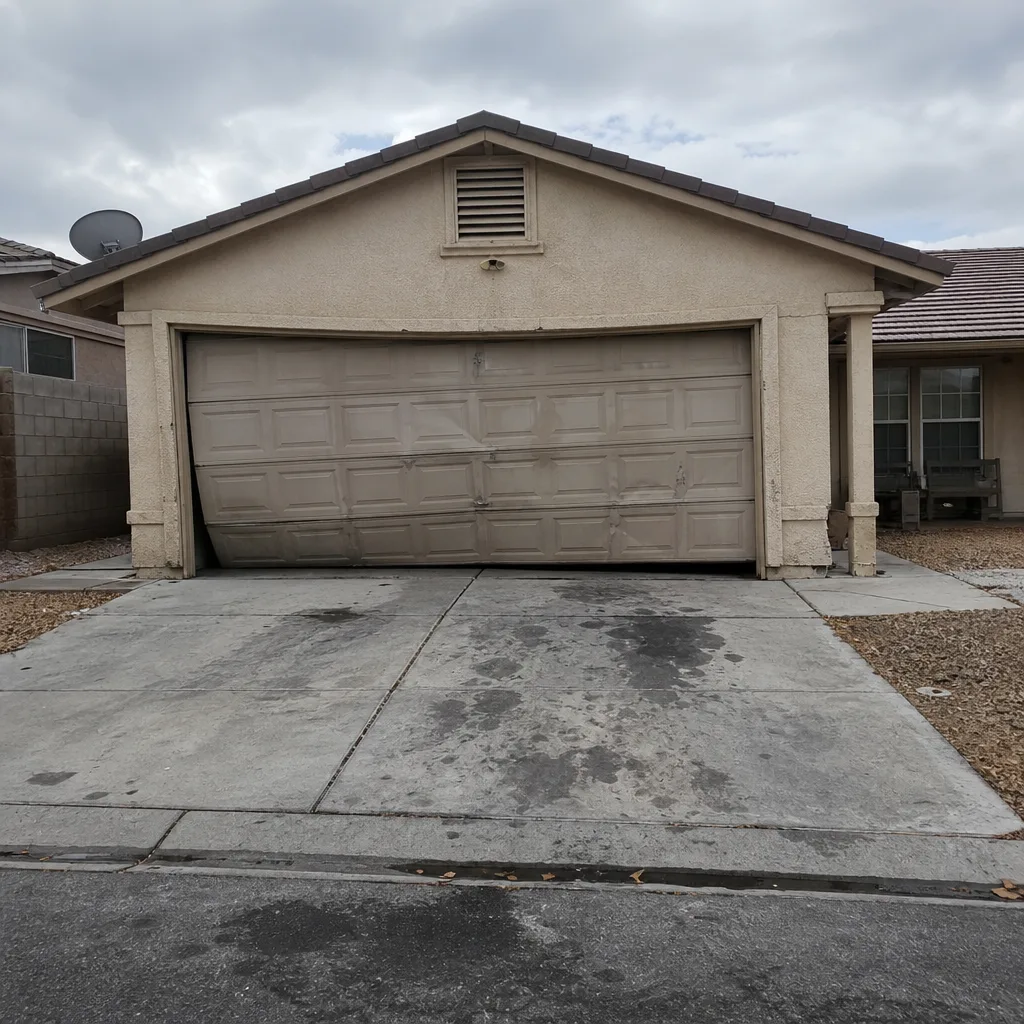
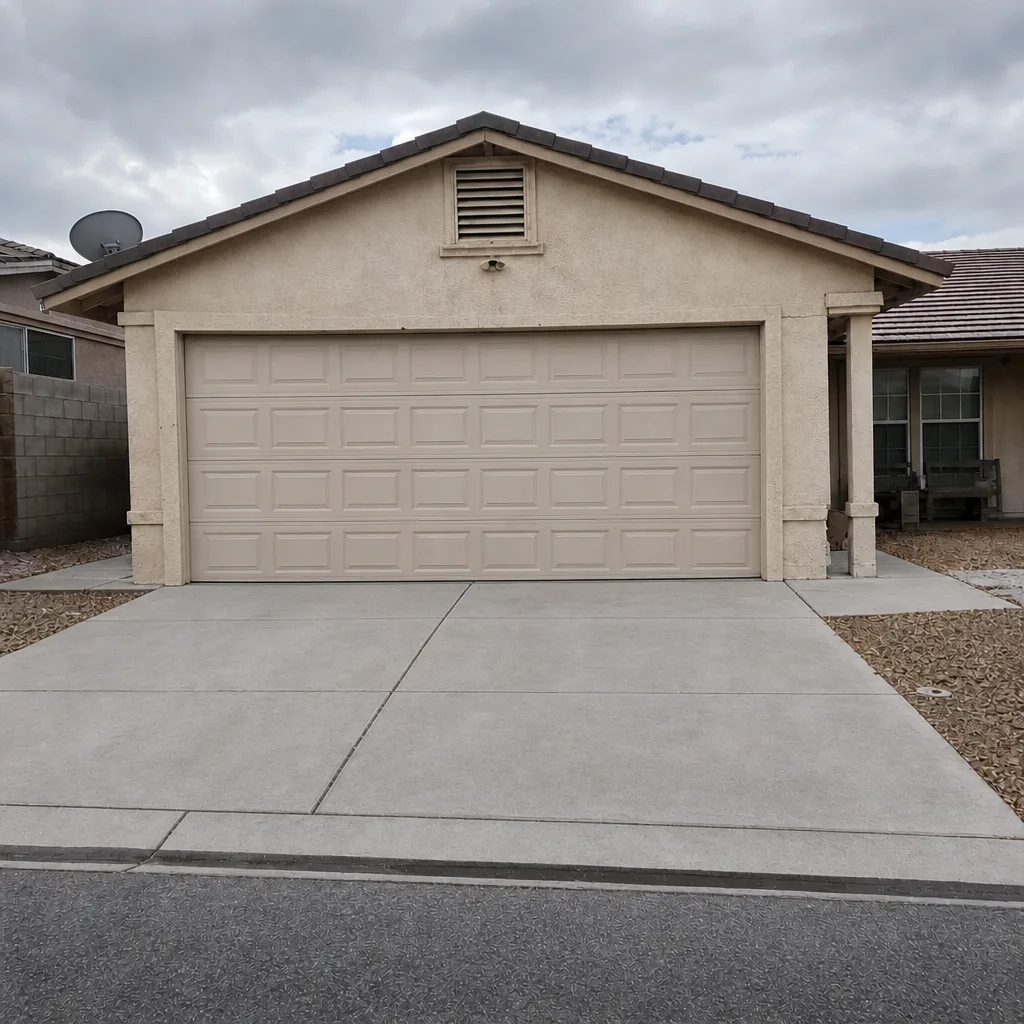
See the difference
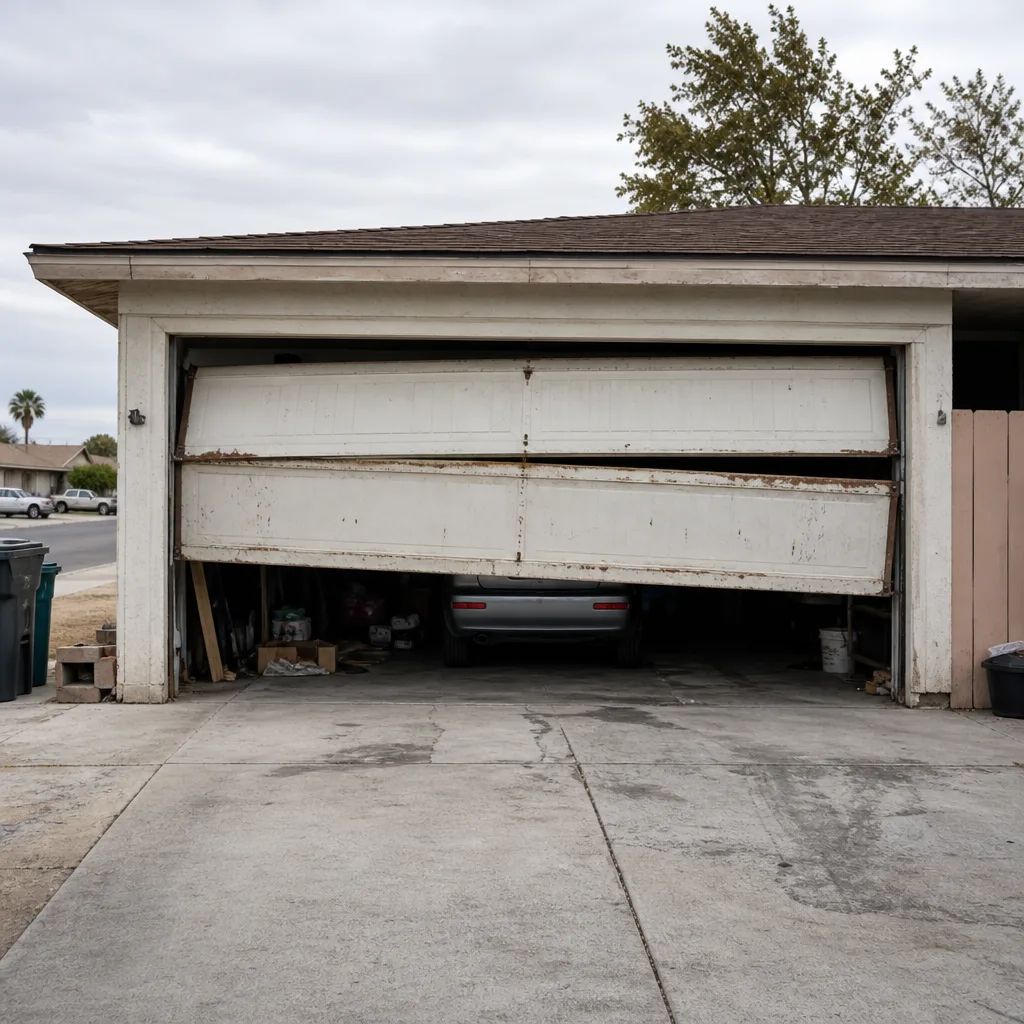 Before
 After
 Before
 After
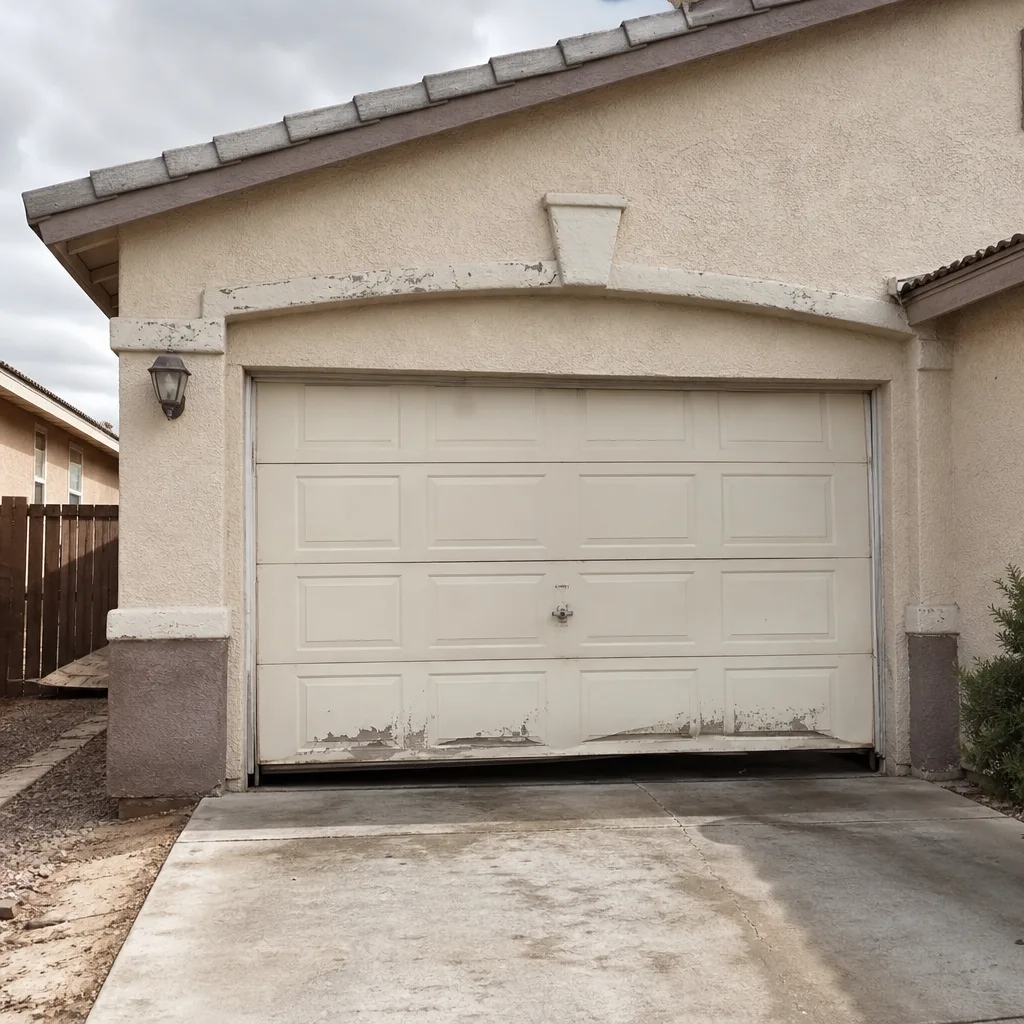 Before
 After
When to Call a Professional
Call a professional when the springs are involved, when the cables are involved, when a new circuit is involved, or when the door won’t balance. Also call when the safety reverse fails, when a new head unit needs a hang, when the door looks crooked, or when you’ve tried the safe DIY fixes and the door still won’t close. Those are the situations where a $150 visit saves a $600 mistake or worse. If you’re not sure which side of the line you’re on, call and ask – we’ll tell you honestly whether it’s a job for you or a job for us. Otto’s Garage Door North Las Vegas offers free estimates in North Las Vegas – call (866) 347-9495. A live person answers, usually Otto himself, and he’ll quote it on the call and hold the number at the door.
Frequently Asked Questions
No. Torsion springs store enough energy to cause serious injury or death when released incorrectly, and spring failure is the number one injury category in garage door work. A trained technician with the right winding bars and technique is the only safe path – a $250 to $400 spring replacement is far cheaper than an ER visit. Call (866) 347-9495 if your spring is snapped or your door feels heavy.
You can hang a new opener yourself if the door is in good working order and the warranty card doesn’t require a qualified installer – but most premium Chamberlain and LiftMaster units void the install warranty for DIY installation. Check the warranty card before you cut the box open. If the door needs spring work too, that’s a pro job regardless. Call (866) 347-9495 for a free estimate on an opener replacement in North Las Vegas.
In North Las Vegas, opener strain in July and August is usually a tired torsion spring, a dry roller, or both. Heat cycling fatigues the spring faster than in cooler climates, and dry rollers add resistance. If the door is heavy by hand, the opener is doing its job. Call (866) 347-9495 and we’ll quote a spring tune or replacement on the phone.
Often yes, depending on the brand and model. Most Chamberlain and LiftMaster units require a qualified installer for the initial hang to keep their parts and motor warranty intact, and the paperwork in the box defines “qualified.” Check the warranty card before you drill. If it does require a certified install, call (866) 347-9495 – free estimates, and the price doesn’t change between the phone and the driveway.
No. Turning up the force on a binding or heavy door is how you strip the opener gear and walk a $150 fix into a $600 one, and it can override the safety reverse. If the door needs force to close, the door is the problem. Call (866) 347-9495 and we’ll tell you honestly what the door needs.
Unplug the opener before any service, use a proper stepladder with a second person if you’re doing anything overhead, keep both hands off the torsion bar at all times, and run the two-by-four safety reverse test after any adjustment. If the door doesn’t reverse on contact, stop using it and call a pro. Call (866) 347-9495 if you’d rather we take a look – estimates are free.
The Bottom Line
Most opener problems that look scary are safe DIY fixes – remotes, sensors, wall buttons, travel limits, and lubrication. Anything that involves the springs, the cables, the high-voltage wiring, or a fresh head unit belongs to a trained tech. The math usually runs the wrong way when you cross that line, in money and in safety. If you’re asking whether the springs are involved, they are. Call Otto’s Garage Door North Las Vegas at (866) 347-9495 for a free estimate and an honest answer. We’d rather save you a service call than win a ticket – and when we do show up, the price we quote on the phone is the price at the door.
If you’re in the market for a whole new door rather than an opener fix, our Garage Door Installation in North Las Vegas page walks through what a proper measure and install looks like. And for everything we do day-to-day, start at Otto’s Garage Door North Las Vegas home.
Written by the team at Otto’s Garage Door North Las Vegas.