
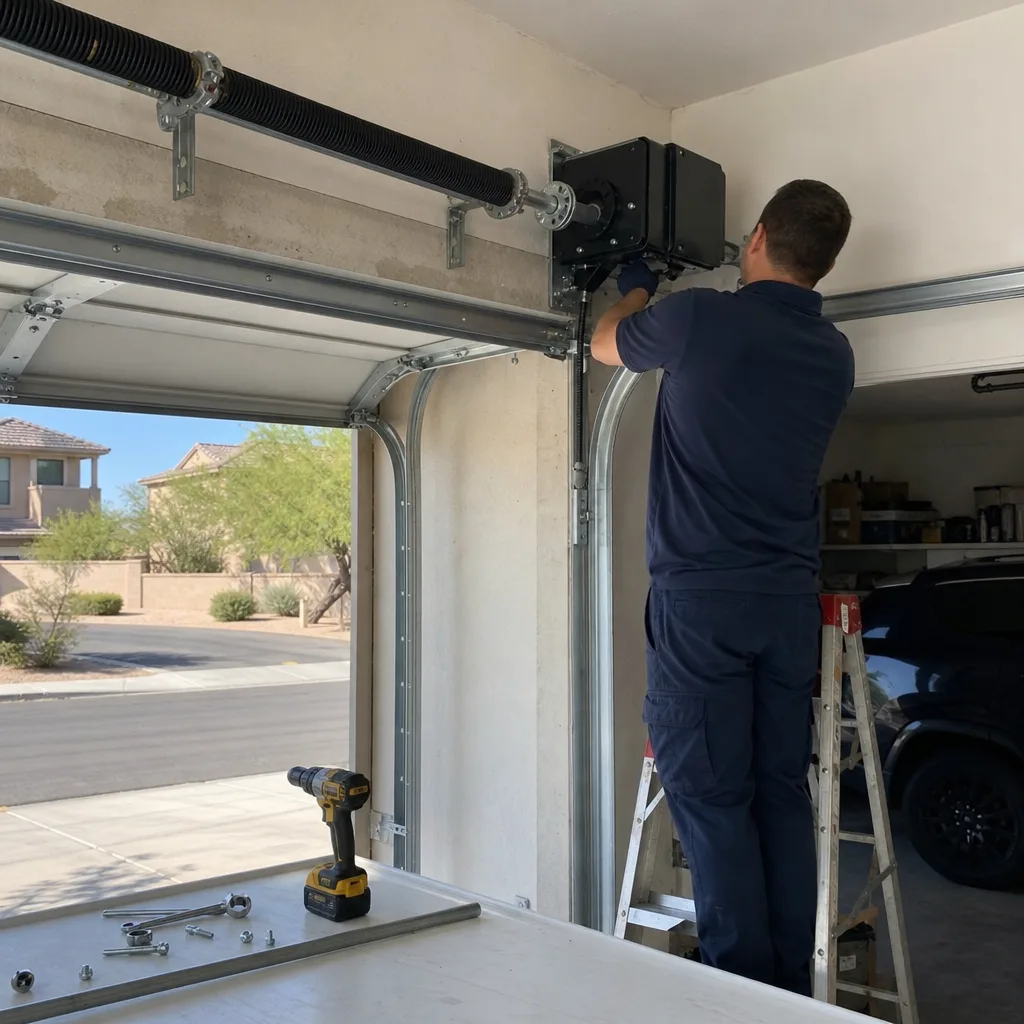
Last updated November 18, 2026
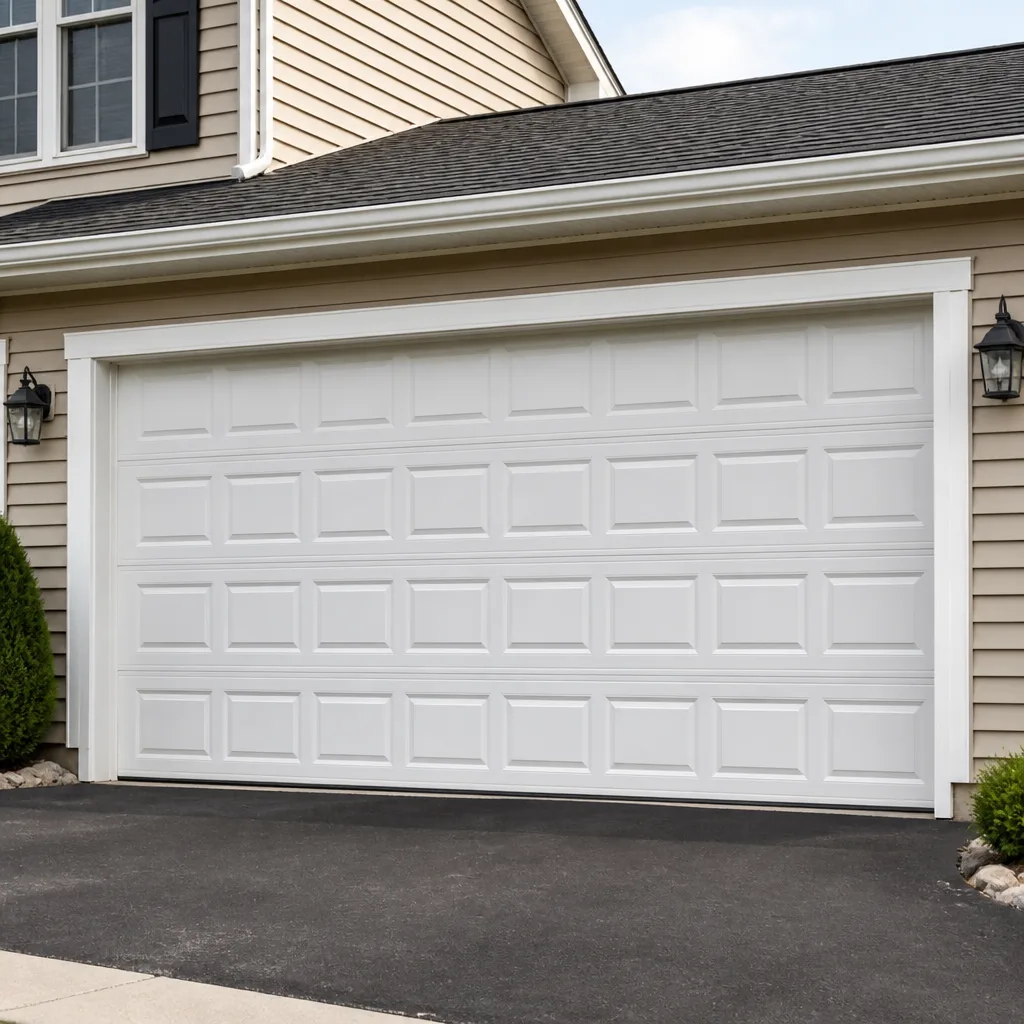 Raised-panel steel
 Carriage house
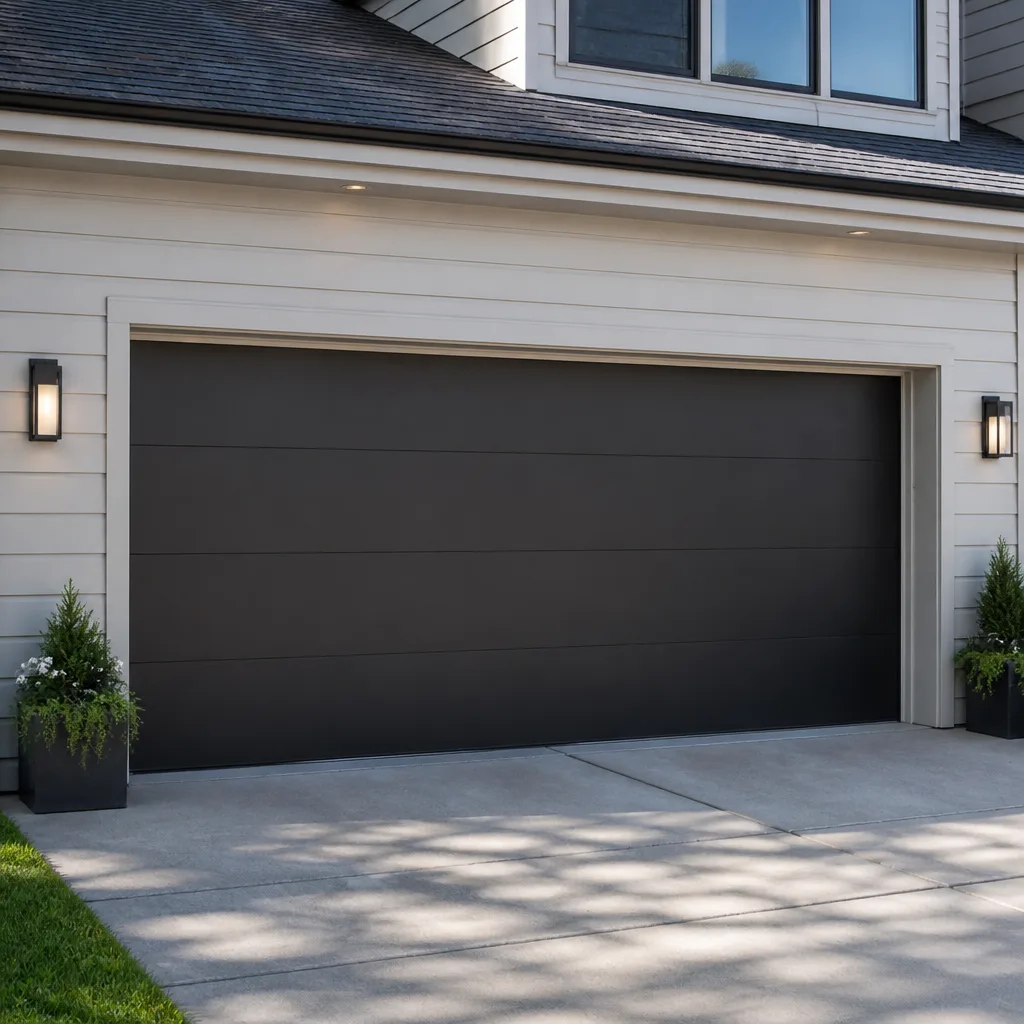 Modern flush
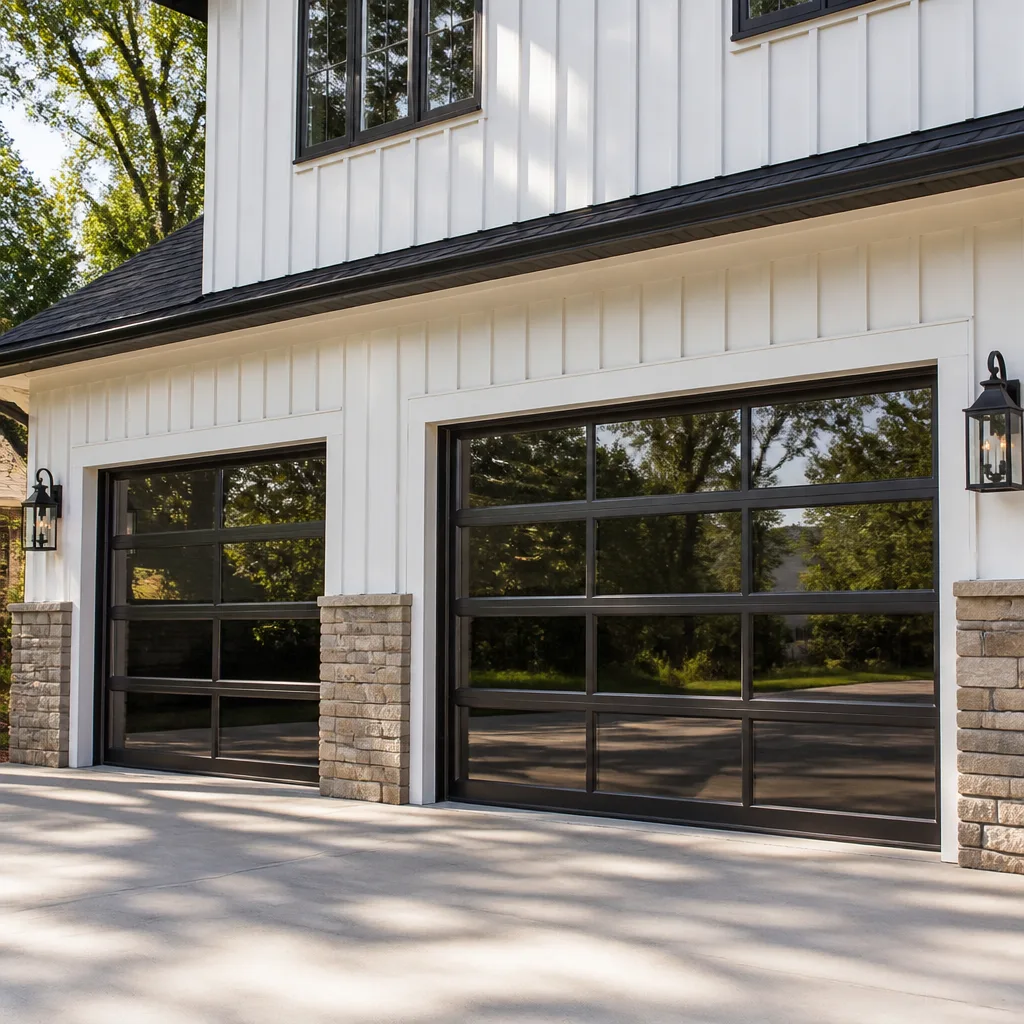 Full-view glass
 LiftMaster openers
 Chamberlain openers
Full 25-point door and opener safety check with every visit - springs, cables, rollers, tracks, and your LiftMaster or Chamberlain opener included
You get a price before we start. It does not change when the pro arrives.
Get your free estimateGarage Door Installation Maintenance Schedule: What to Do and When
Here’s the part nobody tells you when the new door goes up: the first twelve months are when it’s most likely to need attention, not least. New steel settles. New cables stretch. Lag bolts that were torqued to spec in cool morning air work themselves loose by the first August afternoon in North Las Vegas. We’ve watched doors that should run fifteen years start grinding at year three because nobody looked at them during the warranty year. This guide walks through the 30-day, 90-day, and one-year checkpoints, what to inspect at each one, and how to tell normal settling from a real problem before it costs you a spring.
Quick Answer
A new garage door should be checked at 30 days (visual and balance), 90 days (cable tension re-check and weatherstrip compression), and one year (full hardware re-torque and spring cycle review). Most first-year issues are normal settling, not defects. Catching them at those checkpoints is what separates a door that lasts two decades from one that starts failing at year four.
Styles & brands we work with
- Raised-panel steel
- Carriage house
- Modern flush
- Full-view glass
- LiftMaster openers
- Chamberlain openers
Table of Contents
- Why the First Year Is the Most Critical Window
- The 30-Day Checkpoint: What to Look For
- The 90-Day Checkpoint: Cable Stretch and Seal Compression
- The One-Year Checkpoint: Full Re-Torque and Spring Review
- Thermal Expansion in North Las Vegas: The Lag Bolt Problem
- Normal Settling vs. a Warranty Call: A Plain Guide
- Building Your Baseline: What “Normal” Feels Like
- Life After Year One: The Ongoing Schedule
Why the First Year Is the Most Critical Window
A garage door is a system under constant load: roughly 200 pounds of door riding on two torsion springs, cables under tension, hinges and rollers tracking in a rail. When it’s brand new, every one of those components is still finding its place. Steel stretches microscopically. Cables seat into their drums. Wood or metal framing around the opening moves with the seasons. None of that is a defect. All of it needs to be checked.
We’ve seen it from both sides. Skip the first year and you’re running a door with slack in the cables and bolts working loose, which means the springs are doing extra work to lift a door that’s no longer balanced. A door that’s out of balance wears its springs at roughly twice the normal rate. That’s the difference between a spring that lasts ten years and one that lets go at five.
Whether you installed a Clopay or a Wayne Dalton, the physics don’t care about the brand. The first year is when the door tells you what it needs. You just have to be listening.
The 30-Day Checkpoint: What to Look For
Thirty days out, most of the initial settling has happened. You’re not looking for anything dramatic. You’re looking for early warning signs that something’s out of alignment or that a fitting wasn’t seated properly at install.
- Run the door from fully closed to fully open and back three times. Listen. It should sound the same each pass. A new thump, a scrape, or a rattle that wasn’t there on day one is worth noting.
- Check the balance. Pull the manual release, lift the door to waist height, and let go. It should stay put within an inch or two. If it drifts down or wants to run up, the spring tension is off.
- Look at the cables. Both sides should look identical. Even a quarter-inch of slack on one side by day 30 means the cable seated differently on that drum.
- Inspect the hinges and rollers by eye. No visible gaps at the hinge plates, no roller sitting cocked in its track.
- Test the safety reverse. Put a 2×4 flat on the ground under the door, close it, and confirm the door reverses. This should be checked monthly, not just at 30 days.
If you’re in North Las Vegas and the install happened in spring, your 30-day mark lands before the worst summer heat. That’s actually good, because it gives you a clean read on the door’s behavior before thermal expansion starts working on the fasteners. More on that below.
The 90-Day Checkpoint: Cable Stretch and Seal Compression
Ninety days is the one most homeowners skip, and it’s the one that matters most. By the 90-day mark, new lift cables have stretched enough to throw the door’s balance off. Not because they’re bad cables. Because all steel cable stretches under load. That’s the whole reason a re-tension is recommended.
When the balance is off, the opener has to work harder to lift the door, the springs cycle under uneven load, and the whole system runs hotter. A door running out of balance is quietly wearing itself out.
The weatherstrip also needs a look at 90 days. The bottom seal is compressed under the full weight of the door when it’s closed. New seals compact, sometimes a full quarter-inch, and once they do, the door sits lower than it did on day one. If the seal isn’t adjusted, you get a light gap along the floor that lets in dust, insects, and in the North Las Vegas Valley, the fine grit that blows in on a windy afternoon. A compression check is quick and cheap. Ignore it and you’ll be replacing a seal at year two instead of year eight.
What we look at during a 90-day visit:
- Cable tension on both sides (matching equal tension)
- Door balance at the halfway point
- Bottom seal contact across the full width of the opening
- Header bracket and hinge bolts (torque check)
- Opener force setting (it should be adjusted after the door settles)
If you’re not comfortable checking cable tension yourself, don’t. Cables are under heavy tension and can cause serious injury if mishandled. That’s a job for someone trained to do it.
The One-Year Checkpoint: Full Re-Torque and Spring Review
By year one, the door has been through a full cycle of seasons. In North Las Vegas that means summer heat that pushes a closed steel door surface well past 140 degrees, a cool fall, and a winter that can drop into the thirties at night. That temperature swing is the biggest stress the hardware will see. The one-year check is where you catch everything that loosened during that cycle.
- Re-torque every fastener. Hinge bolts, roller brackets, the header bracket, the jamb brackets, and the bearing plates. This is a torque wrench job done to manufacturer spec. Hand-tight isn’t the same as spec.
- Inspect the springs. A torsion spring is rated in cycles. Most are rated for 10,000 to 20,000 cycles. You won’t see wear by eye, but a technician can measure it against the door’s balance and estimate where you are. If you want to understand the spring count, we’re happy to walk you through it.
- Check the openers and travel limits. After the door settles, the opener’s travel limits need a small adjustment. If you have a LiftMaster or a Genie, the logic board is fine, but the limit switches drift with the door’s position.
- Inspect rollers for flat spots. Even in year one, rollers that were running dry can pick up flat spots. They’ll squeak and eventually skip in the track.
- Lubricate everything that moves. Hinges, rollers, springs, and the opener rail. Not the tracks. Tracks stay dry.
After the one-year service, the schedule loosens up. Most doors need a full inspection once a year and a lubrication every six months. That’s the baseline for a healthy door.
Thermal Expansion in North Las Vegas: The Lag Bolt Problem
Here’s something you’ll only learn from someone who has actually worked in this climate. In North Las Vegas, the first summer after a new install is when the header bracket lag bolts start to loosen. It’s not a manufacturing flaw. It’s thermal expansion.
The steel track and the wood or metal framing around the opening expand and contract at different rates. Every time the sun hits the door and it heats up, the bracket wants to push outward. Every time it cools, it pulls back. Over an entire summer, that cycling works lag bolts a fraction of a turn loose. By fall, the header bracket is slightly off-level and the door is drifting in its tracks.
This is a re-torque job, not a warranty call. It’s what the one-year service is for. But it’s also why a door installed in a milder climate might not need this. In North Las Vegas, we plan on it.
The same logic applies to the tracks. On south-facing door openings, where the heat load is highest, the vertical tracks can bow slightly over the summer. If your door sounds like it’s rubbing on one side during the hot months, that’s why. A track adjustment fixes it. Left alone, the door wears a flat spot in the roller and the drag gets worse.
Normal Settling vs. a Warranty Call: A Plain Guide
The hardest part of the first year is knowing whether to call your installer or just wait it out. Here’s the plain version.
Normal settling, don’t call:
- A slight change in sound over the first few months as parts seat in
- Minor cable slack at the 90-day mark (needs a re-tension, not a new cable)
- A gap along the bottom seal that needs a compression adjustment
- Slight loosening of lag bolts after the first summer
- Travel limits out of adjustment after the door has run for a few hundred cycles
Real problem, call your installer:
- A cable that has visibly frayed or has kinks in it
- A door that’s dropped on one side, or a door that won’t open evenly
- Grinding or popping from the springs
- Any sign of the door coming off its track
- An opener that’s straining to lift a door that it managed fine 60 days ago
The gray zone is the balance issue. A door that’s out of balance at 90 days is usually settling. A door that’s out of balance at 10 months is usually a spring problem. If you’re not sure, a second opinion on the installer’s written assessment is worth the phone call. We offer that second opinion free, and if your installer’s diagnosis holds up, we’ll tell you so.
Building Your Baseline: What “Normal” Feels Like
You can’t recognize a problem if you don’t know what normal is. The first week after install is your only chance to record the baseline. Do this:
- Record the sound. Stand in the garage with the door closed and record a normal full open and close on your phone. Listen for it later. Sound is the earliest warning you’ll get.
- Note the balance by feel. Disconnect the opener and lift the door by hand at the midpoint. Whatever force it takes on day one is the baseline. If your door used to lift with two fingers and now takes a firm pull, something has changed.
- Look at the seal contact. Slide a piece of paper under the door when it’s closed. It should grip lightly across the whole length. Note any spots where the paper slides freely. That’s where the seal will be weakest after compression.
- Note the opener’s behavior. How long it takes the door to travel its full length. How the light behaves. Whether it reverses on contact. These are your reference points.
- Write it down. Small notebook in the garage or a note on your phone. Include the install date, the brand, and the model of door. You’ll want that when you need parts five years from now.
The discipline of that baseline is what most homeowners miss. When something changes six months later, you’ll know exactly what changed. That’s worth a surprising amount.
Life After Year One: The Ongoing Schedule
Once the first-year checkpoints are done, the schedule settles into a rhythm:
- Monthly: Test the safety reverse. Check the balance by hand.
- Every six months: Lubricate hinges, rollers, springs, and opener rail. Inspect for rust on the tracks and hinges. Wipe dirt off the photo-eye sensors.
- Every year: Full professional inspection. Re-torque the hardware. Review the springs. Adjust the weatherstrip. Test the opener’s force settings.
- Every three to five years: Reassess the rollers. In a hot, dusty climate like North Las Vegas, rollers regularly need replacing at the sooner end of that range.
At the ten-year mark, budget for spring replacement even if the door is running fine. A torsion spring that’s rated for 10,000 cycles is often ready at ten to twelve years for a typical home. A spring that fails on a Sunday afternoon with the car inside is a considerably different experience than one you planned for.
If you’ve got a Craftsman or an Amarr door that’s been running for a decade without a real service, the first call we usually get is about a spring that let go. Regular service would have flagged it. That’s the difference.
Common Mistakes to Avoid
- Skipping the 90-day check. It’s the most valuable checkpoint in the first year and the one almost everyone skips. By 90 days, the cables have stretched and the balance is off. Catching it here saves spring life.
- Treating normal settling as a warranty claim. New hardware settling is not a defect. Calling it one means your installer spends a visit re-torquing bolts instead of solving a real issue. Know the difference before you call.
- Lubricating the tracks. Tracks are supposed to stay dry. Grease on the tracks attracts Valley dust and makes the door slower and louder. Lubricate the hinges, rollers, and springs. Never the tracks.
- Ignoring the weatherstrip after the first summer. The bottom seal compresses under door weight and doesn’t come back. If you don’t adjust it at 90 days, the seal is running against the floor at half compression for the rest of its life, and the dust comes in.
- Running the door with slack cables. Slack cables mean the springs are doing more work than they should. A door that’s out of balance wears its springs at roughly twice the normal rate. That’s the reason for a 90-day re-tension.
- Assuming the opener is the problem. If the opener is straining, it’s almost never the opener. It’s a door that’s out of balance, a track that’s bent, or a roller that’s dragging.
- Forgetting to record the baseline. Without a reference, you can’t tell when something has changed. A phone recording and a written note in week one are worth more than anything you’ll do at year five.
See the difference
 Before
 After
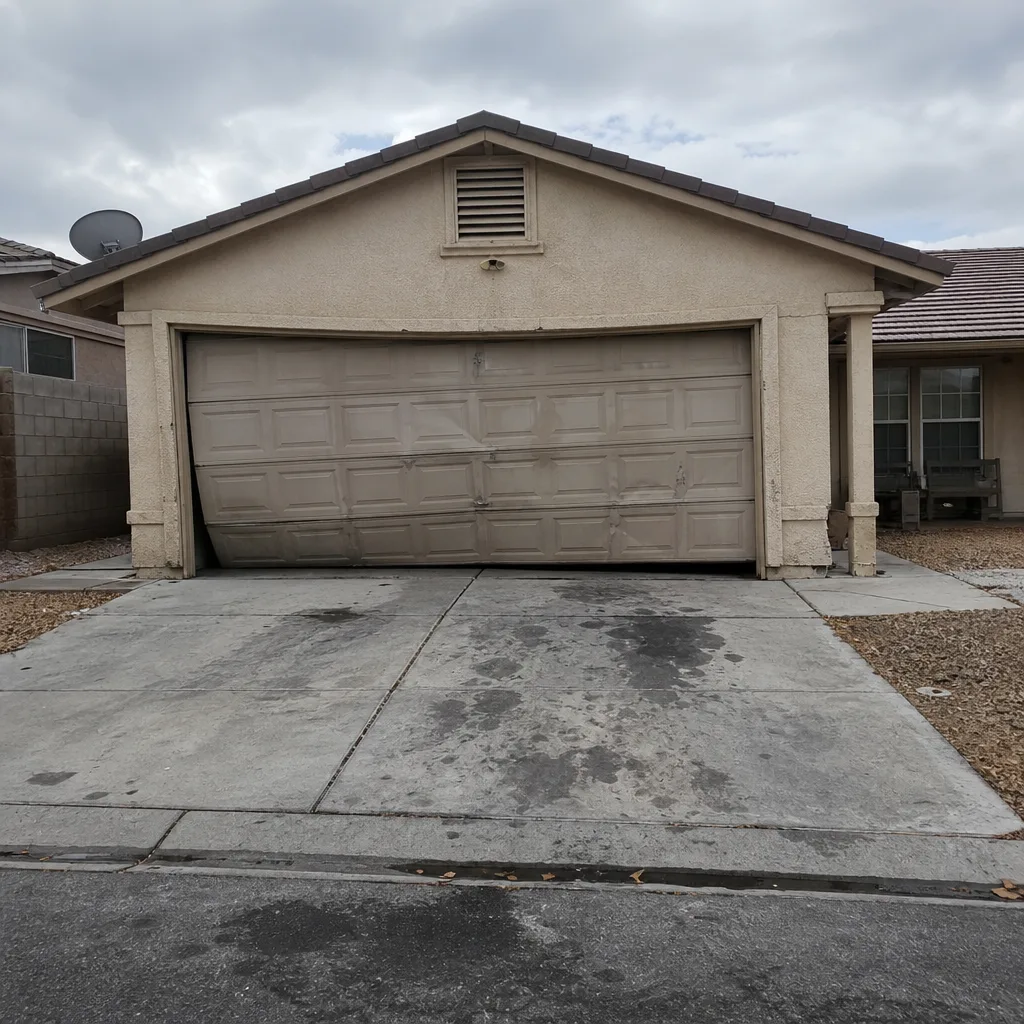 Before
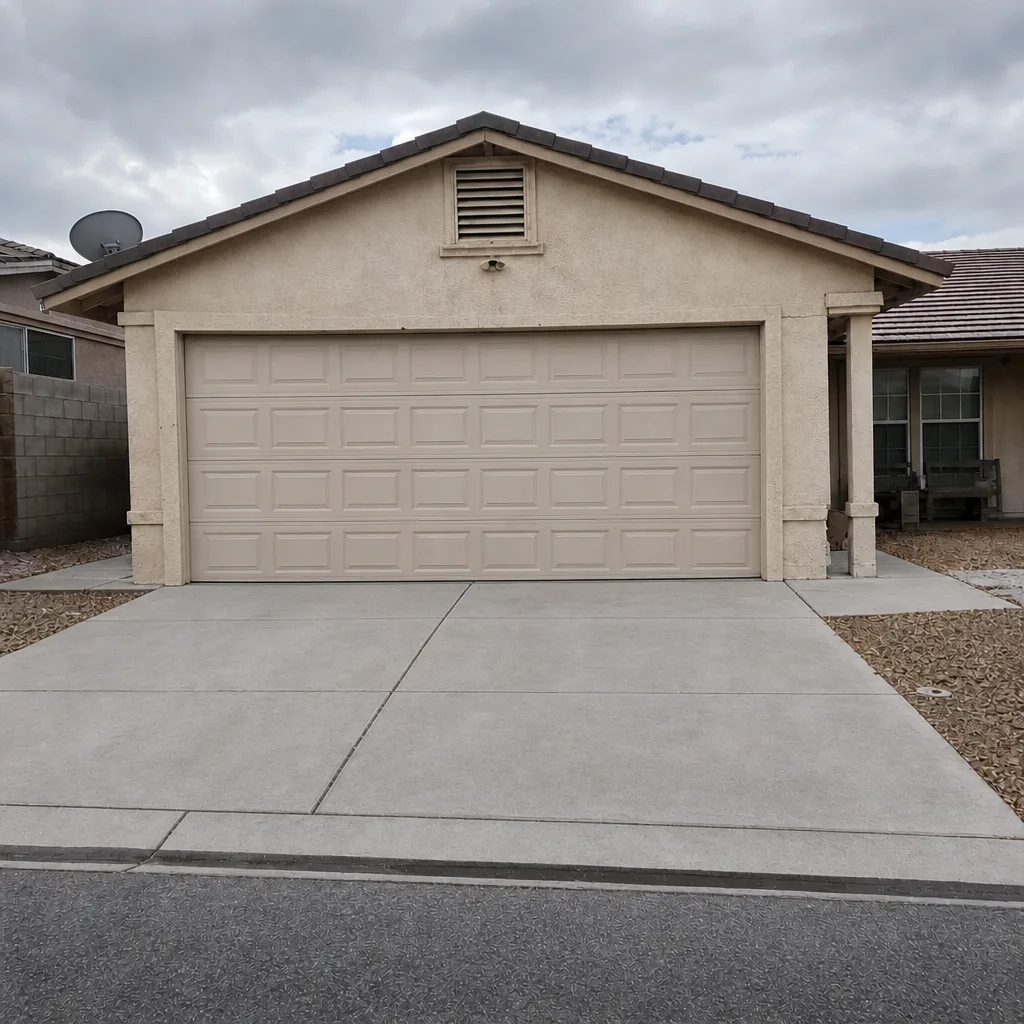 After
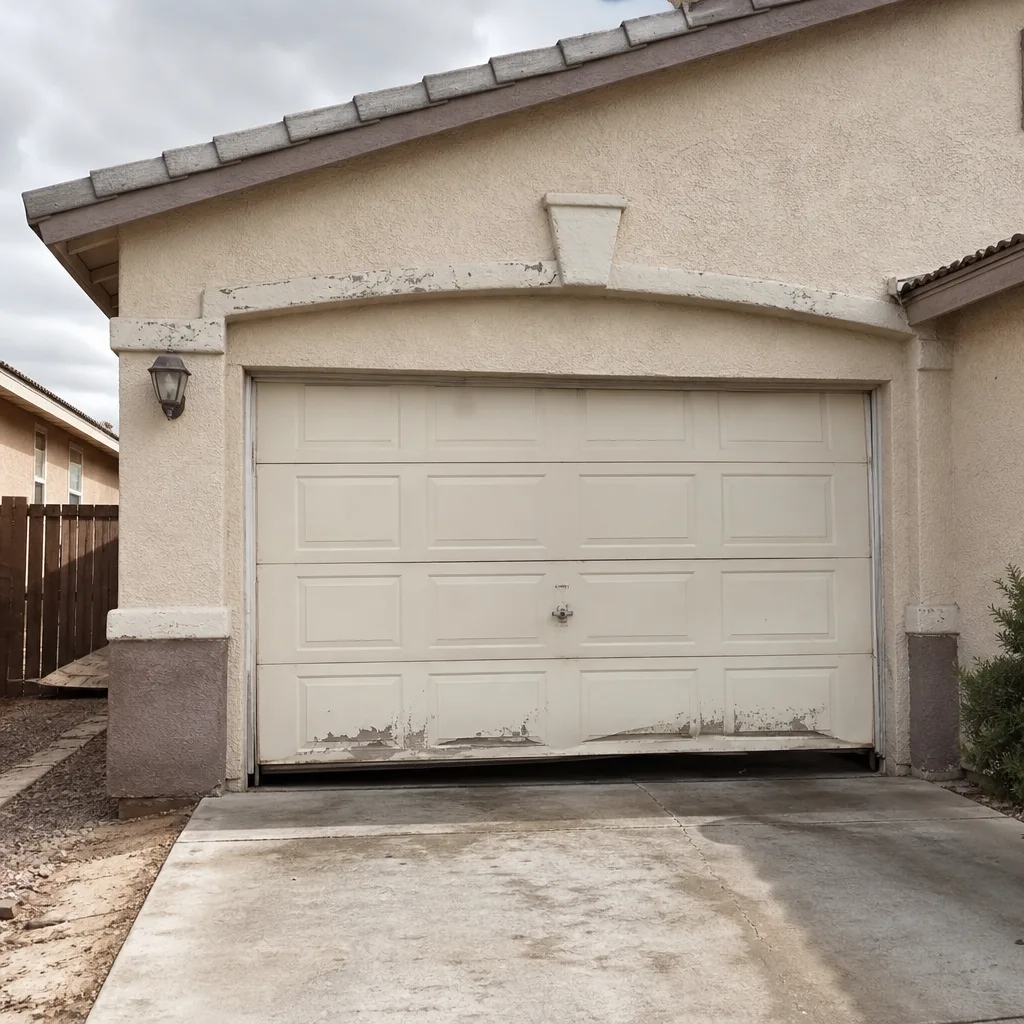 Before
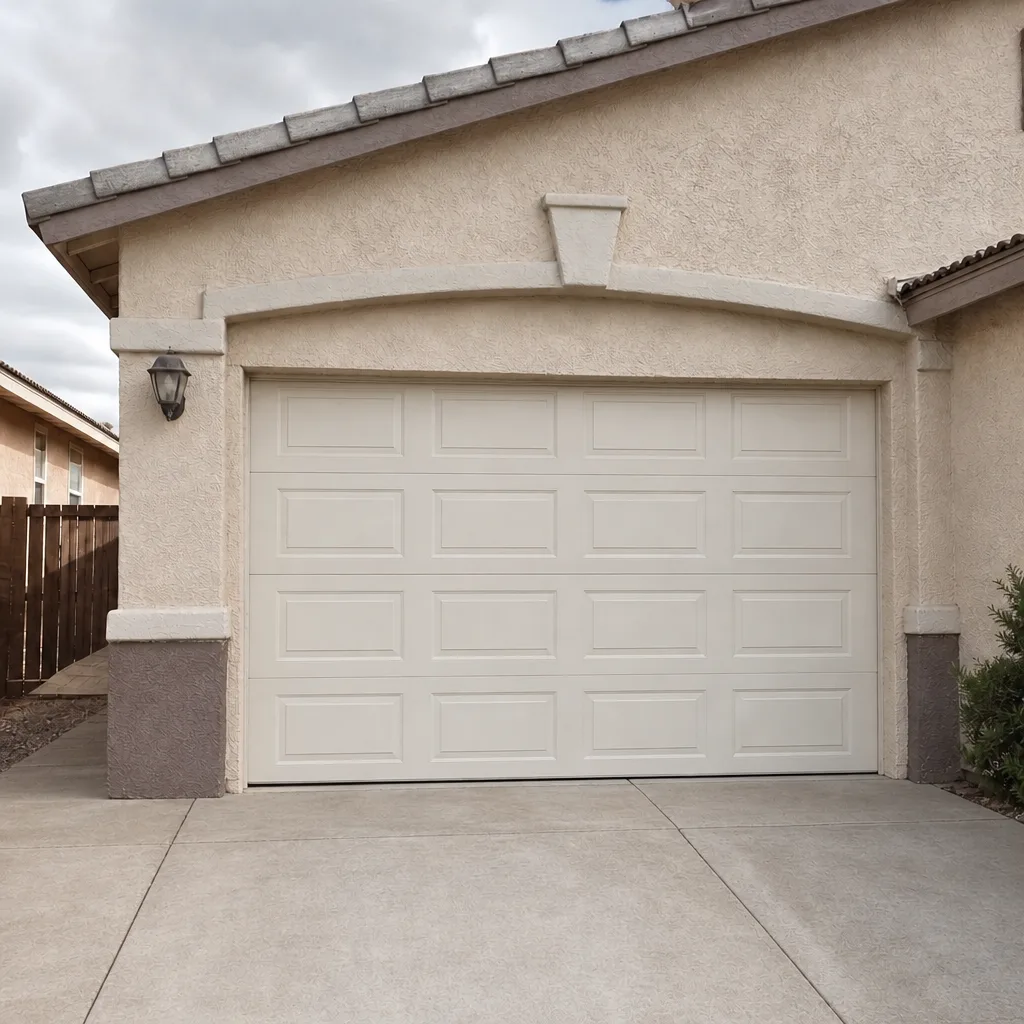 After
When to Call a Professional
Some of this schedule you can do yourself. Lubrication, the safety-reverse test, and visual checks are safe homeowner tasks. But there’s a line, and it’s worth respecting. Springs and cables are under heavy tension. A torsion spring stores enough energy to break a bone if it lets go while you’re near it. Never attempt to adjust, remove, or replace springs or cables yourself. That’s a trained professional’s job, every time.
Call a pro when you see any of the following: a door that won’t stay balanced, a cable that looks slack or frayed, a grinding or popping sound from the springs, a door that’s off its track, or hardware that’s visibly loose after the first summer. Also call if you’ve never had a real first-year check done and you’re past the one-year mark. That’s still worth doing, even late. A door that’s been running for three years with slack cables and loose bolts can usually be brought back into shape before anything fails.
Otto’s Garage Door North Las Vegas offers free estimates in North Las Vegas – call (866) 347-9495. If you want, we’ll quote the service on the phone and hold the price when we arrive.
Frequently Asked Questions
The first check should happen at 30 days, with a more complete check at 90 days and a full re-torque at the one-year mark. The 30-day check is quick and mostly visual. The 90-day check is where cable tension and weatherstrip compression get real attention, and it’s the checkpoint most homeowners skip. If you’re in North Las Vegas, don’t skip it. The first summer puts serious thermal stress on new hardware, and the 90-day check catches problems before they compound. Call (866) 347-9495 for an exact quote on a first-year service – estimates are free.
Yes, cable stretch is normal. All steel lift cables stretch under load, and a new cable will stretch noticeably in the first 90 days. The fix is a re-tension, not a new cable. What’s not normal is a cable that’s frayed, kinked, or has broken strands. A slack cable is a maintenance item. A frayed one is a safety issue. If you’re not sure which one you’re looking at, don’t touch it. Call us and describe it.
A first-year service in North Las Vegas typically runs somewhere in the low three-figure range, depending on what’s found and what needs adjusting. A simple re-tension and adjustment usually sits at the low end. If bolts need re-torquing and the weatherstrip needs replacing, the number goes up a bit. The point of the visit is to get ahead of the real problems. A spring failure costs considerably more than a service call, and it usually happens at the worst possible time. Call (866) 347-9495 for an exact quote – we quote on the phone and hold the number.
Yes. The warranty covers defects in materials and workmanship. It does not cover the normal settling that happens in the first year, and skipping the maintenance checkpoints can void certain warranty terms. Read your warranty paperwork carefully. Most manufacturers, including Amarr and Wayne Dalton, require a reasonable maintenance schedule as a condition of coverage. The 30, 90, and 365-day checkpoints are how you keep that protection intact. If you’re not sure what your paperwork says, we’ll read it with you before we do any work.
The biggest mistake is assuming that a new door needs nothing for years. The first year is the highest-risk window, not the safest one. New hardware settles, cables stretch, lag bolts work loose in the first hot summer, and the weatherstrip compresses under door weight. A door that gets the three checkpoints in the first year will usually run a decade longer than one that gets nothing. We’ve seen this from both sides in North Las Vegas, and it’s consistent enough that we build the schedule into every install we’re part of.
Lubrication, visual inspection, the door balance check, and the safety reverse test are all safe homeowner tasks and worth doing on schedule. Cable tension, spring adjustment, and re-torquing the header bracket are not. A torsion spring holds enough energy to cause serious injury. A cable under tension can whip if it slips. Those are a professional’s job. If you’re not sure where the line is, call (866) 347-9495 and we’ll tell you honestly whether a task is a DIY item or a service call.
The Bottom Line
The first year after a new garage door install is the window that decides how the next fifteen go. Check at 30 days for visual settling, at 90 days for cable stretch and weatherstrip compression, and at one year for a full re-torque and spring review. In North Las Vegas specifically, expect the first summer’s thermal expansion to loosen lag bolts on the header bracket – that’s normal, and it’s a re-torque job, not a warranty call. Record a baseline in week one so you know what “normal” feels like. Lubricate the moving parts. Leave the springs and cables to someone trained to handle them. A door that gets this schedule will outlive one that doesn’t, by years. Learn more about garage door installation in North Las Vegas, or explore our Otto’s Garage Door North Las Vegas home page.
Call (866) 347-9495 for a free estimate on your first-year service or a scheduled annual inspection. We answer the phone ourselves – same number every time, whether it’s Tuesday morning or nine o’clock on a Sunday night.
Written by the team at Otto’s Garage Door North Las Vegas.